
Whether you’re just starting out or updating your old gear, backpacking can be expensive… really expensive. With all of the options out there and the technical specs to compare, it’s hard to know where to start.
It’s no secret that more expensive gear usually means lower weight, higher quality, and a better warranty, but we’ve found some pretty competitive alternatives to the pricier gear. We compiled this list of our favorite tips for backpacking on a budget, many of which don’t require any spending at all.
Have any budget backpacking tips of your own to share? Leave us a comment below! And if you enjoy this guide, you’ll probably like our other backpacking content as well. Here are some popular CleverHiker Gear Guide articles:
- 10 Best Hiking Shoes & Boots of 2019
- 10 Best Backpacking Tents 2019
- 10 Best Sleeping Bags & Quilts of 2019
- 10 Best Sleeping Pads of 2019
- 10 Best Lightweight Backpacks of 2019
- Best Stoves, Food, Water Filters, Jackets & More: CleverHiker Gear Guide
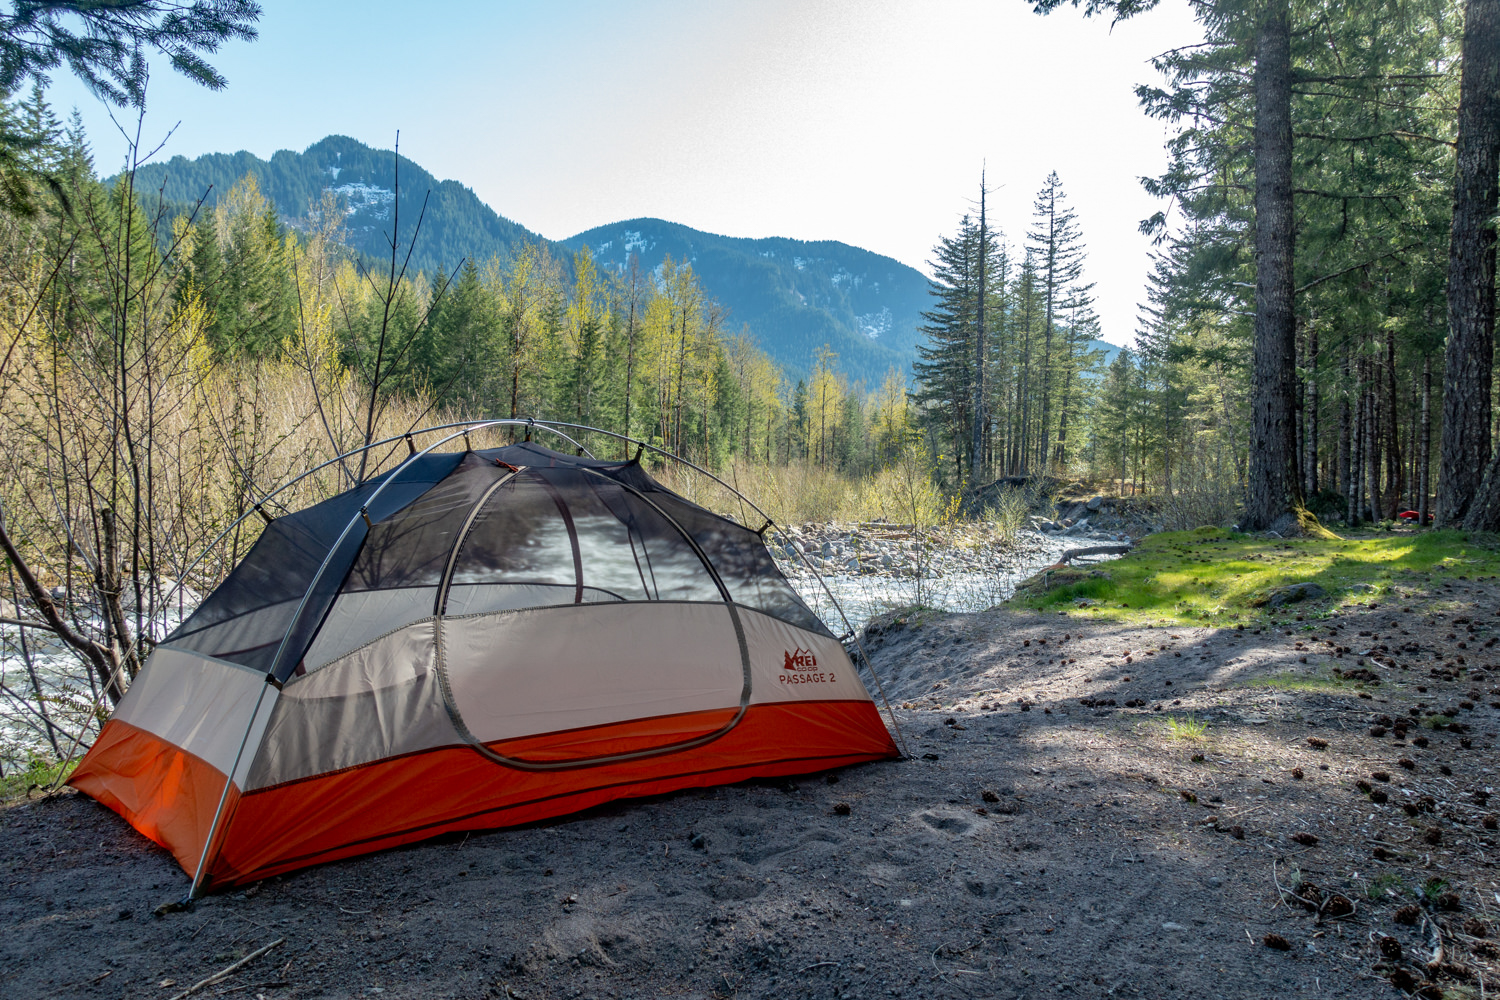
The REI Co-op Passage 2 is a great budget backpacking tent.
1. Don’t Sweat a Couple of Ounces
A lightweight pack is the key to comfort in the backcountry. When it comes to saving a couple of ounces here and there though, you can often save quite a bit of money with a slightly heavier piece of gear. For example, one of our top rated ultralight tents – the Nemo Hornet 2P – has a MSRP of $369.95. For $499.95, you can save 4 ounces with the Nemo Hornet Elite 2P. That’s about $32.50 per ounce, which is pretty steep. You definitely don’t want to go crazy with heavy gear, because a heavy backpack will add lots of unnecessary stress on your body, but a few ounces here and there could end up saving you hundreds of dollars in the end.
REI has frequent sales throughout the year and many retailers match prices during the sales.
2. Wait for Big Sales
Most places and websites that sell backpacking gear will have sales when seasons change to make room for new gear. For example, summer is usually the best time to buy an insulated jacket or snow-camping tent. Holidays usually mean big sales, as well. Labor Day, Cyber Week, and Memorial Day usually mean big savings. REI usually has their largest sale of the year around Memorial Day – the anniversary sale. You can save up to 30% on sale items and take advantage of a member’s only coupon for 20% off one full-price item. Check out our guide on using your 20% coupon and information about REI membership here. Fun fact, anytime REI has a sale or a 20% coupon, other retailers like Amazon and Backcountry will usually try to mark their prices down to match.
3. Take Advantage of First Order Deals & E-list Coupons
Many websites offer great deals for placing your first order with them or signing up for an email list. Backcountry gives you 20% off your first order in exchange for your email. If you sign up for Moosejaw’s e-list, they send you a coupon for 10% off your first order. More great offers like this are out there if you shop around a little.
Rei often has local used gear or garage sales where you can get some great gear on the cheap.
4. Buy Used Gear
Being an REI Co-op member not only gets you exclusive 20% coupons, it also gives you access to their garage sale events. The REI garage sale is a used gear sale where returned gear is sold for 40- 80% off. It happens nearly every month in larger stores and four times a year in smaller stores; check out REI’s events page to see when the next one is happening near you. If you can’t wait for the next garage sale to score some gear, you can check out their year-round online used gear sale. You can also find some great deals on used gear through Craigslist and Facebook Marketplace. We searched locally on Facebook Marketplace and found a brand new Big Agnes Fly Creek UL 2 mtnGLO with a footprint for $225. That setup normally retails for around $422.
5. Borrow Gear from a Friend
You might not have the gear, but your friends do! Ask them if you can borrow a few items. You’ll probably get bonus points if you offer to mow their lawn or walk their dog for a week in exchange. Also, make sure to be a good friend. Treat borrowed gear with care, clean it after use, and return it promptly after your trip.
6. Rent Gear
So, your friends also don’t have the gear? Rent it! A lot of REI locations rent basic backpacking gear, and some locations have even started renting ultralight gear bundles for as little as $320 per week. That’s less than an ultralight tent generally costs! This may be a better option if you only plan to go out once or twice a year or if you’re new to backpacking and don’t quite know where to start. If you don’t have an REI near you, check with your local outfitter to see if they rent. If you’re a college student, check to see if your university rents gear – it’s decently common. There are also some online gear rental sites worth checking out, like Outdoors Geek, Xscape Pod, and LowerGear Outdoors.
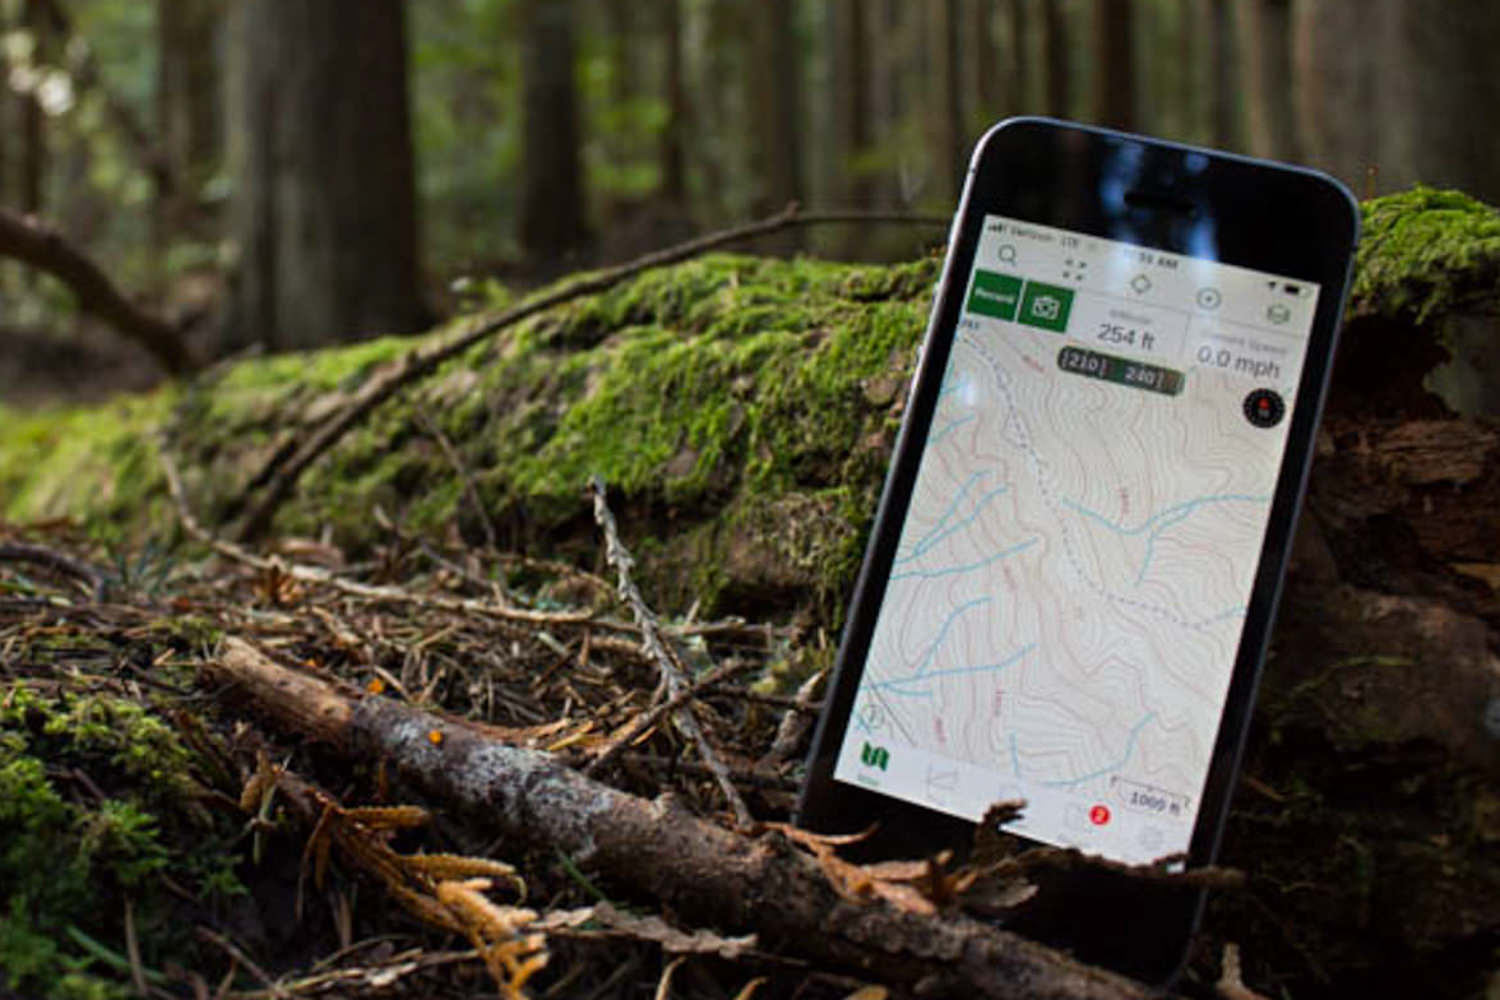
7. Use Your Phone as a GPS
Garmin makes some of the best navigation devices on the market like the InReach 2-Way Satellite Communicator and their GPS watches, but those can set you back hundreds of dollars. These GPS devices sure are nice, but your phone already has most of the functions you’ll use most often while backpacking. One of our favorite GPS navigation apps is Gaia GPS. If you want more information about using your phone for GPS, check out our full tutorial here.
8. Take Care of the Gear You Already Own
A great way to save money is by simply making sure you take great care of the gear you already have. Here are a few easy ways to prolong the life of your current setup:
- Make sure to store your tent dry – when you get home, set your tent up in a sunny spot in your backyard or hang it up in your bathroom/basement/garage to dry it completely before storing. Check out our tent care blog post for more tips on prolonging the life of your shelter.
- Use a footprint with your tent – footprints can be expensive, but they protect the bottom of your tent from tree sap and abrasive objects like sticks and rocks. You can make your own affordable, lightweight footprint by buying Tyvek and cutting it to size. A footprint isn’t totally necessary, though, and there are other things you can do to protect your tent floor. Learn more on our Do You Really Need a Footprint post.
- Store your sleeping bag in a large mesh storage sack or hang it in your closet – never store a sleeping bag compressed in its stuff sack, as that will damage its insulation over time. Check out our full Sleeping Bag Care Guide for more helpful tips.
- Backflush your water filter – most filters come with a cleaning kit and are field cleanable. Regular backwashing will keep up the flow rate of your filter and make it last much longer.
- Clean your cook gear when you get home – backpacking foods are often really salty, clean your pots before you store them to prevent rusting.
- Tenacious Tape will save your life – so you burned a hole in your favorite puffy coat? Don’t rush out to buy a new one, just patch it with Tenacious Tape. We have a base layer shirt that fell victim to a stray campfire ember back in 2016 and the Tenacious Tape we used to repair it is still holding strong.
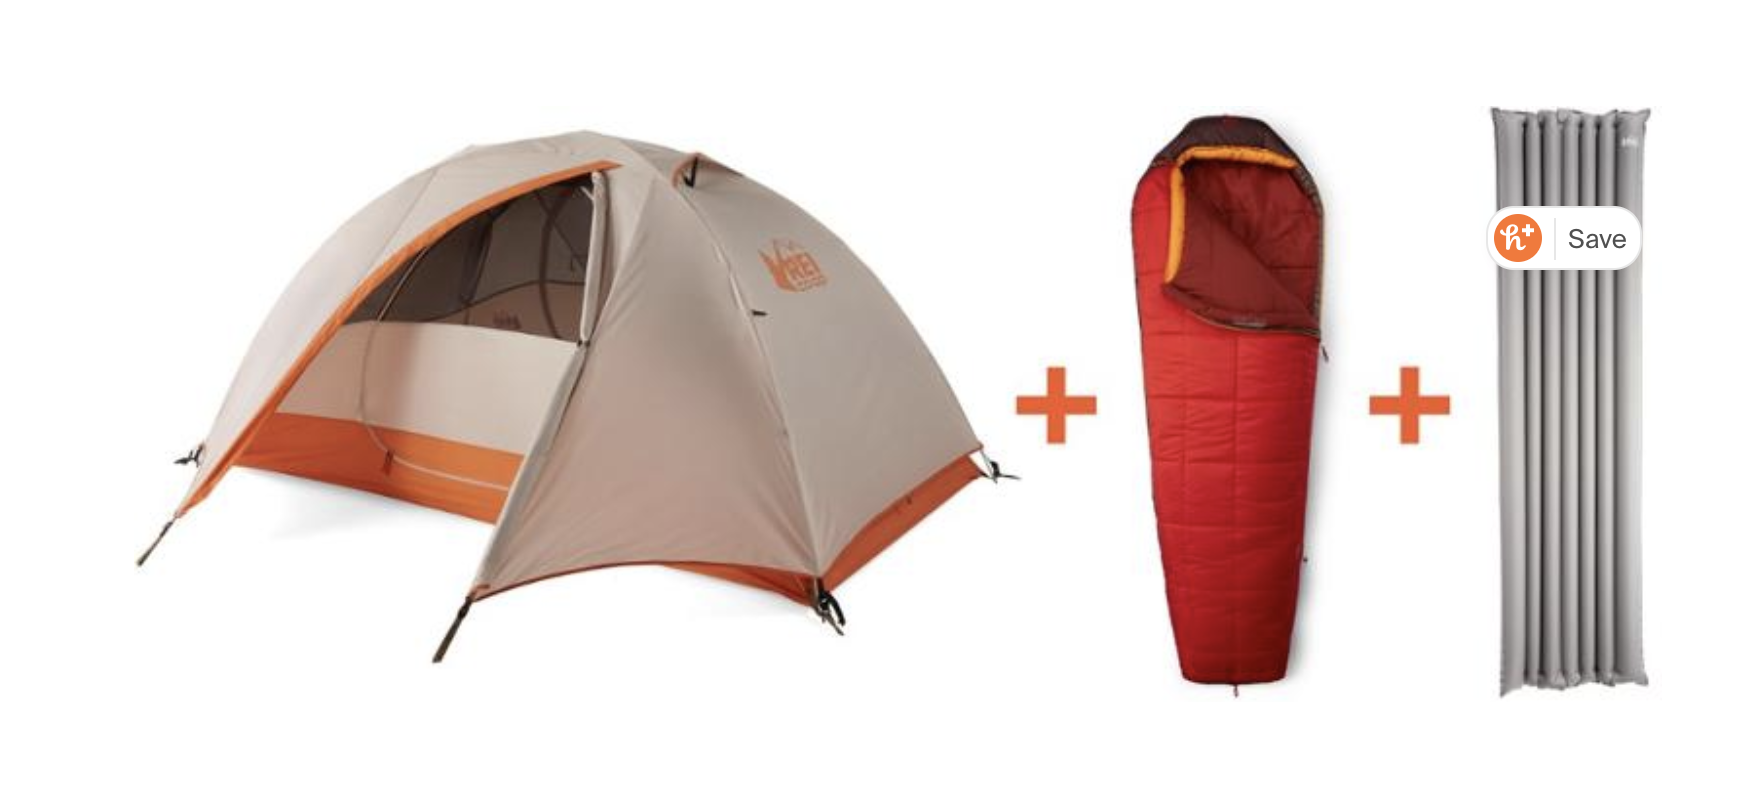
REI’s Backpacking bundle is a great way for beginners to save some money on gear.
9. Buy a Backpacking Bundle
REI offers a whole starter backpacking bundle for around $275 which includes the REI Co-op Passage 2 tent (on our list of the best budget backpacking tents), the REI Co-op Stratus Insulated Air sleeping pad, and the REI Co-op Trail Pod 30 sleeping bag. You’ll save around $64 off the individual prices of these items with the bundle. As a bonus, this bundle almost always goes on sale during REI sale events, at least that’s what we’ve seen in the past. At 9 pounds, 6 ounces this isn’t the lightest setup, but it’ll definitely get you started.
10. Go for Synthetic Materials
We usually prefer down sleeping bags and puffy coats for their packability and weight savings. Synthetic technology has come a long way, however, and the differences are getting less and less significant. Synthetics even have two major advantages over down – they dry quicker and will keep you warmer when wet. The REI Co-op Zephyr 30 synthetic sleeping bag has an MSRP of $139 and weighs 2 pounds versus the REI Co-op Magma 30 down sleeping bag with an MSRP of $319 and a weight of 1 pound, 3.8 ounces. That’s about a 12 ounce weight savings at about $15 per ounce. Which bag do we prefer? The Magma for sure. But the Zephyr will still get the job done well at a much lower cost. For more info check out our article on the 10 Best Backpacking Sleeping Bags and Quilts.

The Reactor Extreme liner can add significant warmth to your sleeping bag on cold nights.
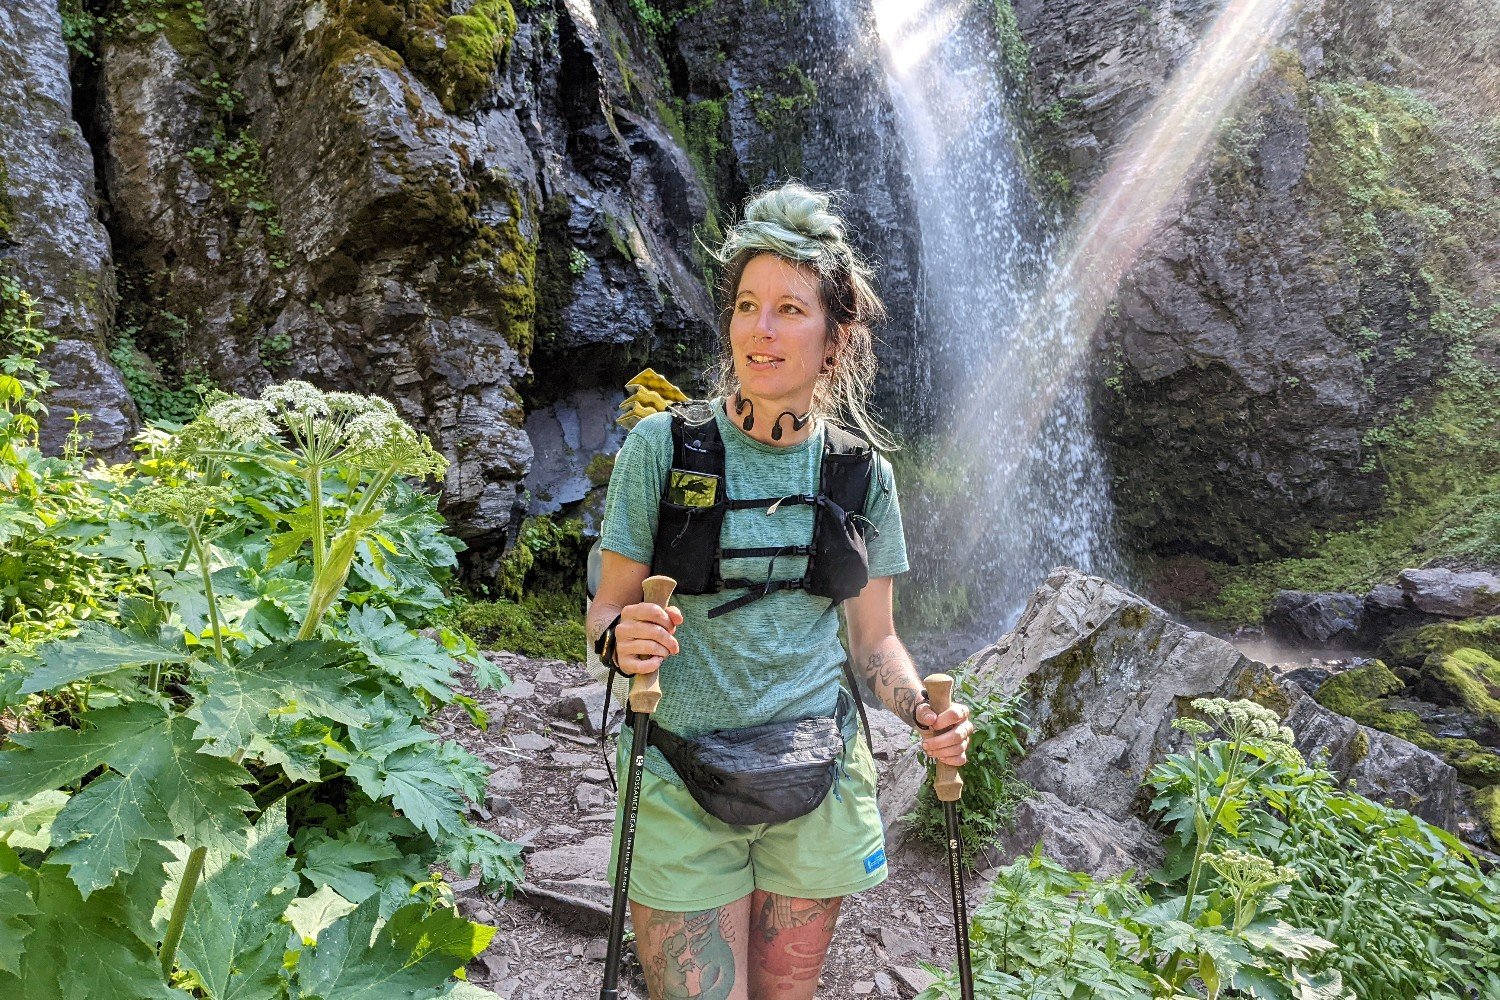
11. Add a Sleeping Bag Liner for Chilly Trips
A sleeping bag will be one of the most expensive pieces of gear in your pack. Many people own multiple bags for different seasons so they can get outside year-round, but you can turn your summer bag in to an all-season sleep system yourself with a sleeping bag liner. In general, a 20-30°F (EN Lower Limit) bag will get you through the summer, fall, and spring if you live in a mild climate. If you like to winter camp or have more intense seasons, Sea to Summit makes the Reactor Extreme liner that can add up to 25 degrees to your sleeping bag. That’ll help you keep warm on chilly trips without needing to buy a new, expensive sleeping bag.
12. Don’t Buy/Bring Unnecessary Items
There’s an old saying in the backpacking community: people pack their fears. If you fear being cold, you’ll pack too many clothes. If you fear going hungry, you’ll pack too much food. If you fear getting injured, you’ll pack a huge first aid kit. And so on. One of the most common mistakes we see beginners make is buying and carrying way too much stuff they don’t need out on the trail. The most common examples of this we see are people bringing extra food, clothing, and cooking gear, but it doesn’t stop there. We find that a good lightweight backpacking checklist will really help with this, and the more experience on the trail you get, the more you’ll realize how much you can get by without. You should always carry theten essentials with you when you hit the trail, but many things outside of that list should be considered luxury items.
Planning ahead can save you money at the grocery store, as well. It’s all too common for us to see people packing too much food for their trip, which means overspending and a heavier pack. Even our eyes are bigger than our stomachs sometimes, but we have a pretty good strategy that keeps the over-packing to a minimum: meal planning. Before we go to the grocery store for trail meals and snacks, we always sit down with a pen and paper and write down every meal we plan to eat. Here’s an example:
DAY ONE
- Breakfast: Instant Oatmeal and coffee
- Lunch: Peanut butter on bagels
- Snacks: Clif bar, trail mix, etc.
- Dinner: Angel hair pasta with pesto and tuna
When you have a clear plan, you don’t end up making impulse buys at the grocery store and you can ensure that you have plenty to eat. For more ideas of what to include in your backpacking meal plan, take a look at our Best Lightweight Backpacking Food Guide.
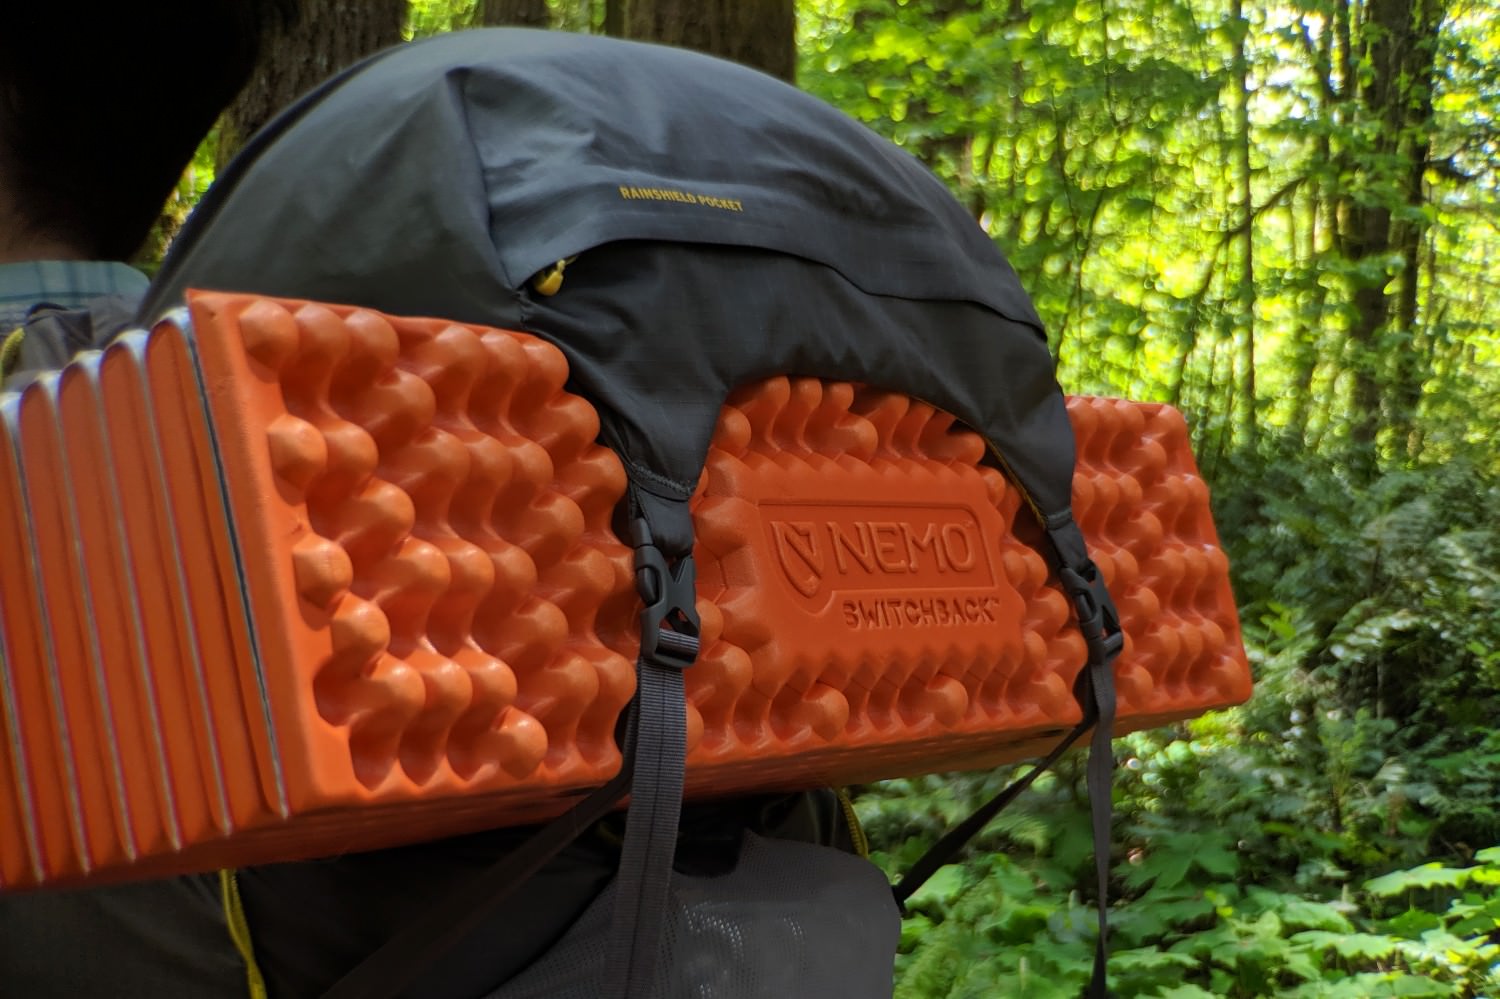
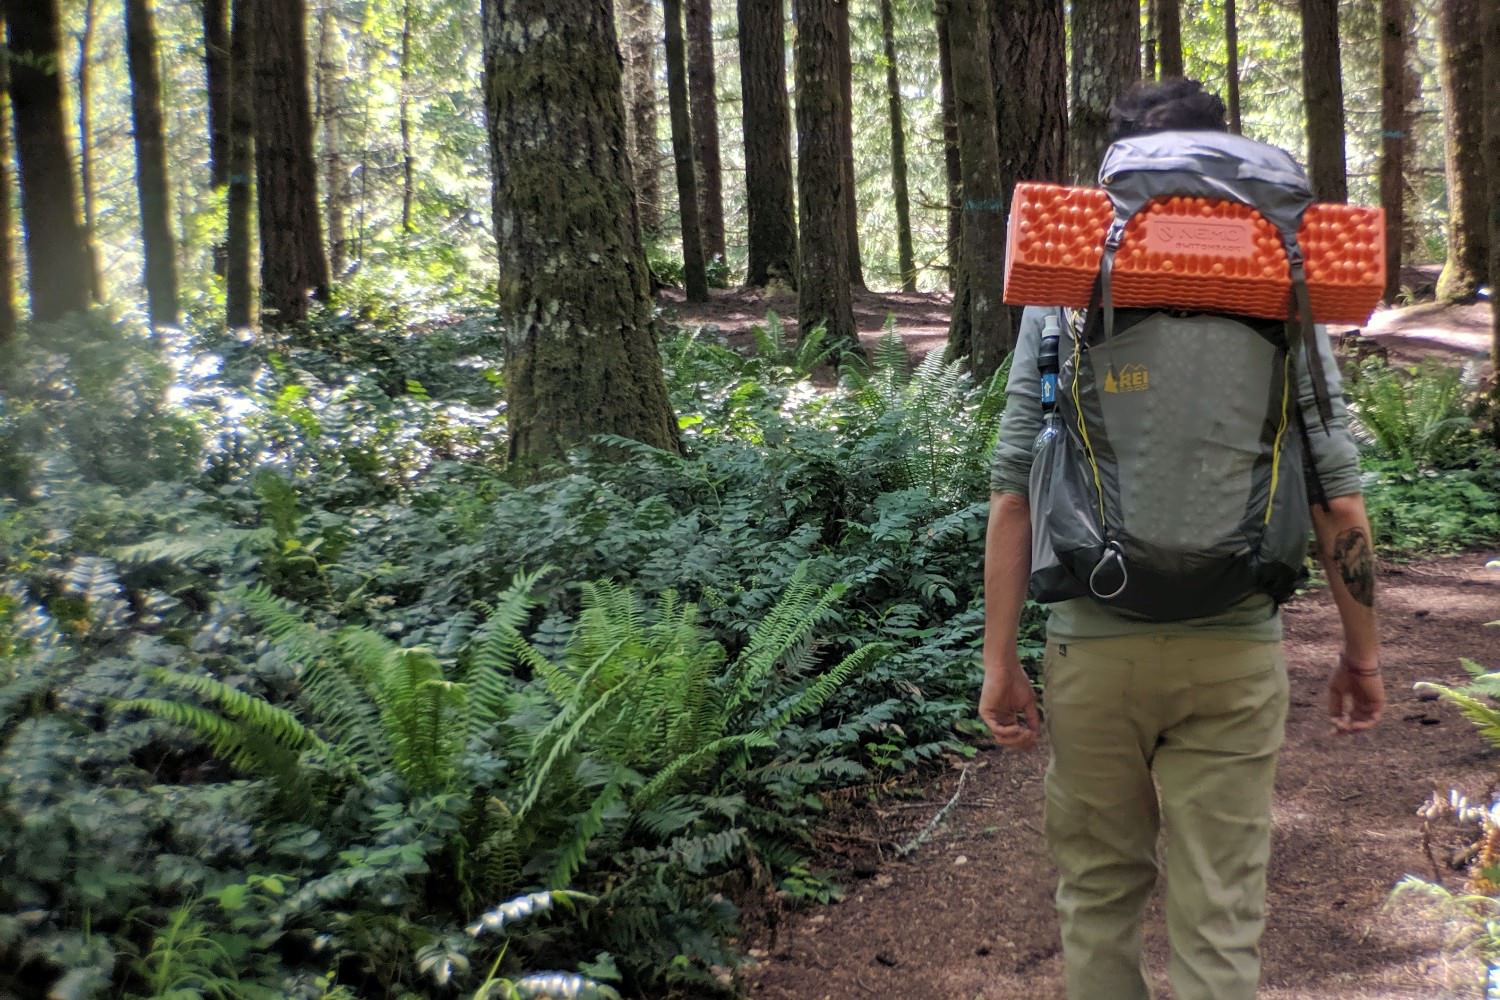
A great budget pad option – the NEMO Switchback
13. Consider a Closed-cell Foam Pad
There are many types of closed cell foam pads on the market, and while we prefer the comfort and packability of inflatable pads, foam pads are cheap and they’ll never pop. If you’re okay sleeping on firm surfaces, a foam pad might be all you really need. R-values stack, so you can even layer a foam pad underneath an air pad to make it work during colder months. Here are a few of our favorites:
- Most comfy and most packable: NEMO Switchback – MSRP $49.95, 14.5 oz., NEMO doesn’t list R-values. They estimate this pad to be good down to 20-35°F , but we wouldn’t recommend any foam pad for sub-freezing temps.
- Best value for comfort and R-value: Therm-a-Rest Z Lite Sol – MSRP $44.95, 14 oz., R-value 2.6
- Warmest, cheapest, and bulkiest: Therm-a-Rest Ridgerest SOLite – MSRP $29.95, 14 oz., R-value 2.8.
If you prefer a little more comfort in your sleep system, take a look at our list of the 10 Best Backpacking Sleeping Pads for some good air pad options. Our favorite budget air pad is the Klymit Static V2.
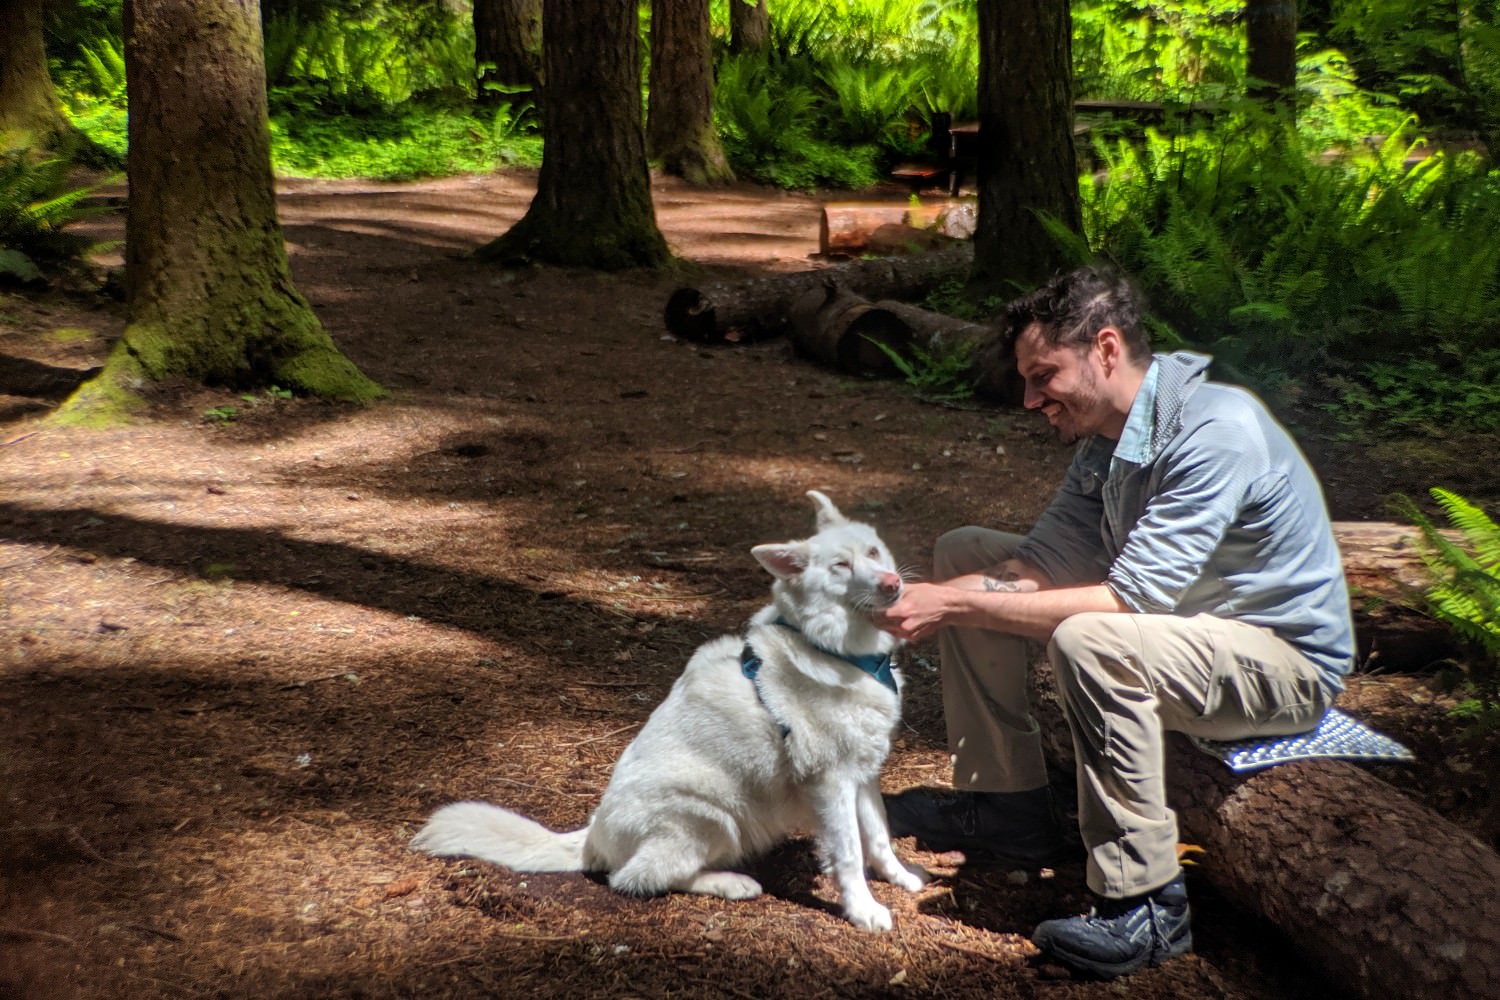
Using a Therm-A-Rest Z-Seat Pad while taking a break.
14. Sit Pads Are a Great Alternative to Backpacking Chairs
Backpacking chairs are an increasingly common sight out on the trail; the Helinox Chair Zero (check out our full review) and the more affordable REI Co-op Flexlite Air Chair are great options. We love our Therm-A-Rest Z-Seat Pads, though, and rarely leave for a trip without them. Sit pads keep your bum dry when you sit on wet logs, make rugged rocks tolerable to sit on, and provide a cushy barrier between you and the cold ground.
15. Use Your Clothes Stuff Sack as a Pillow
Backpacking pillows are becoming very popular additions to camp sleep systems. You’re likely already bringing extra clothes in a stuff sack, and that’s almost… almost… the same thing. A puffy coat makes excellent filling for a stuff sack pillow, and you can make it even more comfy by wrapping the whole sack in a fleece jacket or soft base layer shirt. If, however, you do prefer a little extra luxury in your life, take a look at our list of the 10 Best Backpacking & Camping Pillows where you can find some great budget-friendly and ultralight options.
Lining your pack with a trash compactor bag is a cheap and easy way to keep your items dry.
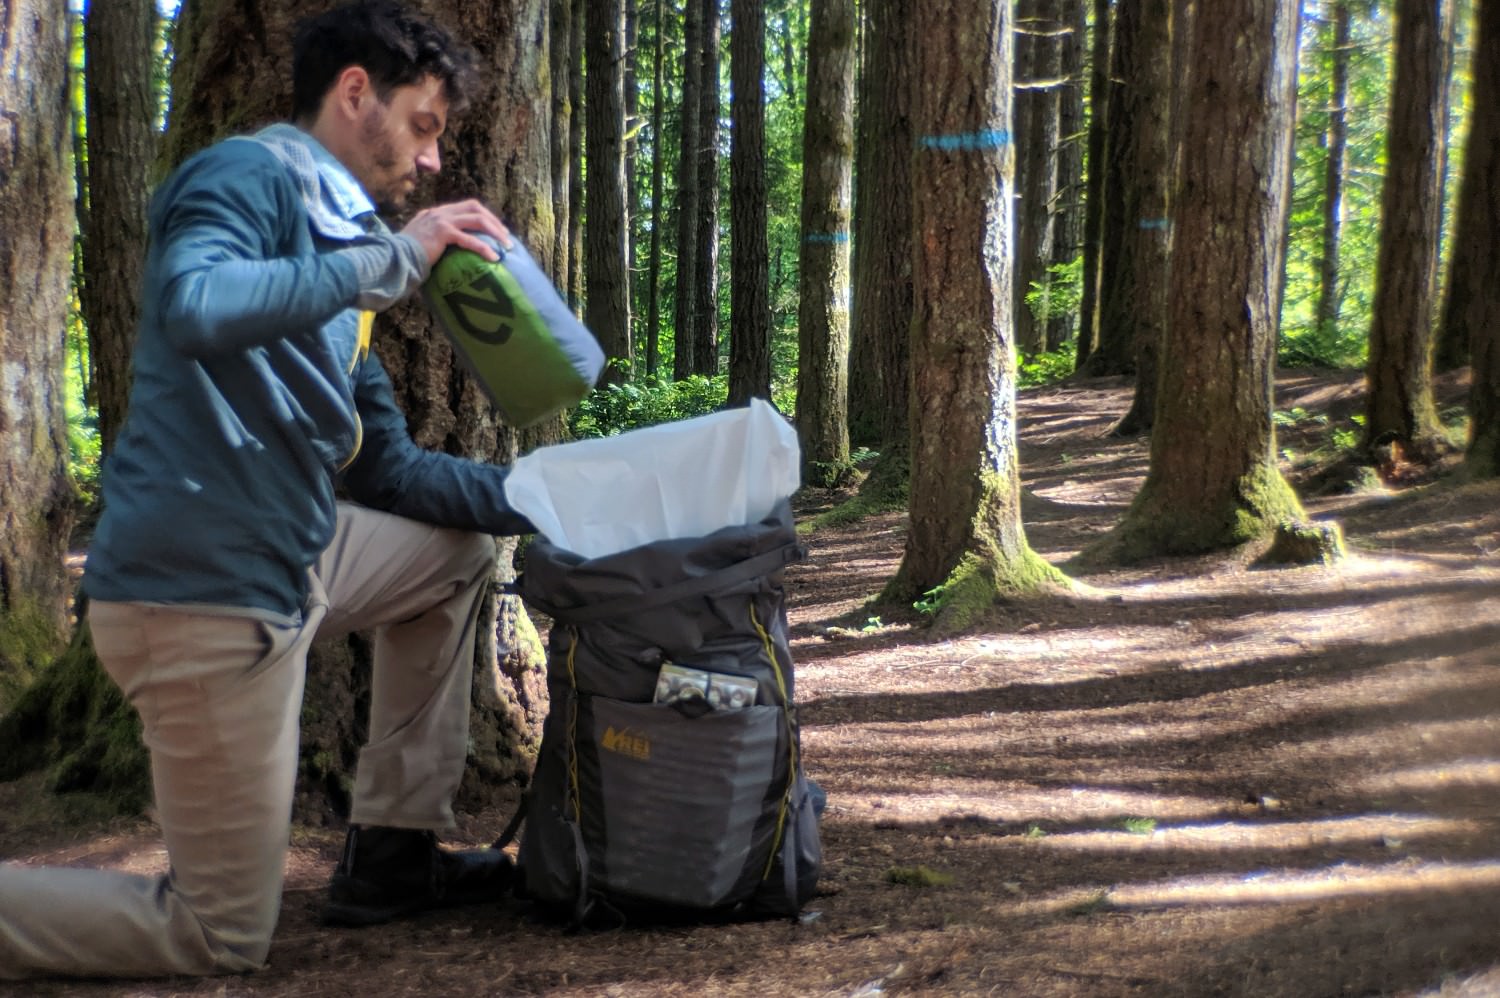
16. Use a Trash Compactor Bag as a Pack Liner
Keeping our gear dry is a huge priority when we go on trips. If you’ve ever had the pleasure of cozying up to a damp sleeping bag, you know why. Pack liners and dry sacks are the best options for keeping important gear dry, but we’ve found that heavy duty trash compactor bags work just as well. You can pick up a 5 pack on Amazon for dirt cheap. If you go with a different brand, just make sure you don’t get scented bags.
17. Use Ziplocs Instead of Dry Bags & Odor-proof Sacks
Speaking of keeping your stuff dry, we like to use Ziplocs to keep small things like our phones and paper maps dry. As long as they’re sealed properly and don’t get holes in them, we’ve found Ziplocs to be really effective. We also repackage our food into Ziplocs to help cut down on micro-trash from packaging and as a basic odor-proof barrier. We like to label our Ziplocs so we know what was in them, then we can keep reusing them for multiple trips.
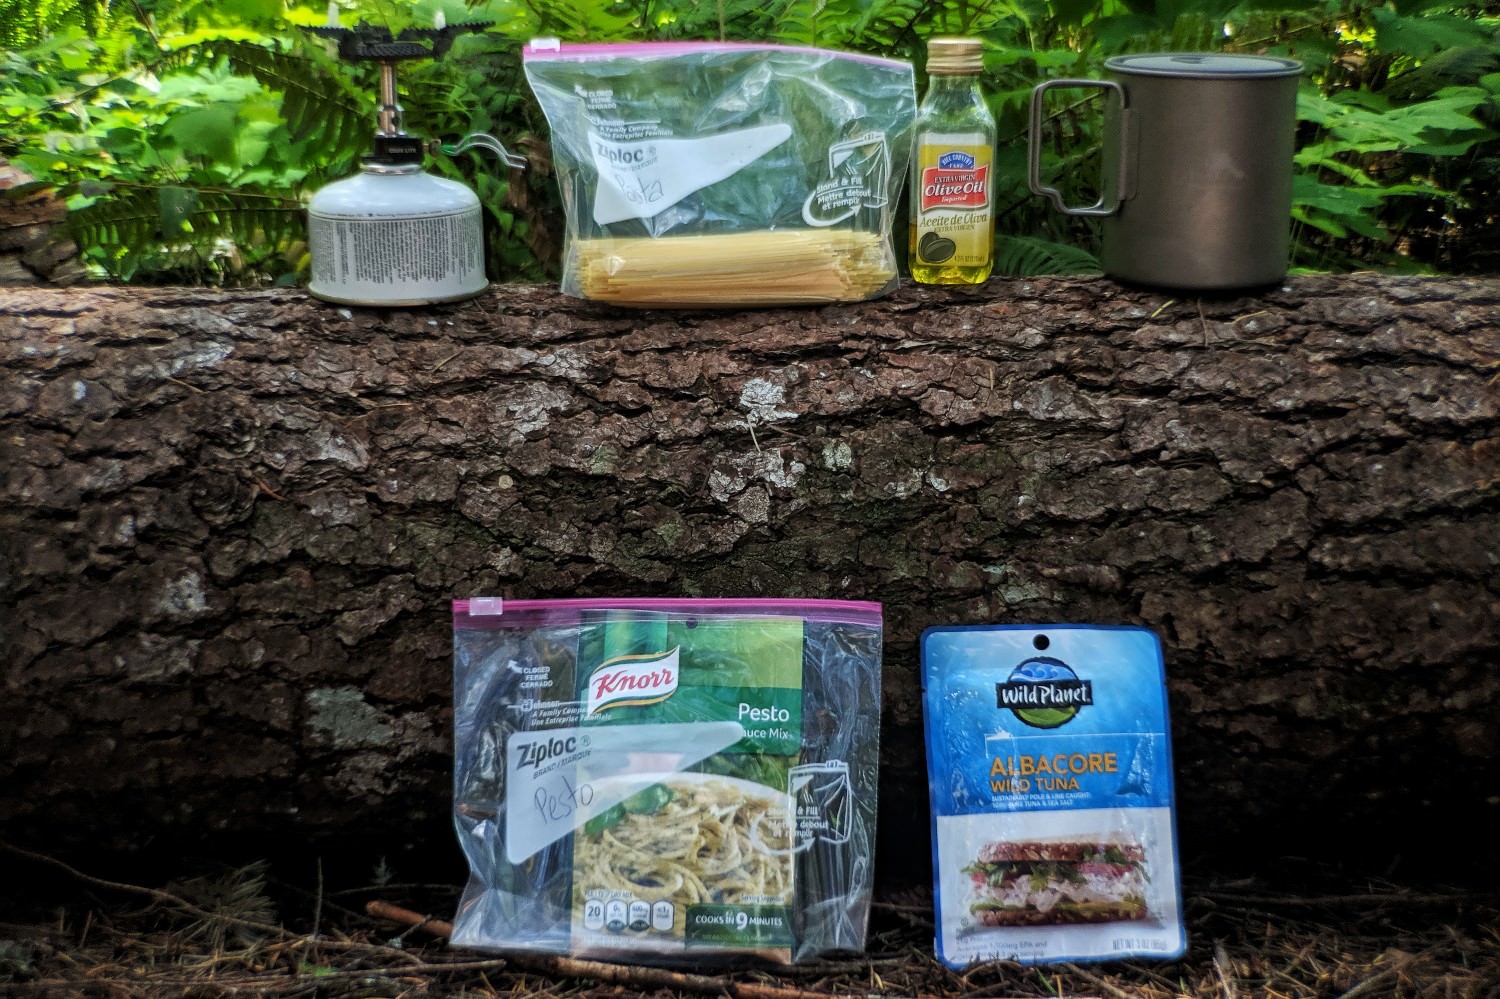
18. Make Your Own Backpacking Meals
Prepackaged dehydrated backpacking meals are really convenient, but can be quite pricey. For example, you can get one package of Backpacker’s Pantry Pesto Salmon Pasta for around $15 ($7.50 per serving), or you can make 4 servings of that yourself for far less.
We went to our local market and found these ingredients to make four servings ($3.64 per serving):
- 1 lb. angel hair pasta: $1.00
- 1 Knorr pesto sauce mix packet: $1.99
- 4 Wild Planet Albacore wild tuna packets: $11.56
- A bit of olive oil: on hand (we like to carry some with us in a 4 oz. nalgene container when we go backpacking)
That said, if you’re in the mood to splurge on a fancy backpacking meal or two, check out our list of the Best Freeze Dried Backpacking Meals. Also, we’ve got a ton more helpful info in our Lightweight Backpacking Food Guide.
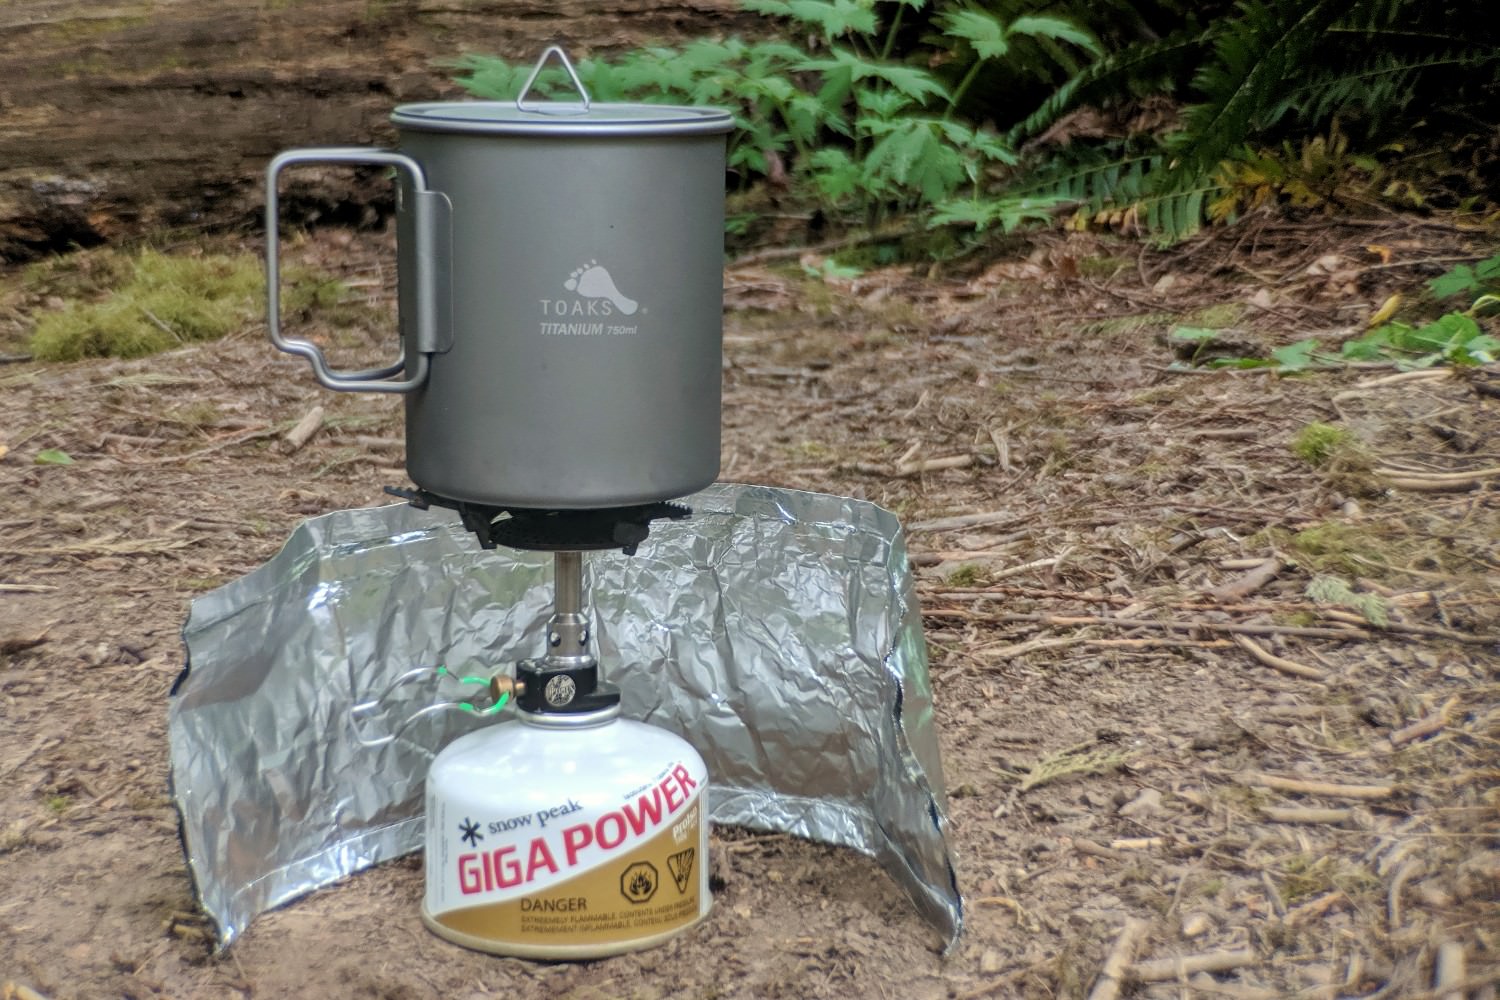
19. Make an Aluminum Foil Windscreen
Windscreens are a great addition to any camp cooking set-up; they increase your fuel efficiency and yield faster water boiling times. They also cost around $10-$15 if you buy them at the store. You might be thinking to yourself, “well that’s not very much…” and we agree, however you can make one for free using a material you most likely already have at your house. We found this simple tutorial for making your own out of aluminum foil.
NOTE: Though very rare, fuel canisters can overheat and explode under the wrong conditions. If you are using your windscreen with a canister stove, be sure to leave one side completely open to let heat escape and never set the windscreen up on top of the fuel canister.
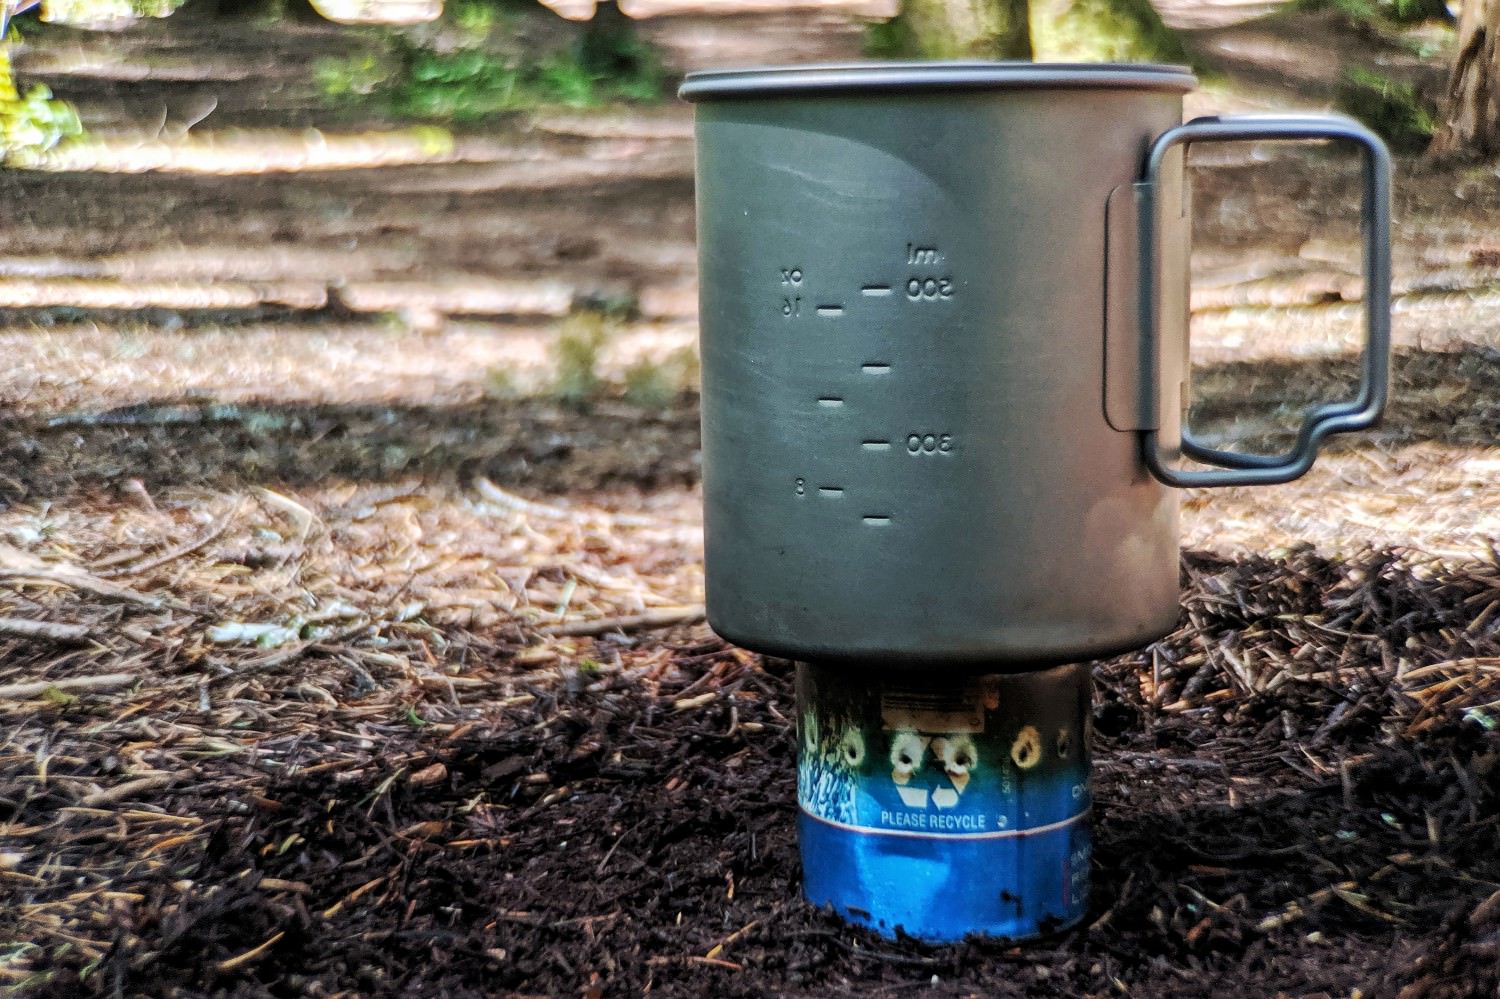
20. While You’re at it, Make Your Own Stove
We prefer to use canister stoves for our backpacking trips. They’re less dangerous, quicker, easier to use, and you have control over the flame for simmering. If you’re really trying to hit the trail on the cheap, though, you can make an alcohol stove out of a can. Here’s a quick tutorial for making one from a soda can. We’ll just leave this note about how to use your new alcohol stove safely here, as we’ve witnessed many an alcohol stove blunder in the wilderness. If you think a canister stove might be a better fit for your backpacking style (it certainly is for us), check out our list of the 10 Best Backpacking Stoves. Among our top stove picks, the BRS Ultralight Stove is very cheap and is a good fit for 1-2 backpackers.

the Sierra Designs Flex Capacitor backpack is a quality budget option.
21. Some of Our Favorite Budget Backpacking Gear Options
TENTS
- REI Co-op Quarter Dome SL 2
- REI Co-op Passage 2
- REI Co-op Half Dome 2 Plus
- Marmot Tungsten 2P UL
- Kelty TN 2
BACKPACKS
- Granite Gear Vapor Trail 60 pack
- REI Co-op Flash 55
- Osprey Rook & Renn
- Gregory Optic & Octal
- Osprey Exos & Eja
- Sierra Designs Flex Capacitor
SLEEPING BAGS
SLEEPING PADS
- Klymit Static V2
- REI Co-op Flash Insulated Pad
- Big Agnes Air Core Ultra
- NEMO Switchback
- Therm-a-Rest Z Lite Sol
FOOTWEAR & CLOTHING
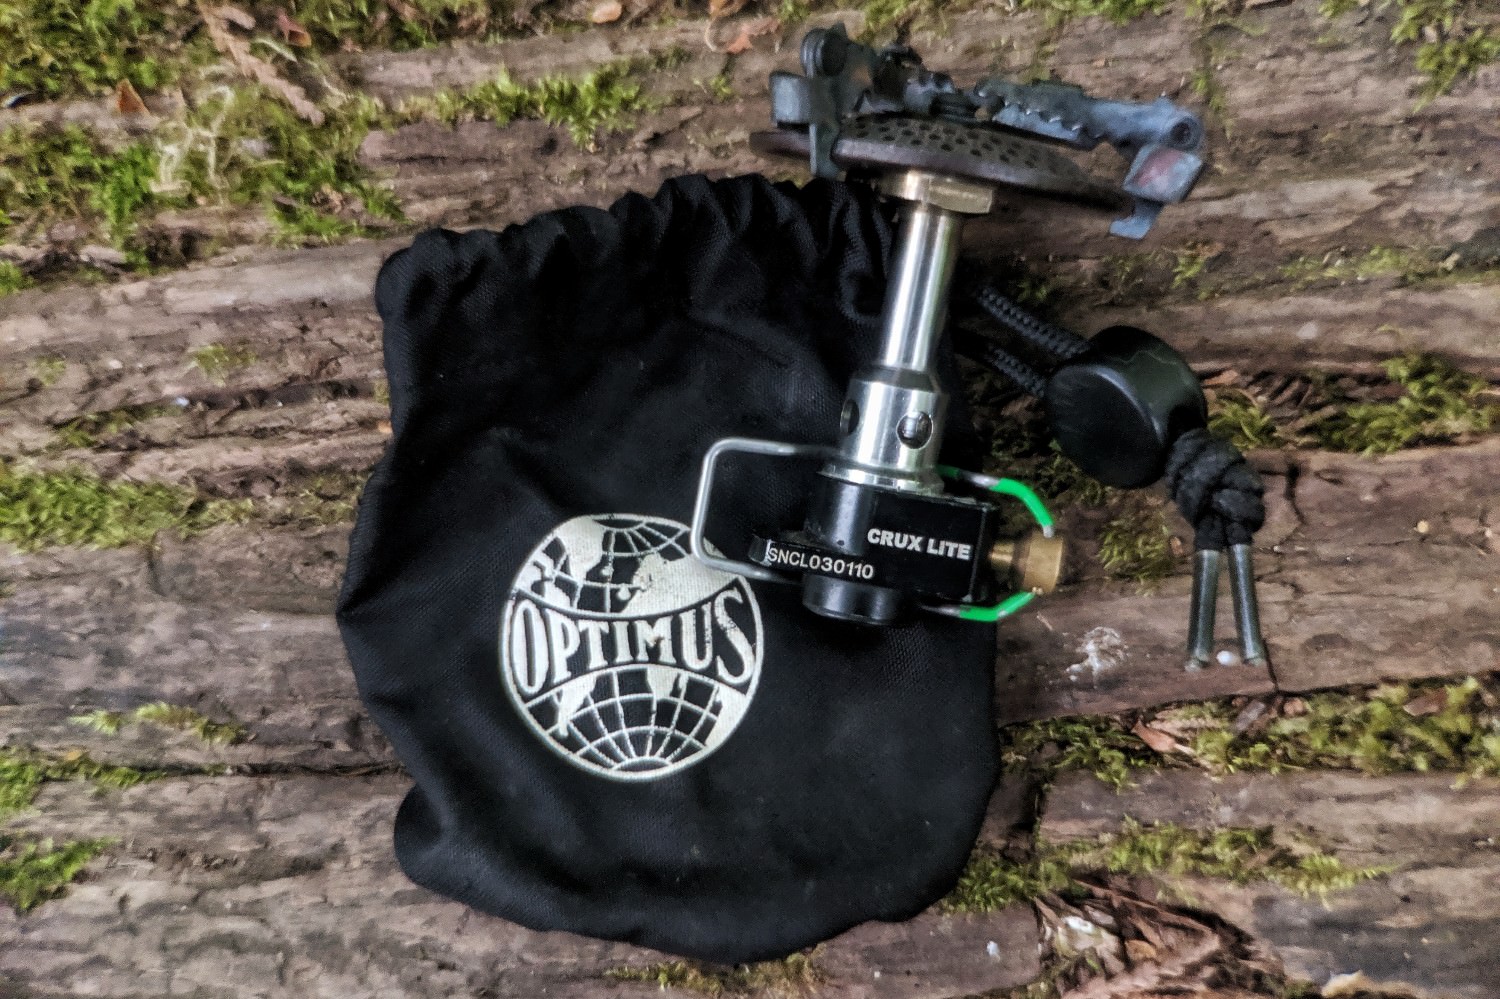
The Optimus Crux Lite Stove is a great budget stove option.
STOVES & CAMP KITCHEN
- BRS Ultralight Stove
- Etekcity Orange Stove
- Optimus Crux Lite Stove with Terra Solo Cook System
- Soto Amicus Stove Cookset Combo
- Toaks Titanium 750 ml. Pot
- Stanco Grease Pot
- GSI Essential Long Spoon
WATER FILTERS

The Sawyer Squeeze is an affordable and lightweight water filter.
OTHER GOOD BUDGET GEAR & ACCESSORIES
- Petzl Tikka Headlamp
- Black Diamond Spot Lite Headlamp
- REI Co-op Lightweight Compression stuff sacks
- Therm-a-Rest Z-Seat
- REI Co-op Traverse Power Lock Cork Trekking Poles
- Montem Ultra Strong Trekking Poles
- Therm-a-Rest Compressible Pillow
- Packtowl Nano
- Jackery Mini Power Bank
- Gerber Mini Paraframe Serrated Knife
- Swiss Army Tinker Multi-Tool
- Adventure Medical Kits Ultralight & Watertight .7 First Aid Kit
- REI Co-op Snow Stake (used as a cathole trowel)
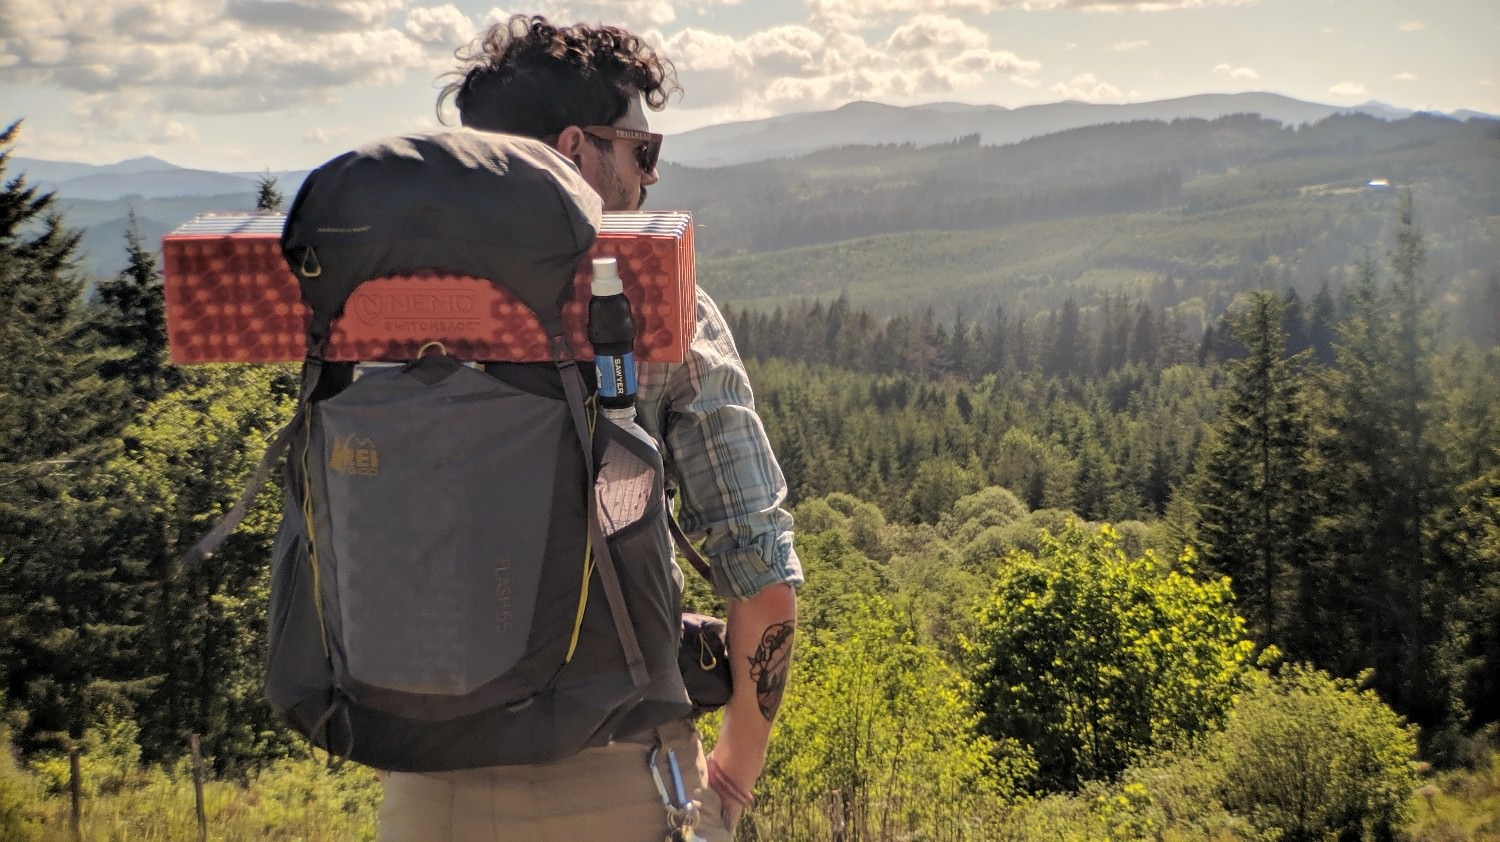
the REI Co-op Flash 55 is an excellent new budget pack.
Final Thoughts
There are so many ways to cut costs when gearing up to go backpacking without cutting comfort. Do you have budget saving tips that we missed? Let us know in the comments below and we’ll add them to our list!
Whether you’re new to backpacking and want more tips to help get you started, or if you’re a seasoned hiker wanting to brush up on some skills, check out this other popular CleverHiker content:
Some of the links on this page are affiliate links, which means we may receive a modest commission if purchases are made through those links. This adds no cost to our readers and helps us keep our site up and running. Our reputation is our most important asset, which is why we only provide completely honest and unbiased recommendations.