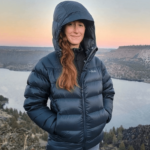

PHOTO CREDIT: HEATHER ELDRIDGE (CLEVERHIKER.COM)
Last updated: October 20, 2023
As hikers, we expect a lot from our clothing. It has to insulate us from the cold, breathe well, dry quickly, and protect us from everything from rain, snow, and wind to bugs and intense sun exposure.
We rely on our clothing to deal with all types of changing conditions while temperatures fluctuate and our level of activity ebbs and flows.
Safety & Comfort
The right combination of clothing will keep you safe and comfortable in the myriad of elements you’ll encounter in the backcountry. Being caught in a storm or overexposed to the sun in a remote place without adequate clothing can get you into a dangerous situation. But, with a little practice, it’s pretty easy to figure out what to wear and pack.
If you know your personal comfort limits and properly prepare, you should feel confident that your shelter, sleep system, clothing, and skills can get you through almost anything nature throws at you.
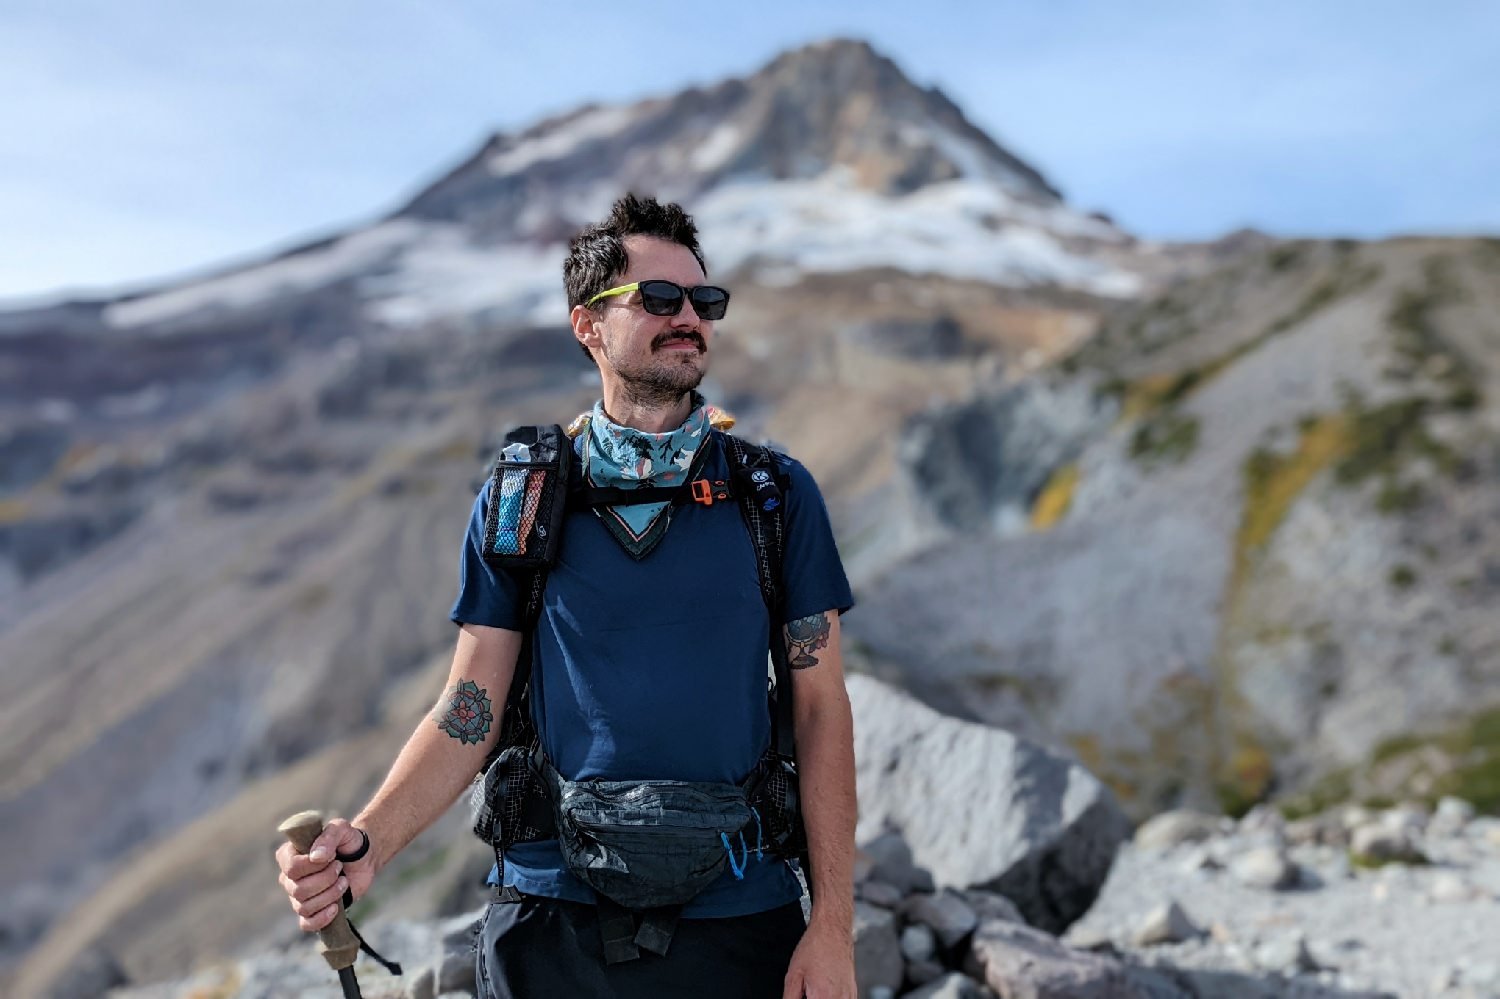
PHOTO CREDIT: CASESY HANDLEY (CLEVERHIKER.COM)
Don’t Overpack; Streamline
It’s very common for hikers to overpack clothing and layers, making backpacks unnecessarily heavy and bulky. We tend to do this because we’re nervous about being too cold, wet, and dirty out on the trail.
That’s why it really pays to dial in an efficient set of clothes that work together and can be easily adjusted to meet changing conditions. Keeping your clothing system minimal and lightweight will increase your overall comfort by reducing the load strain on your body.
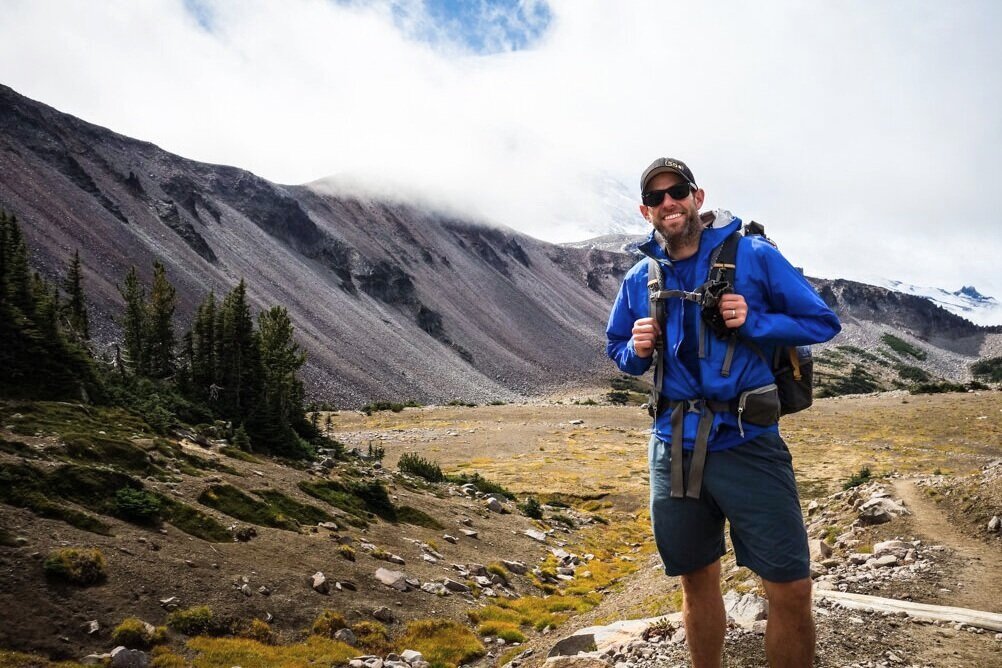
PHOTO CREDIT: DAVE COLLINS (CLEVERHIKER.COM)
The Fundamentals of Outdoor Clothing
Layering – A well-dressed hiker has clothing that can be layered and worn all at once for maximum warmth or pared down for the utmost freedom and breathability. Tops, bottoms, jackets, and accessories should be complementary and work together harmoniously to suit the conditions.
Often, this means choosing lighter, non-bulky clothing items that can easily slip over or under one another. For the best result, we usually choose form-fitting innerwear (underwear, base layers, hiking shirt, and pants) and work our way out to looser-fitting outerwear (fleece jacket, down jacket, rain jacket/pants, etc.).
Mix & Match – An efficient outdoor clothing system is made up of a collection of essential items that can be mixed and matched. For backpacking, we wear the same basic outfit daily, and supplement when needed for special conditions or different seasons. Everything the hiker wears or carries should be versatile, interchangeable, and fit properly for layering.
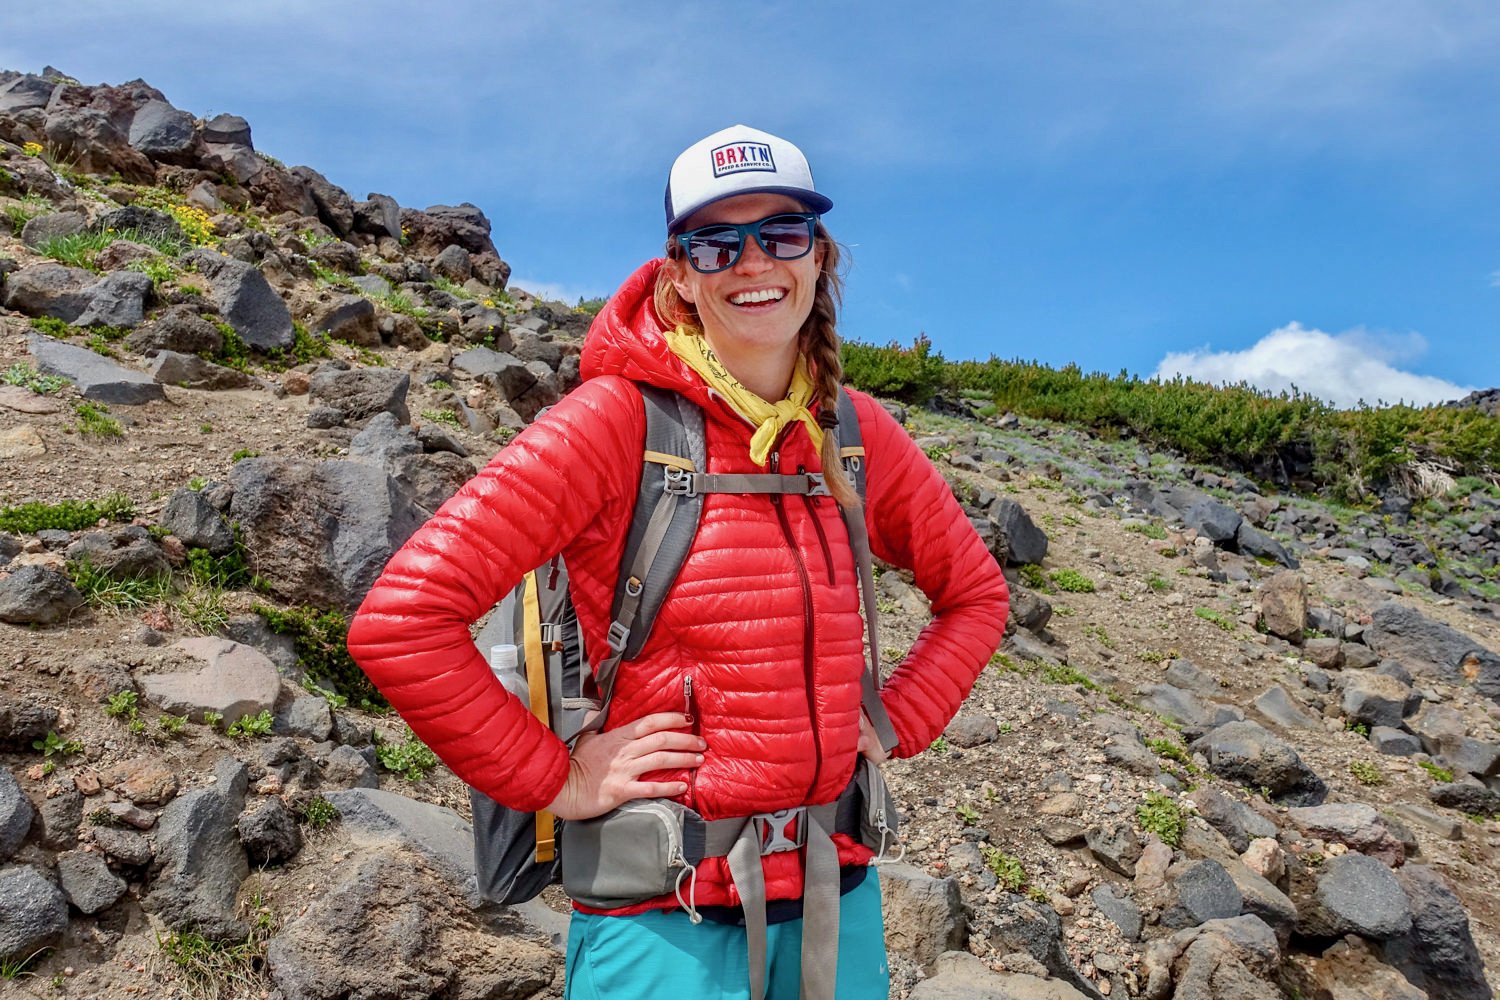
PHOTO CREDIT: DAVE COLLINS (CLEVERHIKER.COM)
Embrace the Grime – Some pieces of your clothing system will be worn for the entirety of the trip, so it’s likely they’ll accumulate some grime along the way. But being dirty and stinky is part of the backpacking game, so embrace it and look forward to a luxurious shower at the end of your trip.
To keep weight to a minimum, leave out duplicate items that are solely for the sake of cleanliness unless you feel they’re truly necessary. Generally, the only garments we carry multiples of are socks and underwear. We carry two pairs of these which we rinse, dry, and cycle between for the duration of our hikes.
Materials – Because we’re constantly exposed to moisture while we hike via sweat, precipitation, and water crossings, it’s really important that our clothing dries quickly. Fabrics that stay wet for a long time (like cotton) hold moisture against the skin and can cause serious problems including hypothermia, chafing, blisters, and rashes, so it’s best to avoid them altogether.
-
Synthetic fabrics, like polyester and nylon, are excellent for wicking moisture away from the skin. They also dry quickly, are fairly durable, lightweight, and affordable. The downside to synthetics is that they tend to hold odors more than natural fibers do.
-
Natural fibers, like wool, are legendary in the hiking world for their ability to keep you warm even when wet. Fine merino wool is also excellent at helping you thermoregulate in warm weather, and is naturally antimicrobial for minimal odor buildup on multi-day trips. The downsides of wool are that it can feel itchy to some, it’s expensive, and it tends to be less durable than synthetics.
WHAT TO WEAR WHILE HIKING & BACKPACKING
Clothing by Season
SUMMER – For summer backpacking trips, when temperatures typically won’t drop below freezing, we wear the following. We also carry lightweight rain jackets when we go into the mountains, even if the forecast looks clear. If the trip looks particularly cold/wet we’ll add a lightweight pair of rain pants and rain mitts to the mix.
On trail:
-
breathable hiking pants
-
t-shirt or sun shirt
-
quick-dry underwear (or lined shorts)
-
lightweight hiking socks (1-2 pairs)
-
running gaiters (on long trips)
-
windbreaker or rain jacket (to retain heat if it gets chilly)
In camp:
-
clean base layer top
-
shorts or pants (whichever you didn’t wear while hiking that day)
-
warm hat
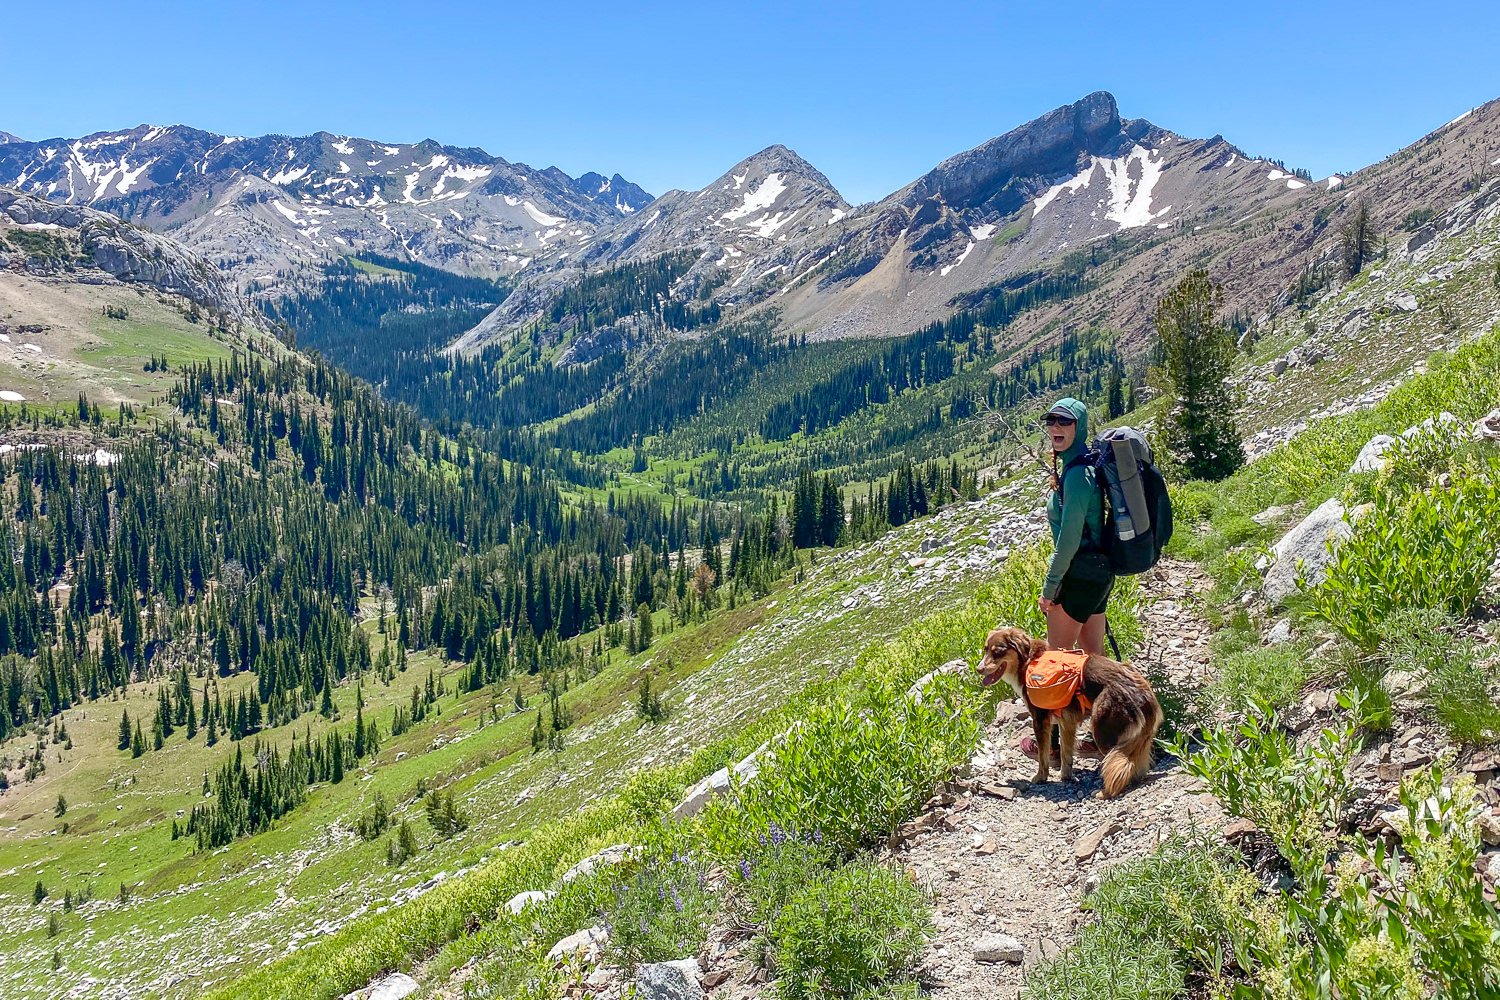
PHOTO CREDIT: HEATHER ELDRIDGE (CLEVERHIKER.COM)
SPRING & FALL – Shoulder seasons are typically a bit colder and rainier, so they require a few extra clothing items. For these trips, we bring our full summer clothing setup and add a fleece jacket, a full set of baselayers, and an extra pair of hiking socks. We may also bring more robust rain gear including rain pants and an umbrella if the forecast looks super wet.
On trail:
-
t-shirt, sun shirt, or long-sleeve hiking shirt
-
lightweight hiking socks (2 pairs)
-
trail running shoes or lightweight boots (if snowy/muddy terrain is expected)
In camp:
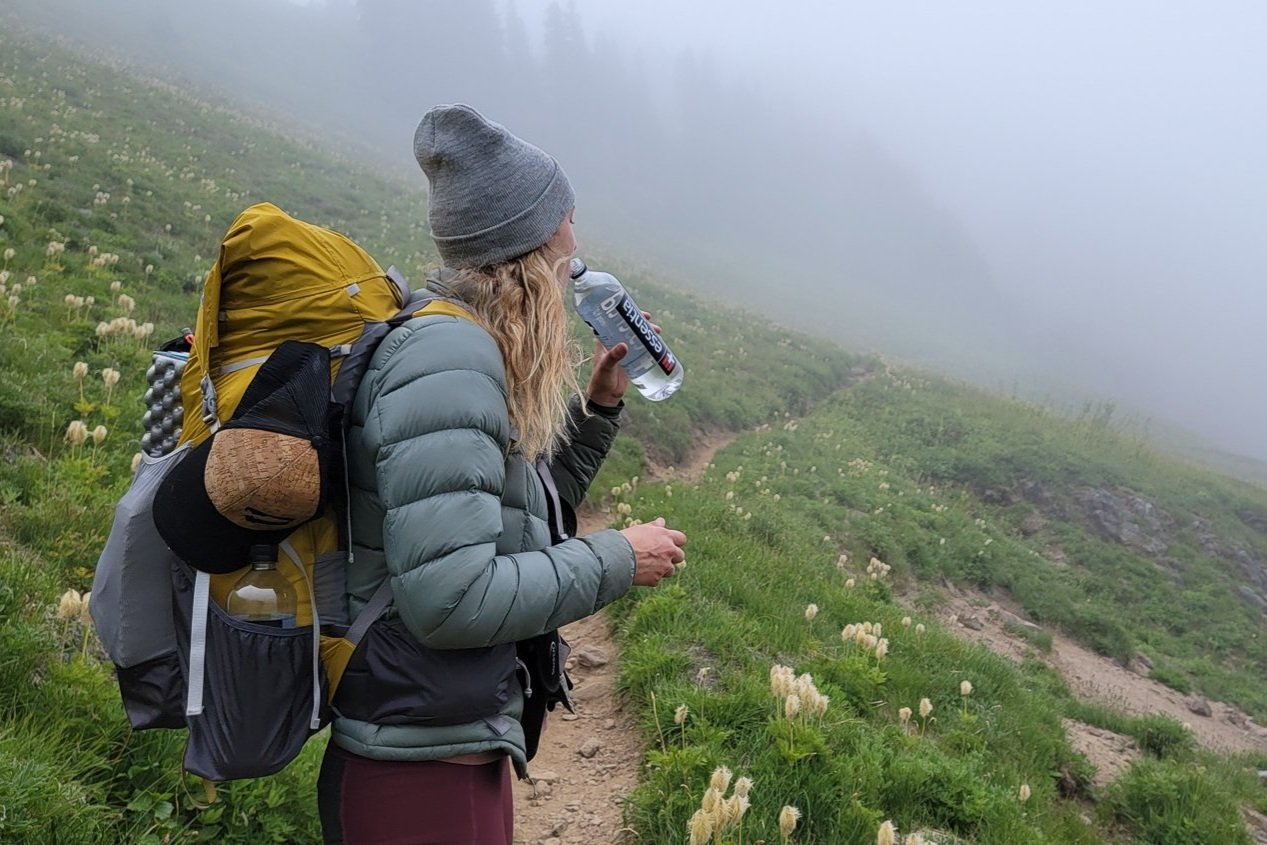
PHOTO CREDIT: HEATHER ELDRIDGE (CLEVERHIKER.COM)
WINTER – Hiking and backpacking in winter requires a bit more redundancy in clothing since it’s more challenging to stay warm and dry in stormy, sub-freezing conditions. Pay close attention to the weather forecast and make sure your shelter and sleep system are sufficiently warm for nighttime lows.
We typically wear baselayers and a lightweight fleece under rain gear when hiking in wet, cold conditions. In camp, we change into a second set of dry base layers (reserved for camp only) and put on an extra puffy down jacket (cold people may want down pants as well). We also like to have an extra pair of gloves on winter trips since it’s very common for the liner gloves you wear during the day to be wet by nightfall.
On trail:
-
fleece jacket or midlayer
-
warm hat or hat w/ a brim
-
midweight socks (2 pairs)
-
sunglasses (really important in the snow)
-
rain mitts or shell gloves
In camp:
-
baselayer top and bottom (2nd pair)
-
warm hat
-
down pants (if you tend to run cold)
-
liner gloves (2nd pair)
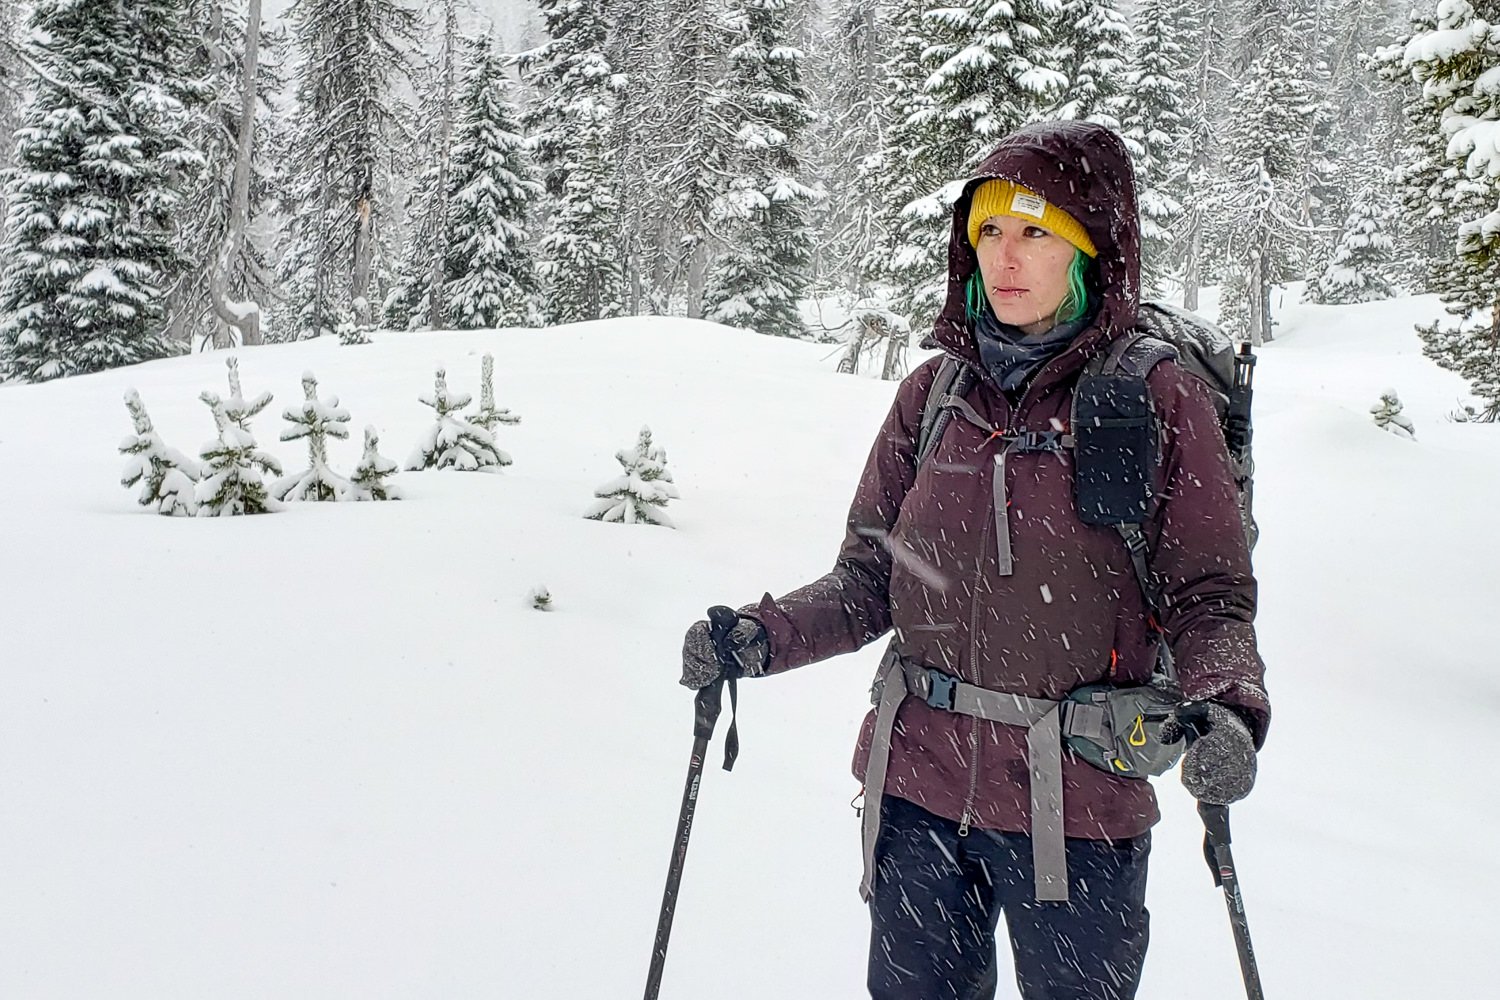
PHOTO CREDIT: HEATHER ELDRIDGE (CLEVERHIKER.COM)
Things to Keep in Mind While Packing
You won’t need all of this on every trip
Now, before you look at the list below and say, “That’s not ultralight, that’s way too much stuff!” remind yourself that this is all about creating a system that works for you. Choose only the items you truly need with the intention of using them together as a system.
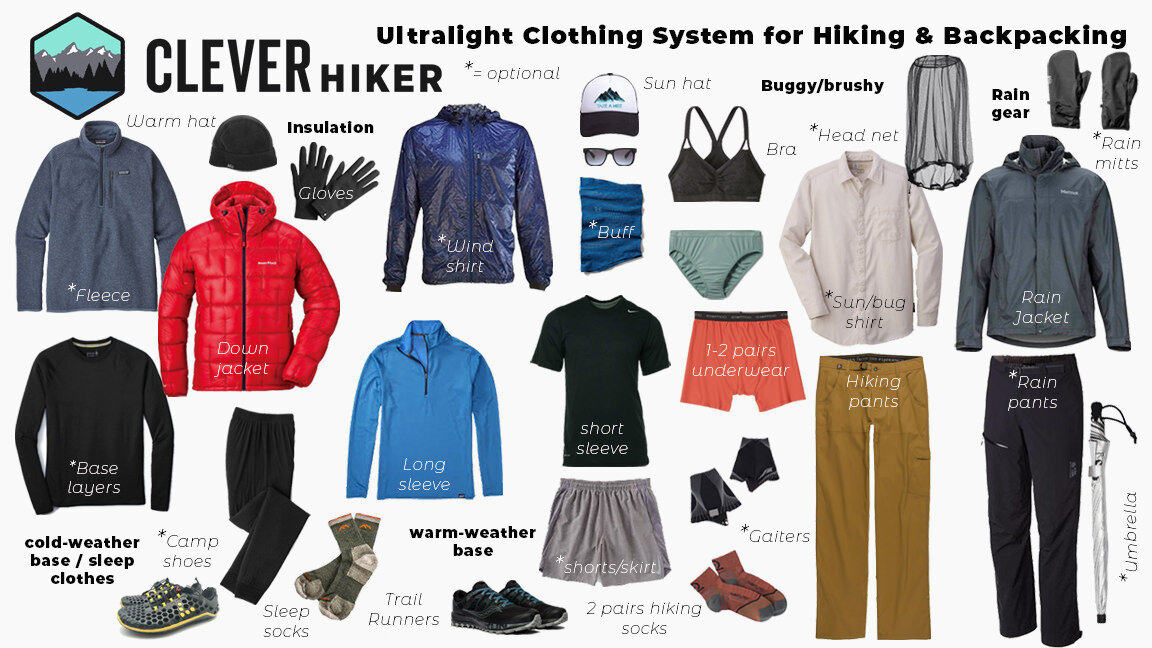
PHOTO CREDIT: HEATHER ELDRIDGE (CLEVERHIKER.COM)
Pick and choose from the items on this list
Create clothing systems for hiking and camping in warm, cool, and wet conditions from the items listed below. Be thoughtful about each piece and build around the most important non-optional items.
Base your decisions off your preferences and the climate/conditions
Some would argue that a convertible desert shirt and hiking pants are more versatile than a t-shirt and shorts since they offer better skin protection and perform well enough in warm conditions. But others really prefer the breathability and style of short sleeves and running shorts. Prioritize the articles of clothing you’ll be wearing the most and then plan to deal with the trade-offs efficiently.
Hiking Clothing Checklist
Ready to start assessing what you’ve already got in your closet and what you may need to buy? Print copies of our free Ultimate Backpacking Checklist and Day Hiking Checklist.
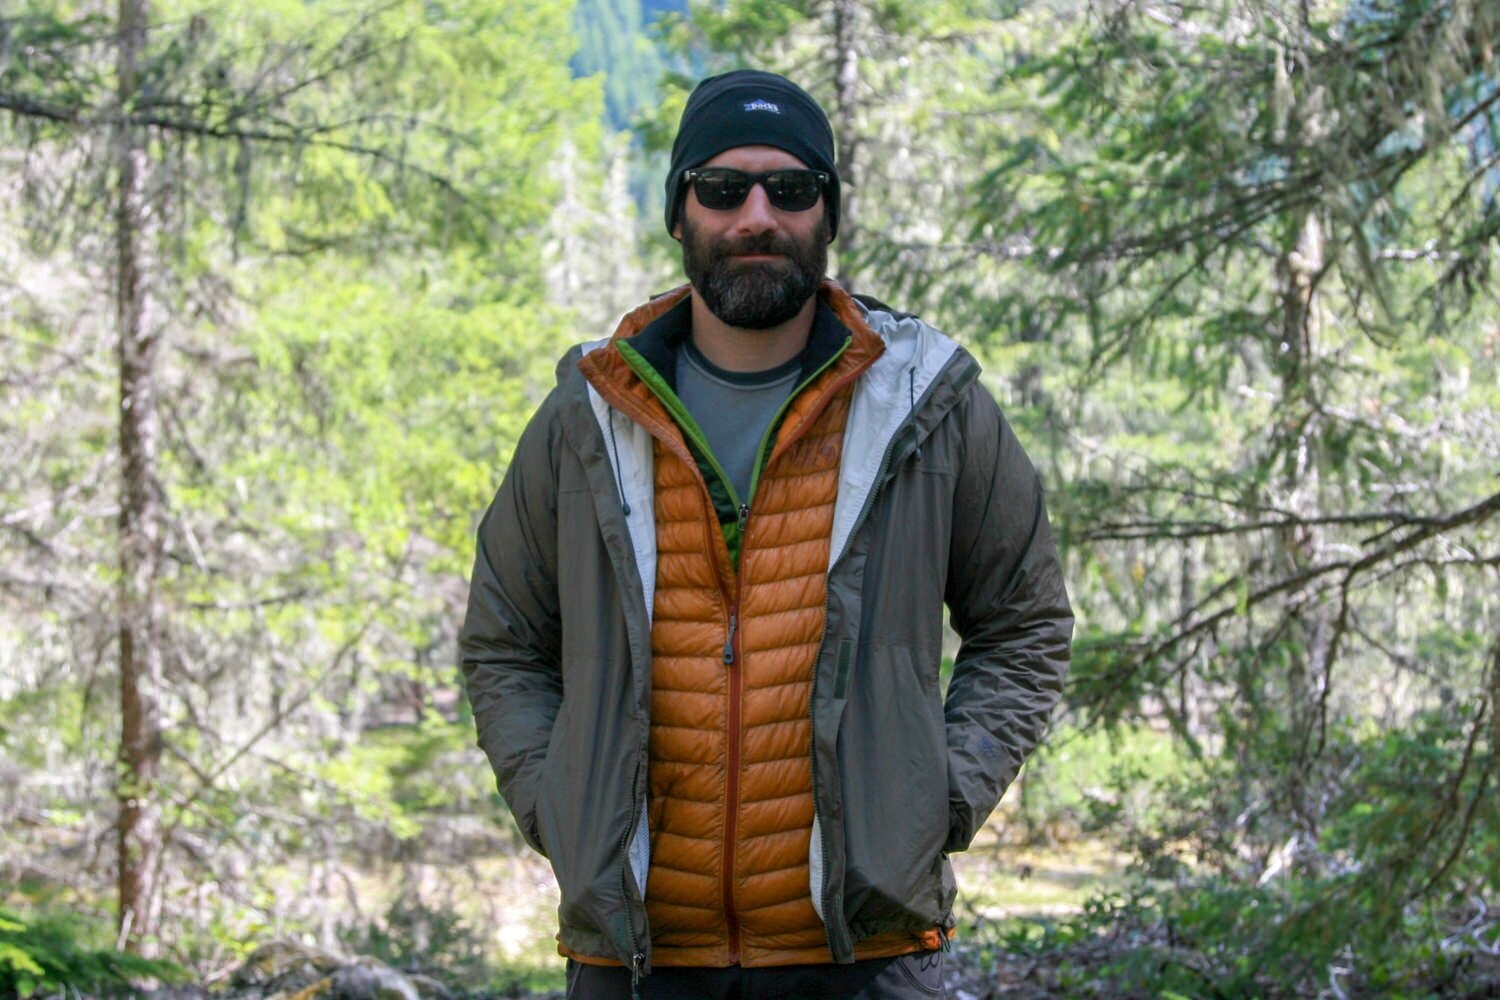
PHOTO CREDIT: HEATHER ELDRIDGE (CLEVERHIKER.COM)
TOP LAYERS
1 Long-Sleeve Shirt – A long-sleeve shirt will be one of the most useful clothing items you bring. Depending on weather conditions and your style preference, you’ll probably want to choose between a UPF sun shirt and a baselayer top.
Sun shirts are lightweight, breathable, and can be worn in even the hottest conditions to protect your skin from intense sun and/or mosquitos. A baselayer top provides a bit more insulation when hiking in cool conditions. Zip-necks are generally our go-tos since they provide some added ventilation in the neck/chest area.
Our Top Picks:
-
For more recommendations, see our Best Sun Shirts & Best Baselayers lists
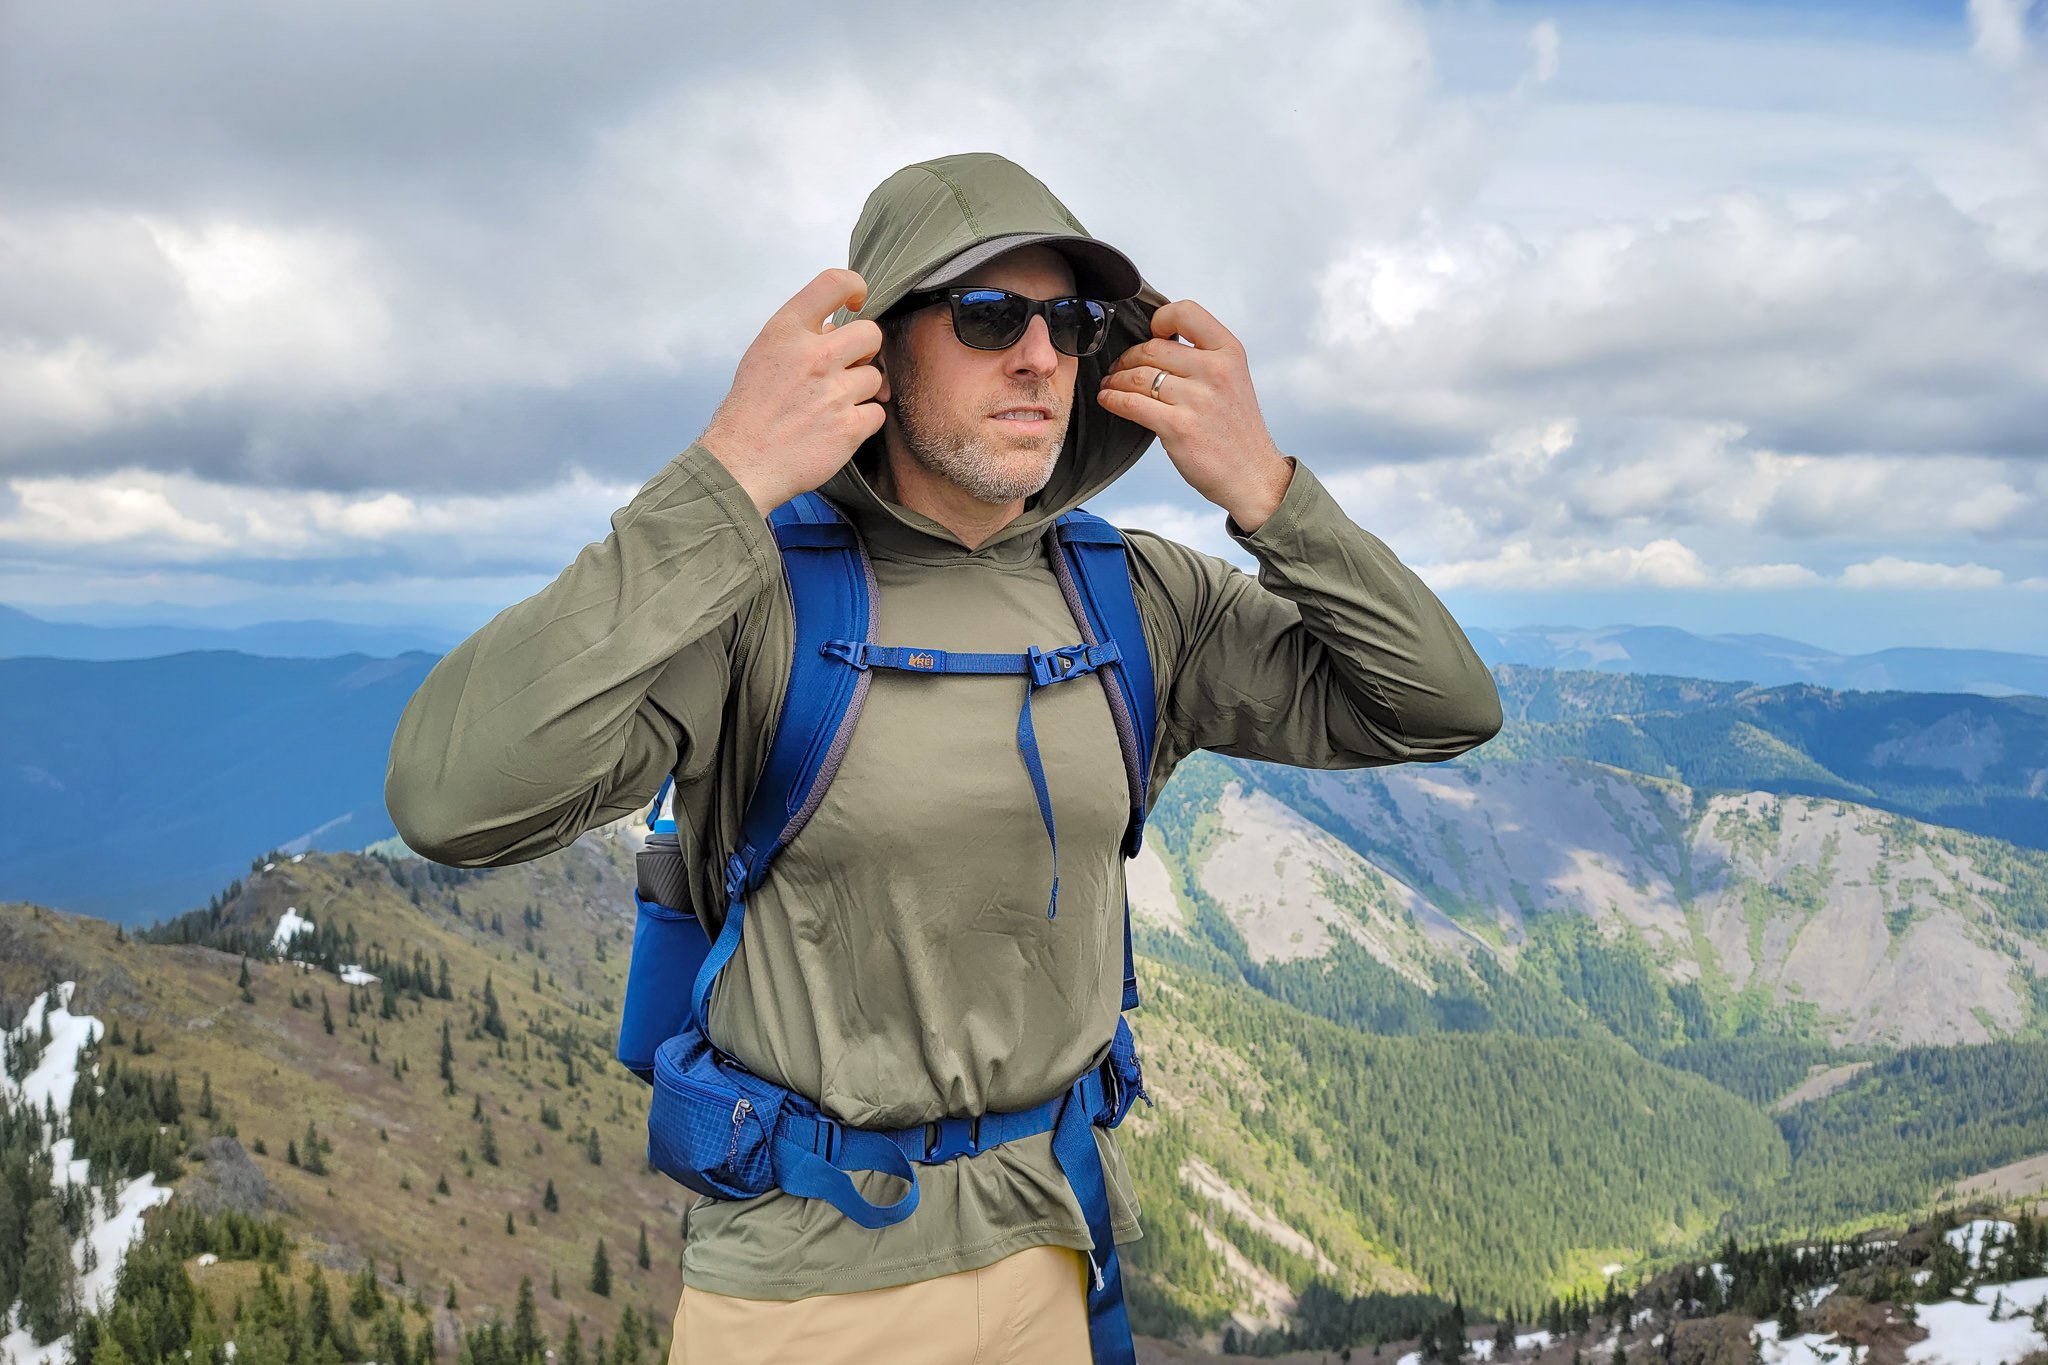
PHOTO CREDIT: HEATHER ELDRIDGE (CLEVERHIKER.COM)
1 Short-sleeve shirt – A lightweight, synthetic or wool t-shirt is a bit more breathable than a long-sleeve, sun shirt and can be comfortable for some when hiking in hot weather. Short sleeves protect your shoulders from abrasions caused by backpack straps better than a tank top for backpacking. The tradeoff is that you’ll have to use more sunscreen and bug repellent if the sun is strong or the mosquitoes are bad.
Our Top Picks:
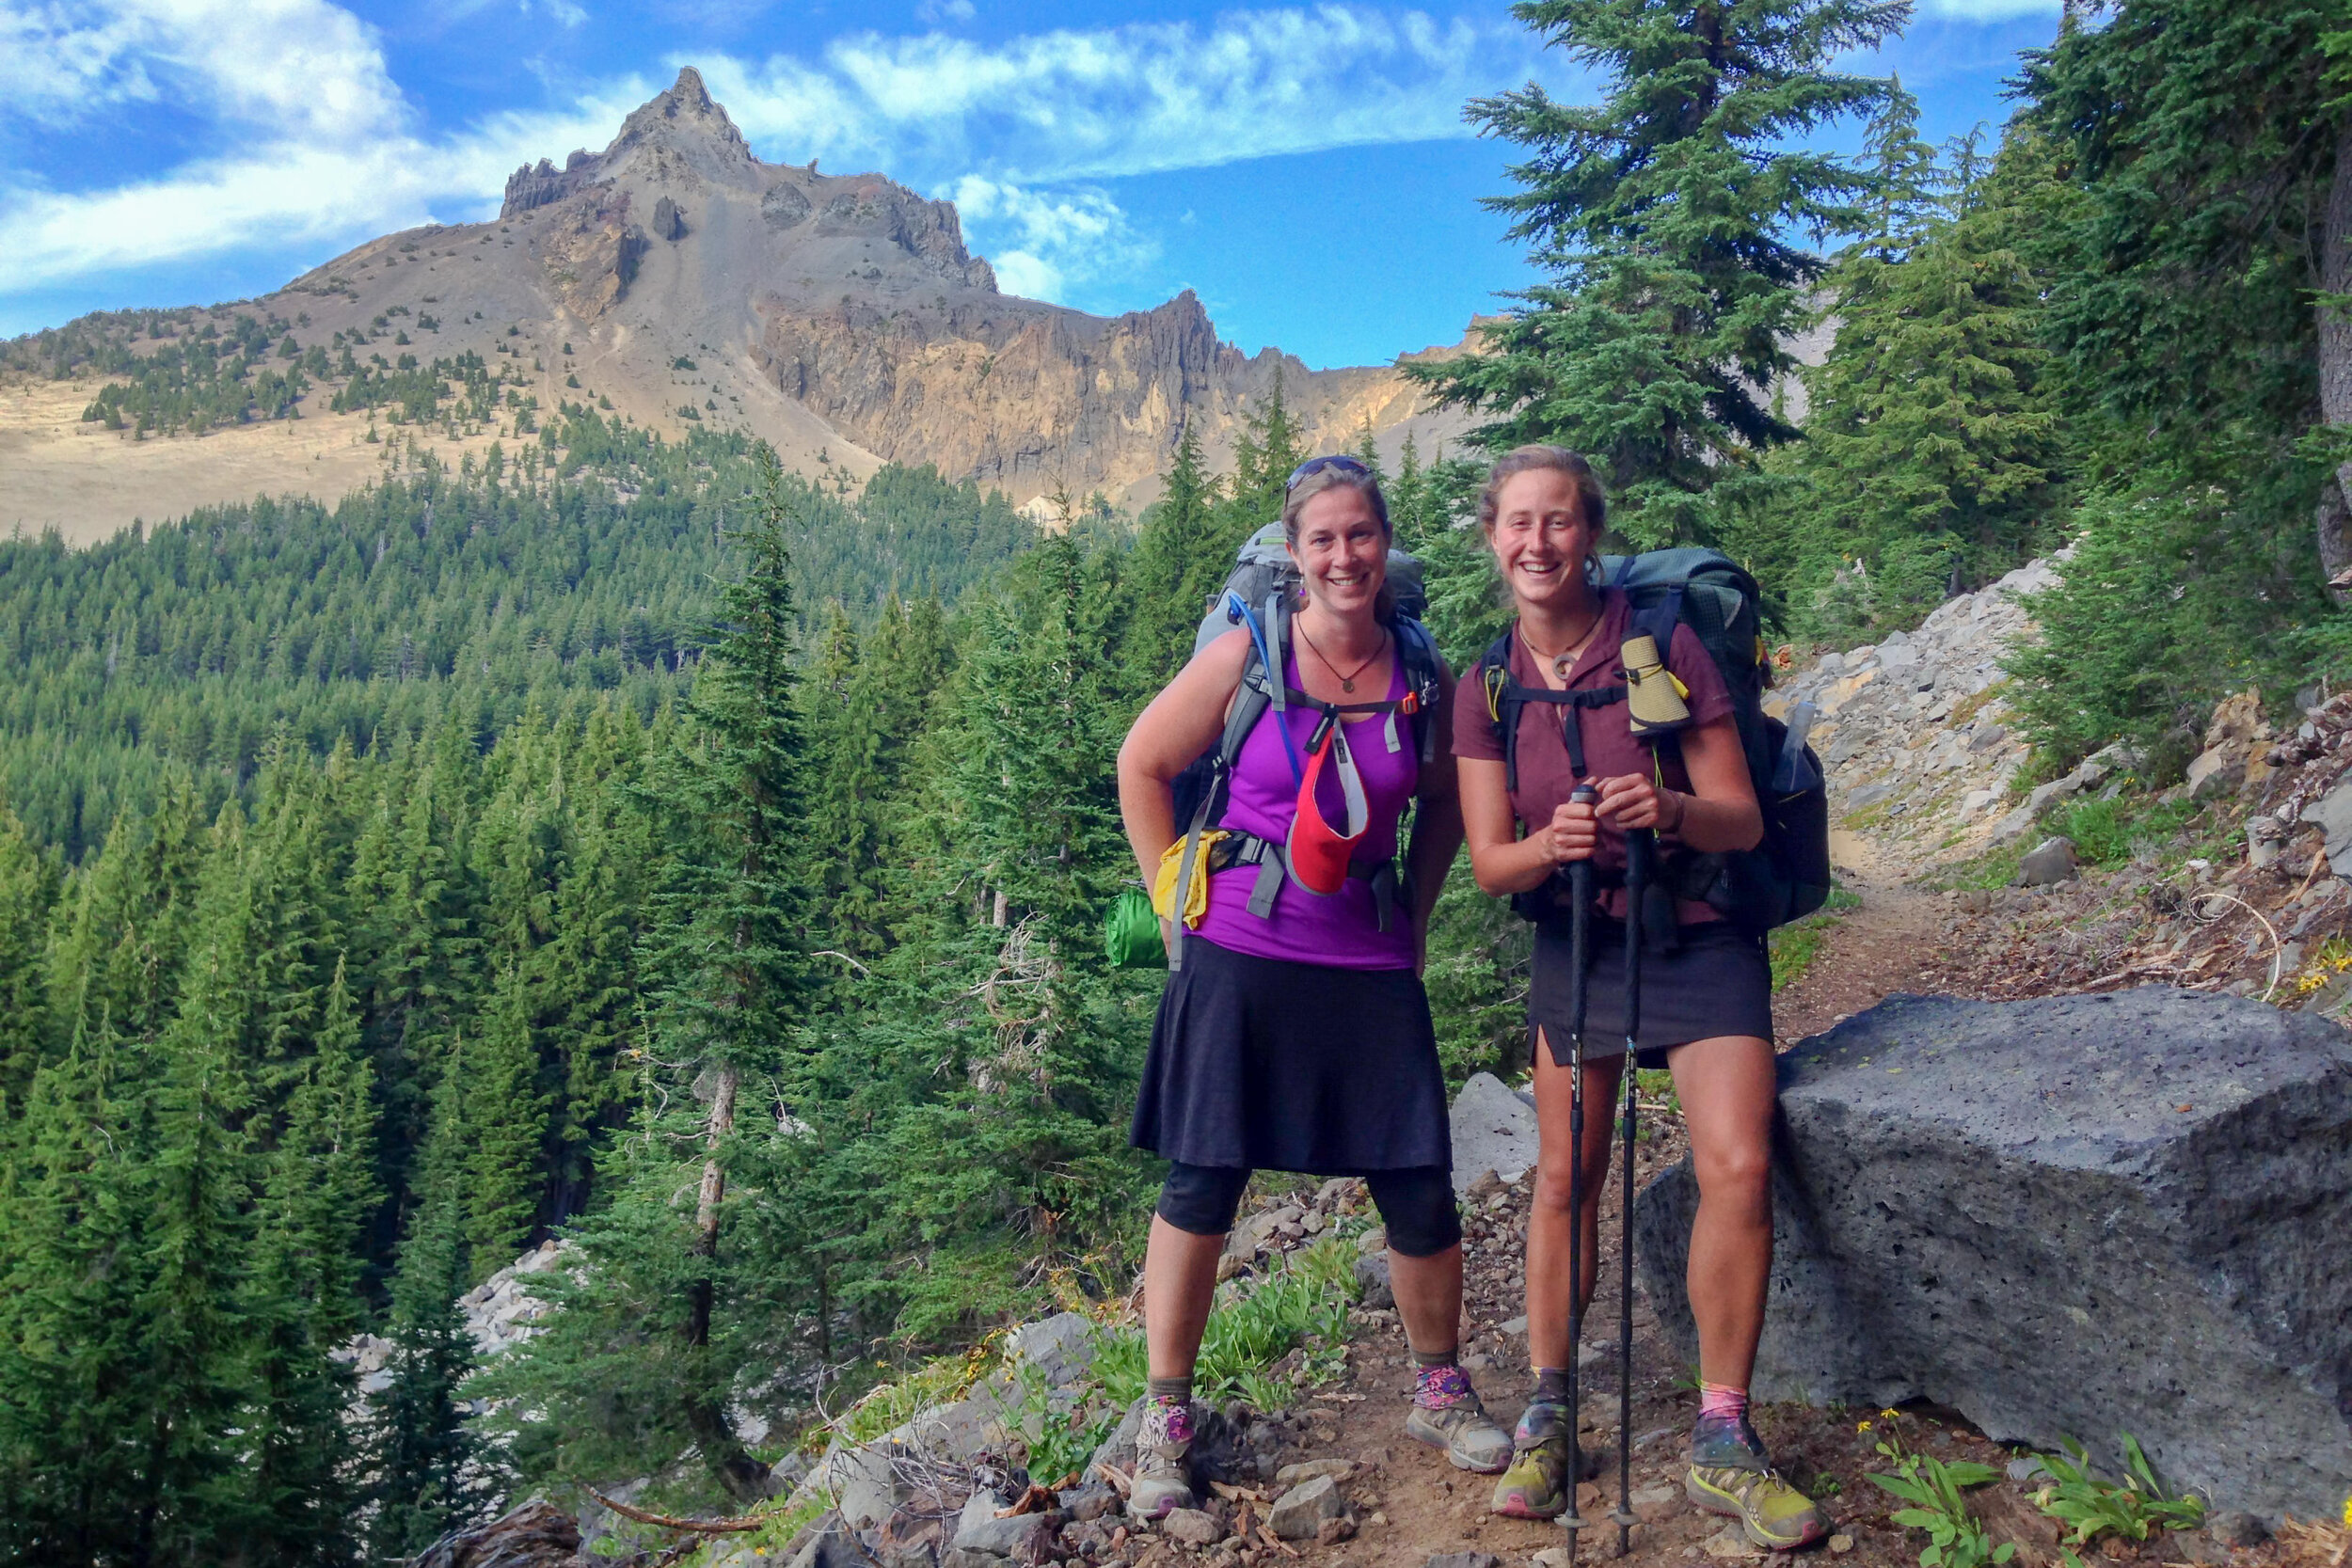
PHOTO CREDIT: HEATHER ELDRIDGE (CLEVERHIKER.COM)
1 Down or Synthetic Jacket – A warm down or synthetic jacket is your insurance in the backcountry. It’s easy to underestimate how cold it can get in the mountains (and the desert) even during the summer months. Once the sun goes down or the weather shifts, temperatures can swing dramatically.
We wear our down jacket on breaks, around camp, or to supplement our sleep system when it’s exceptionally chilly. Quality down jackets can be expensive, but a good one will undoubtedly become of your most heavily-used pieces of gear.
Our Top Picks:
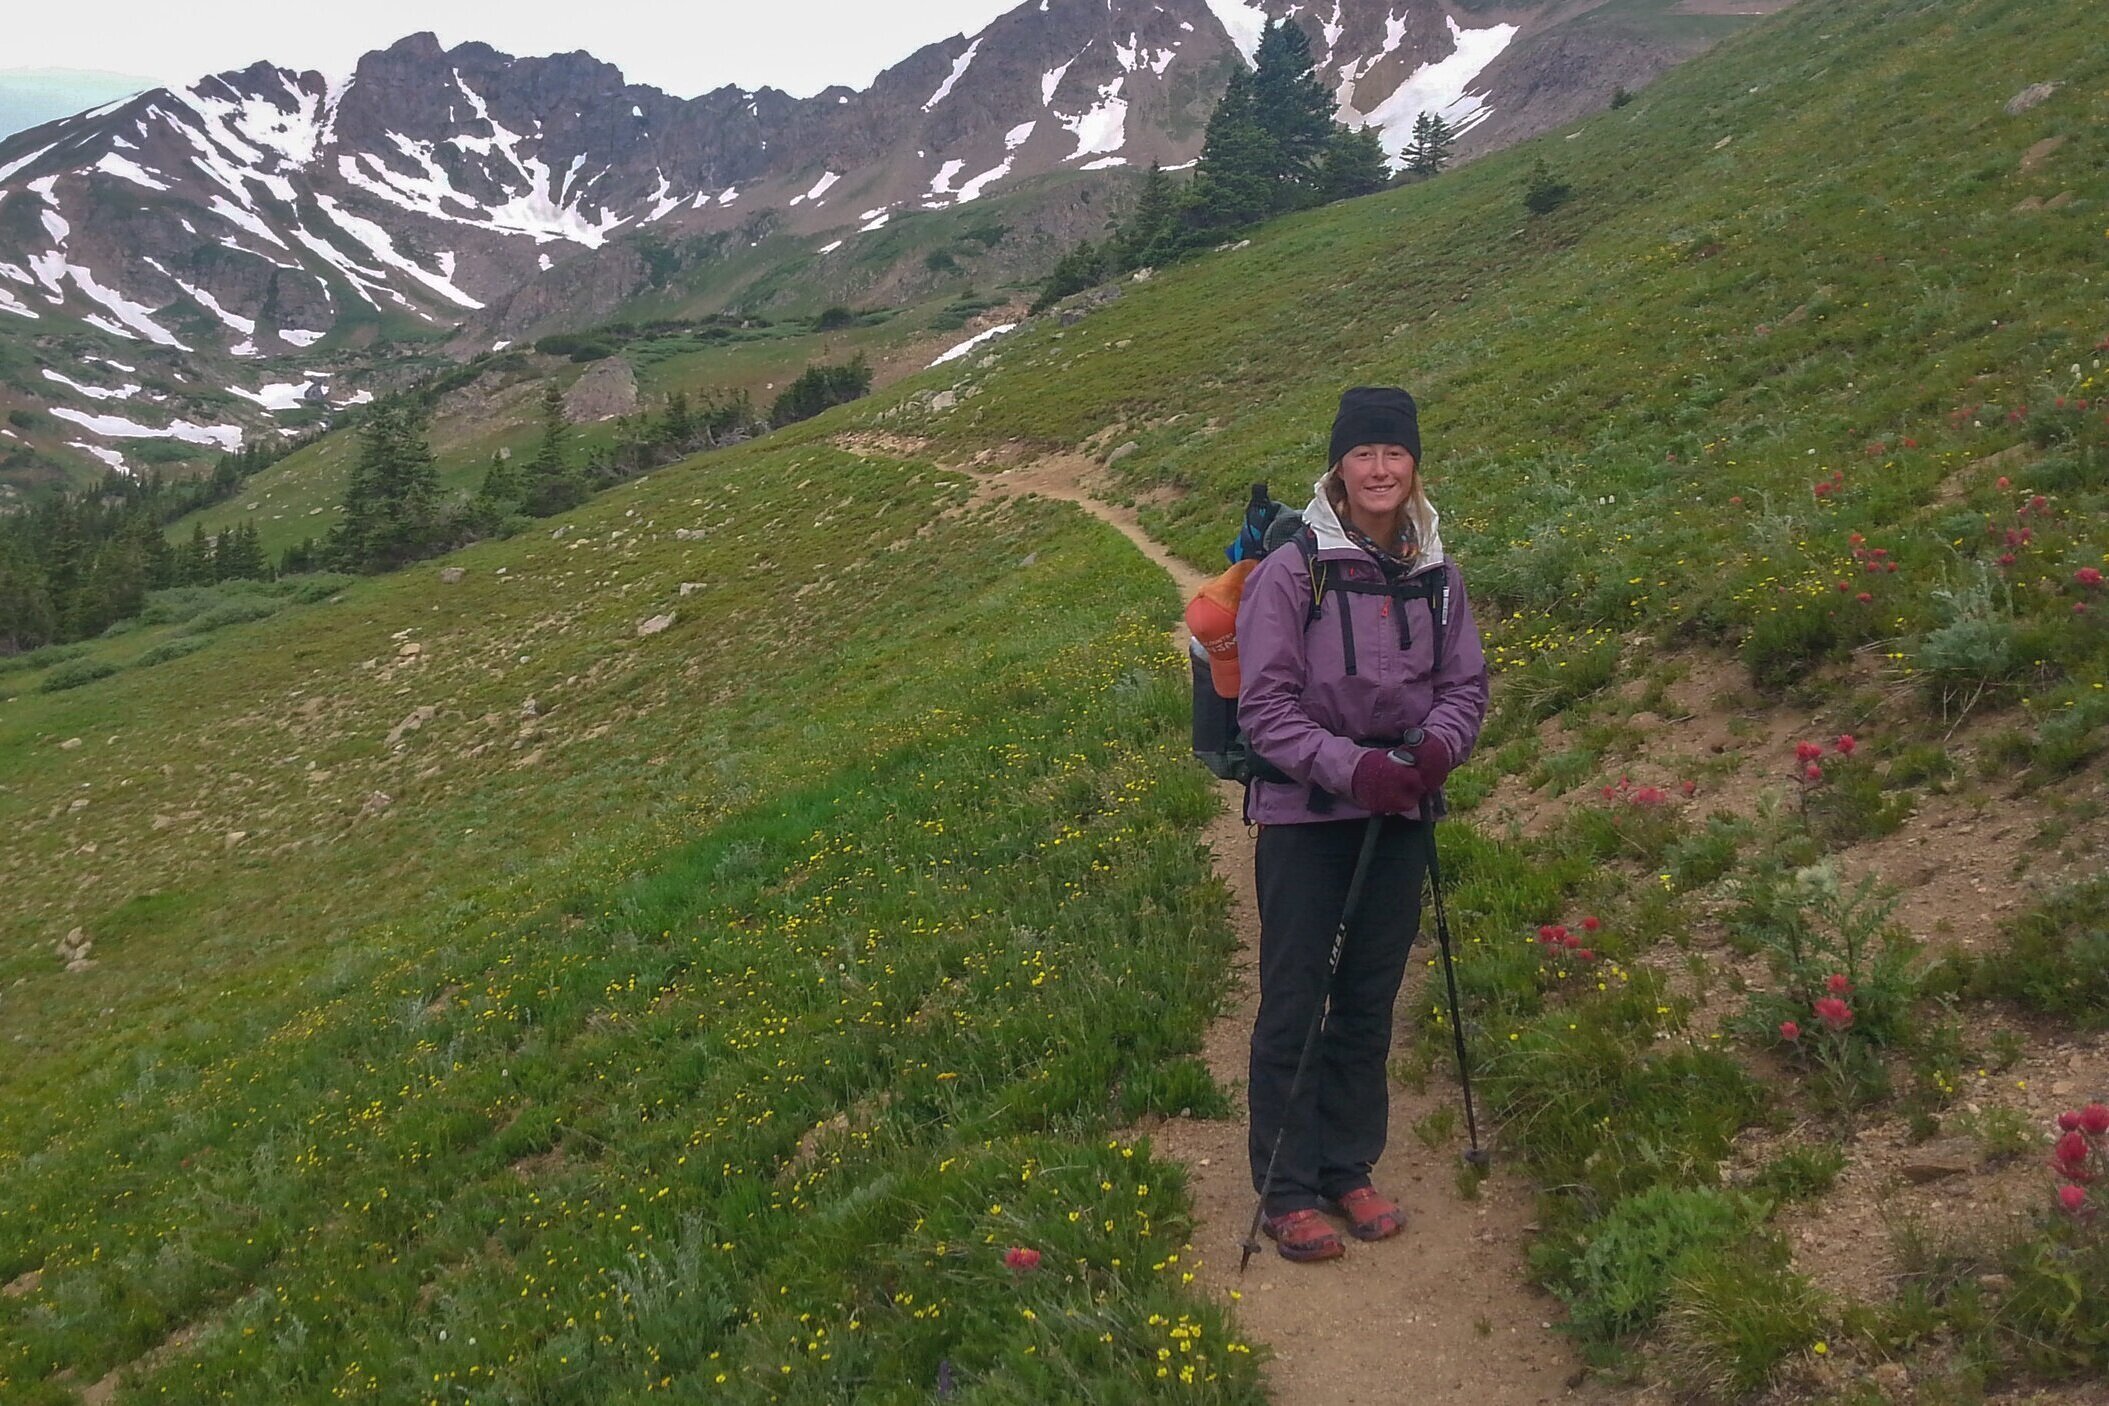
PHOTO CREDIT: HEATHER ELDRIDGE (CLEVERHIKER.COM)
1 Rain Jacket – A lightweight, waterproof rain shell with a hood is an essential item on all hiking and backpacking trips. You will sweat and overheat hiking in rain gear if temps are mild, so rainwear with good ventilation via pit zips and breathable materials are preferred.
Rain jackets are typically worn while hiking or in camp when conditions are wet and cold. A rain jacket can also be worn in windy conditions to help retain heat. Size up to accommodate any layers you plan to wear under your rain jacket (puffy, fleece, baselayer top, etc.).
Our Top Picks:
-
For more recommendations, see our Best Rain Jackets list
Ponchos & Alternative Rain Gear – Some hikers prefer to use a poncho instead of a rain jacket because they’re lightweight, cover your backpack, have good ventilation, and can also be used as a groundsheet or emergency shelter.
That said, ponchos are also a bit awkward and are much worse at keeping water out in windy/stormy conditions. We prefer the versatility of rain jackets and pants, but a lightweight poncho can serve as emergency rainwear for trips when the weather is expected to be fair. We usually wear a hat with a bill to keep the rain out of our faces with any poncho or rain jacket.
Our Top Picks:
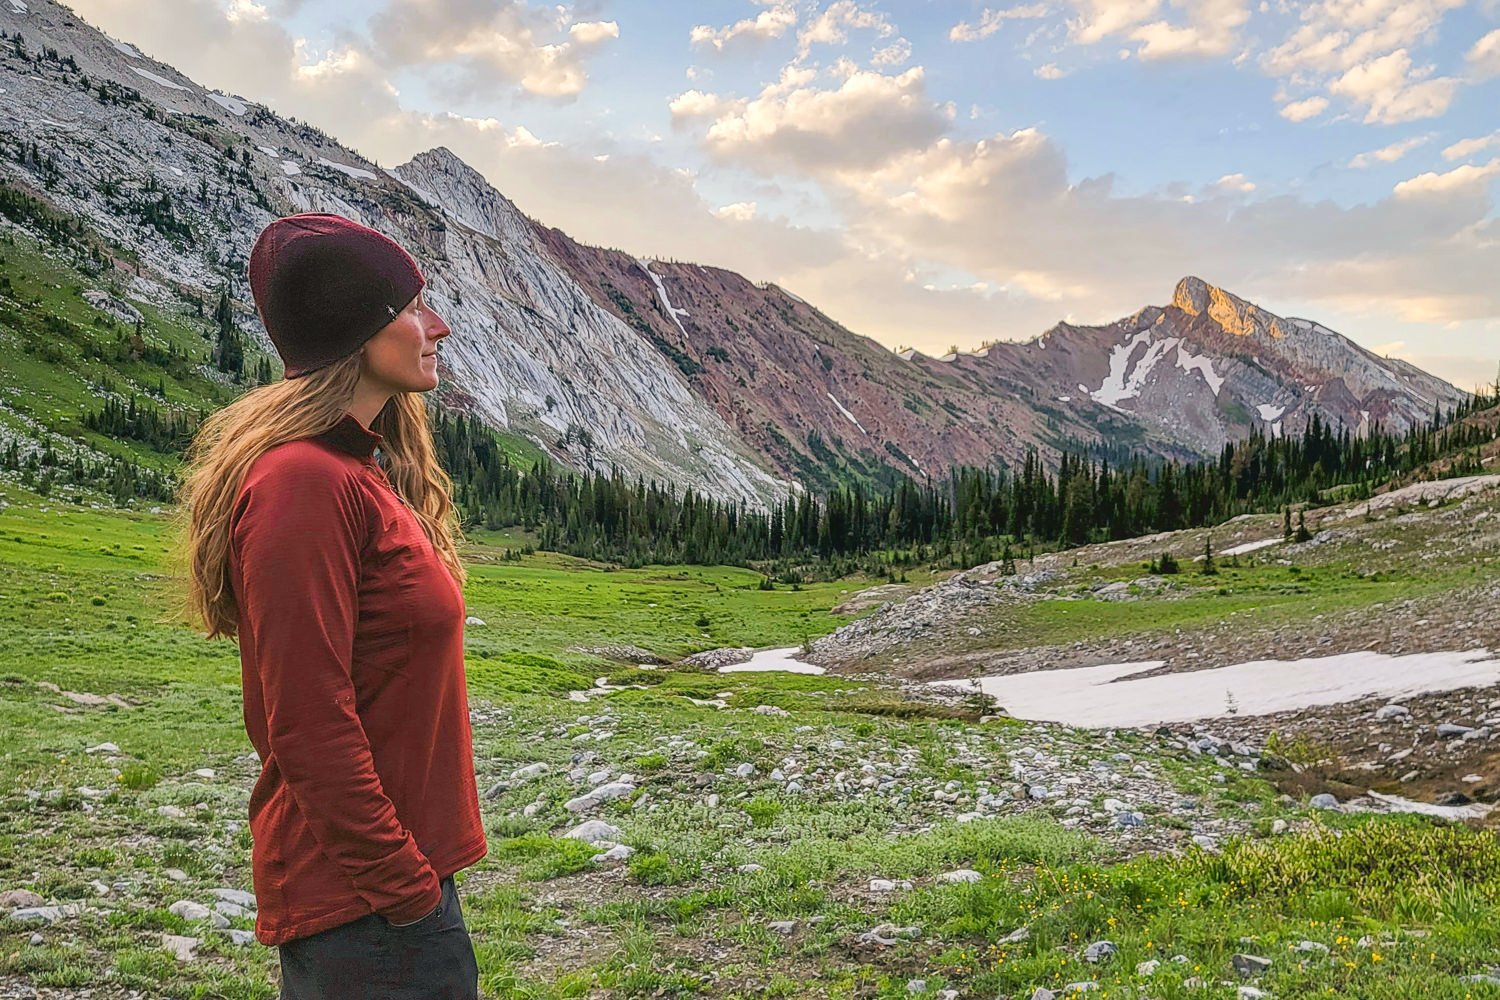
PHOTO CREDIT: HEATHER ELDRIDGE (CLEVERHIKER.COM)
1 Fleece Jacket – Fleece will keep you warm even when it gets wet, unlike a down jacket. For that reason, a fleece jacket can be a great addition to your clothing system for cold, wet trips. We prefer light to midweight fleeces with full-length zippers or a neck zip for ventilation.
Our Top Picks:
-
For more recommendations, see our Best Fleece Jackets list
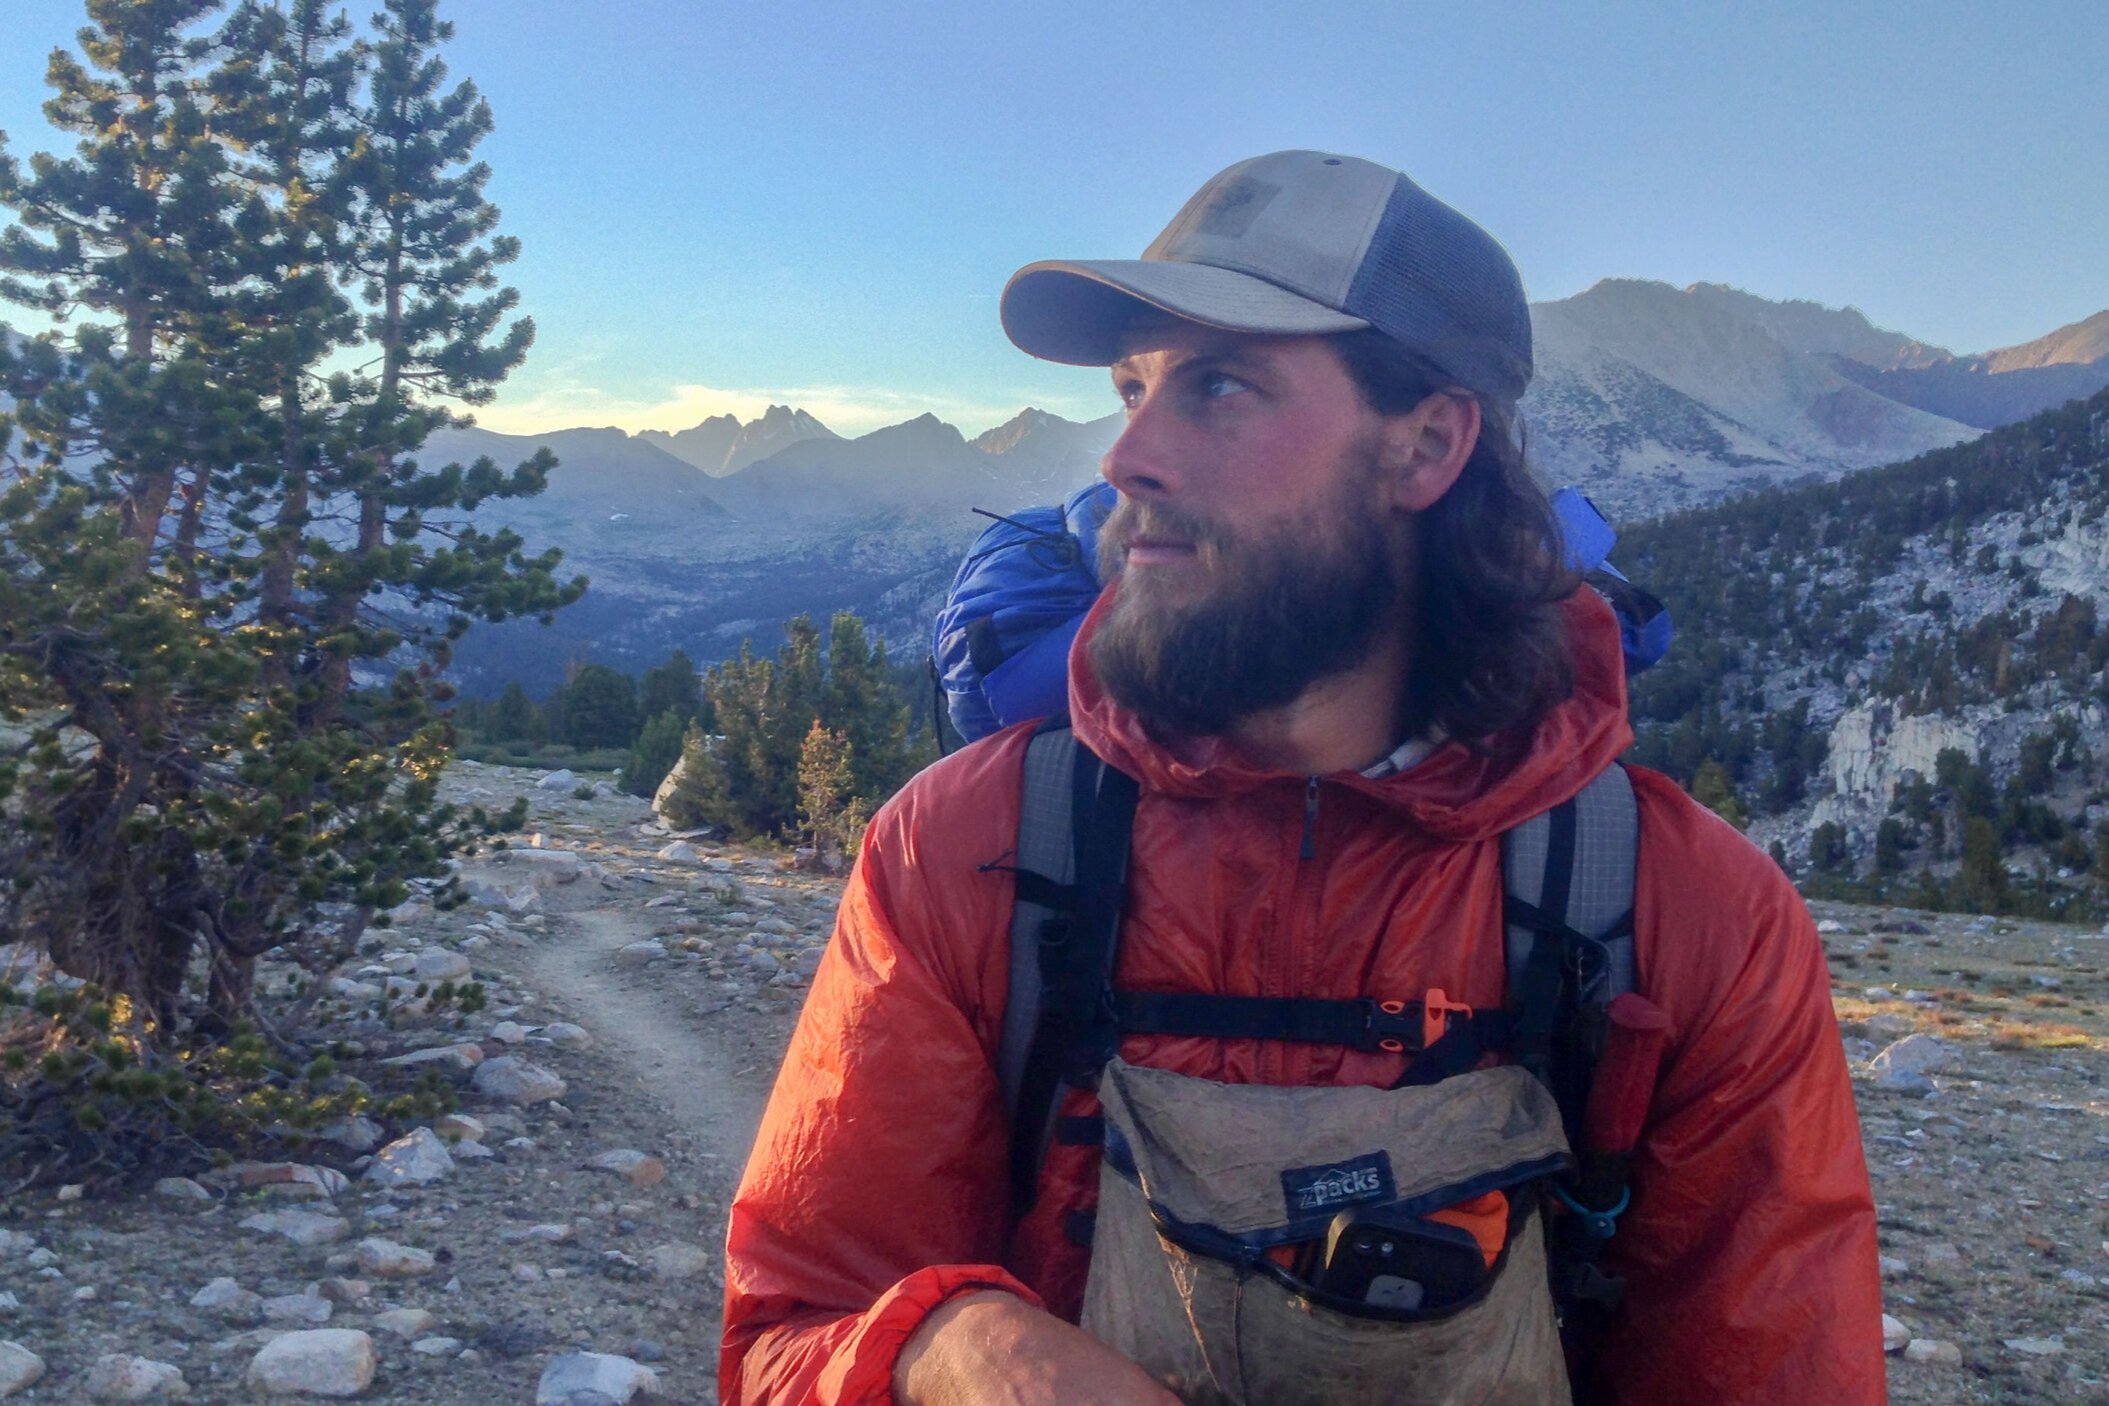
PHOTO CREDIT: HEATHER ELDRIDGE (CLEVERHIKER.COM)
1 Windbreaker – A thin ultralight jacket or pullover worn while hiking to prevent wind from stripping away body heat. They’re usually made of highly breathable, water-resistant nylon that’s insufficient protection for sustained rain, but can be worn over a fleece or long-sleeve top to keep you warm in high wind and light rain. Wind shirts are a particularly handy light layer to wear over your long-sleeve shirt when you’re starting to hike in the cool of the morning.
Our Top Picks:
-
For more recommendations, see our Best Windbreaker Jackets list
1 Base Layer Top – Some backpackers like to like to carry a synthetic, silk, or wool baselayer top to wear in camp after a long day on the trail. If this top is in addition to your main hiking shirt, try to keep it as lightweight and compact as possible.
Our Top Picks:
-
For more recommendations, see our Best Base Layers list
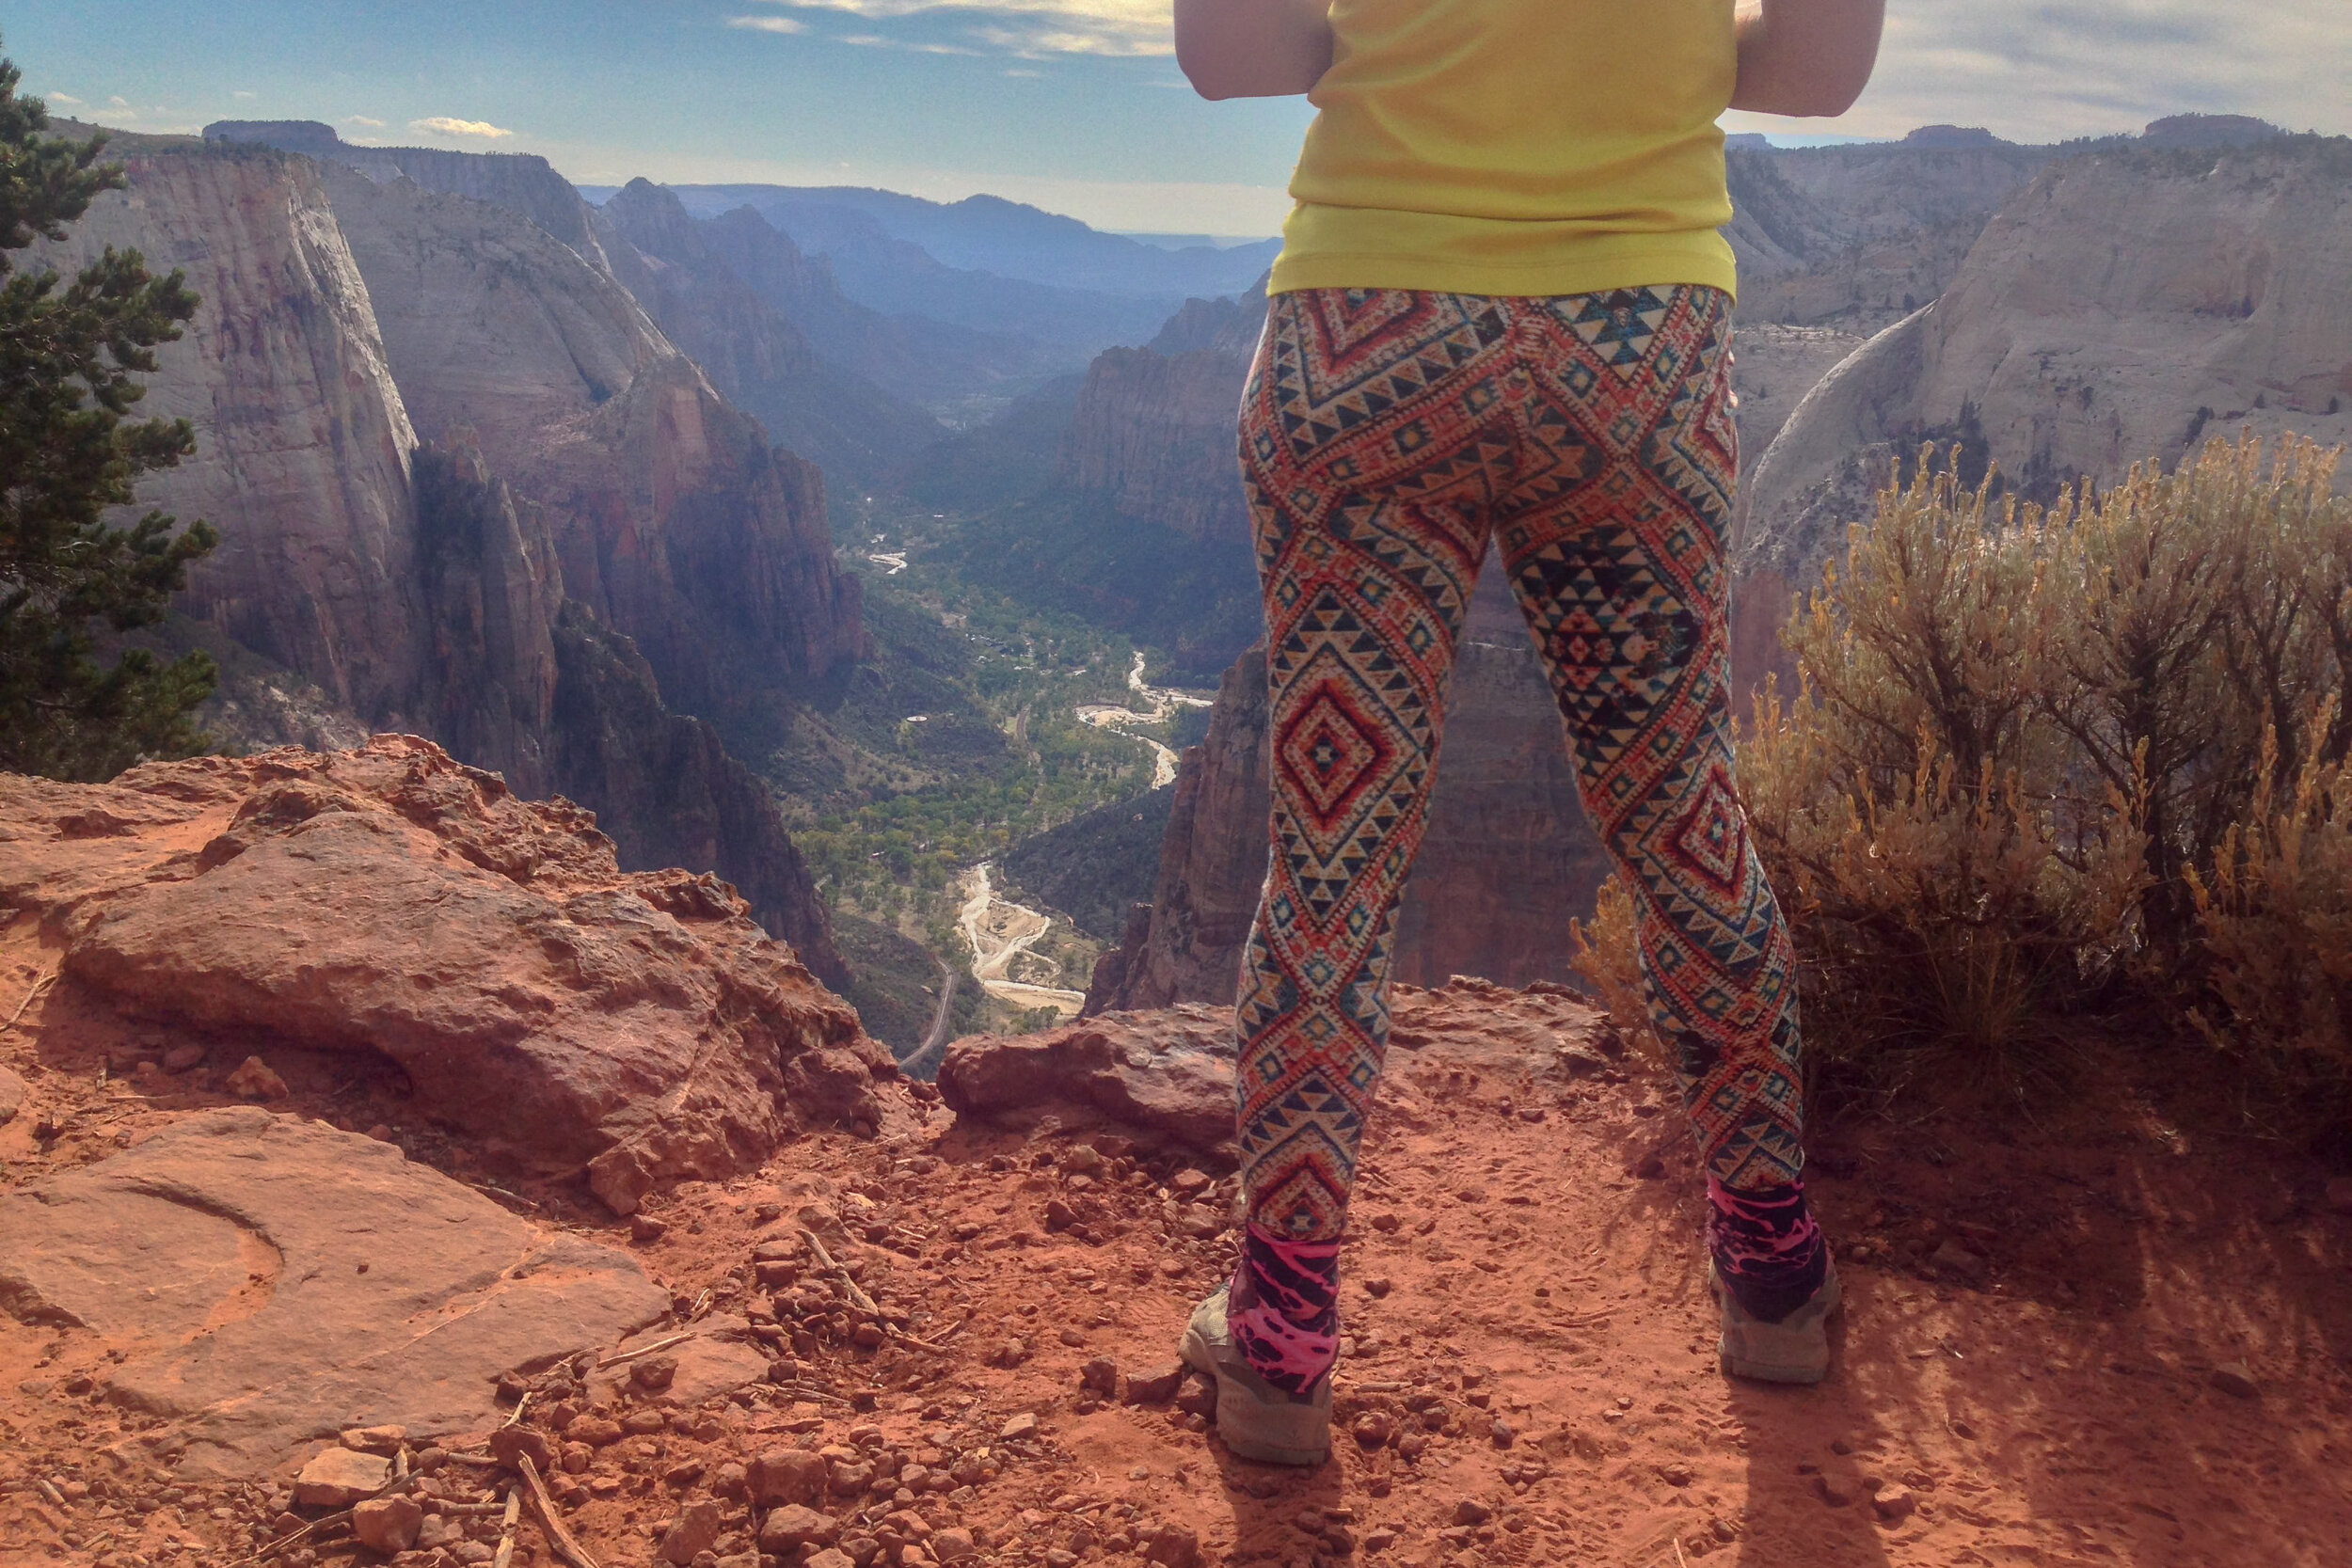
PHOTO CREDIT: HEATHER ELDRIDGE (CLEVERHIKER.COM)
BOTTOM LAYERS
1 Pair Hiking Pants – Worn while hiking in mild or cooler weather, or even in hot weather instead of shorts for added protection from brush, sun, and mosquitoes/ticks. We look for pants that are lightweight, breathable, and quick-drying. It also helps when they’re relatively durable and have a pocket configuration that’s convenient on the trail.
Our Top Picks:
-
The North Aphrodite 2.0 (women’s)
-
Outdoor Research Ferrosi (men’s)
-
For more recommendations, see our Best Hiking Pants (Women’s / Men’s) and Best Leggings (women’s) lists

PHOTO CREDIT: CASEY HANDLEY (CLEVERHIKER.COM)
1 Pair Shorts – Hiking shorts are breathable and offer excellent freedom of movement, so they’re generally our top choice when bugs aren’t biting and we’re not bushwhacking. The waistband should be comfortable under a hipbelt. Shorts with a liner also make it possible to hike with one less pair of underwear.
Our Top Picks:
-
Patagonia Quandary (men’s)
-
Outdoor Research Ferrosi (women’s)
-
For more recommendations, see our Best Hiking Shorts (Men’s / Women’s) lists
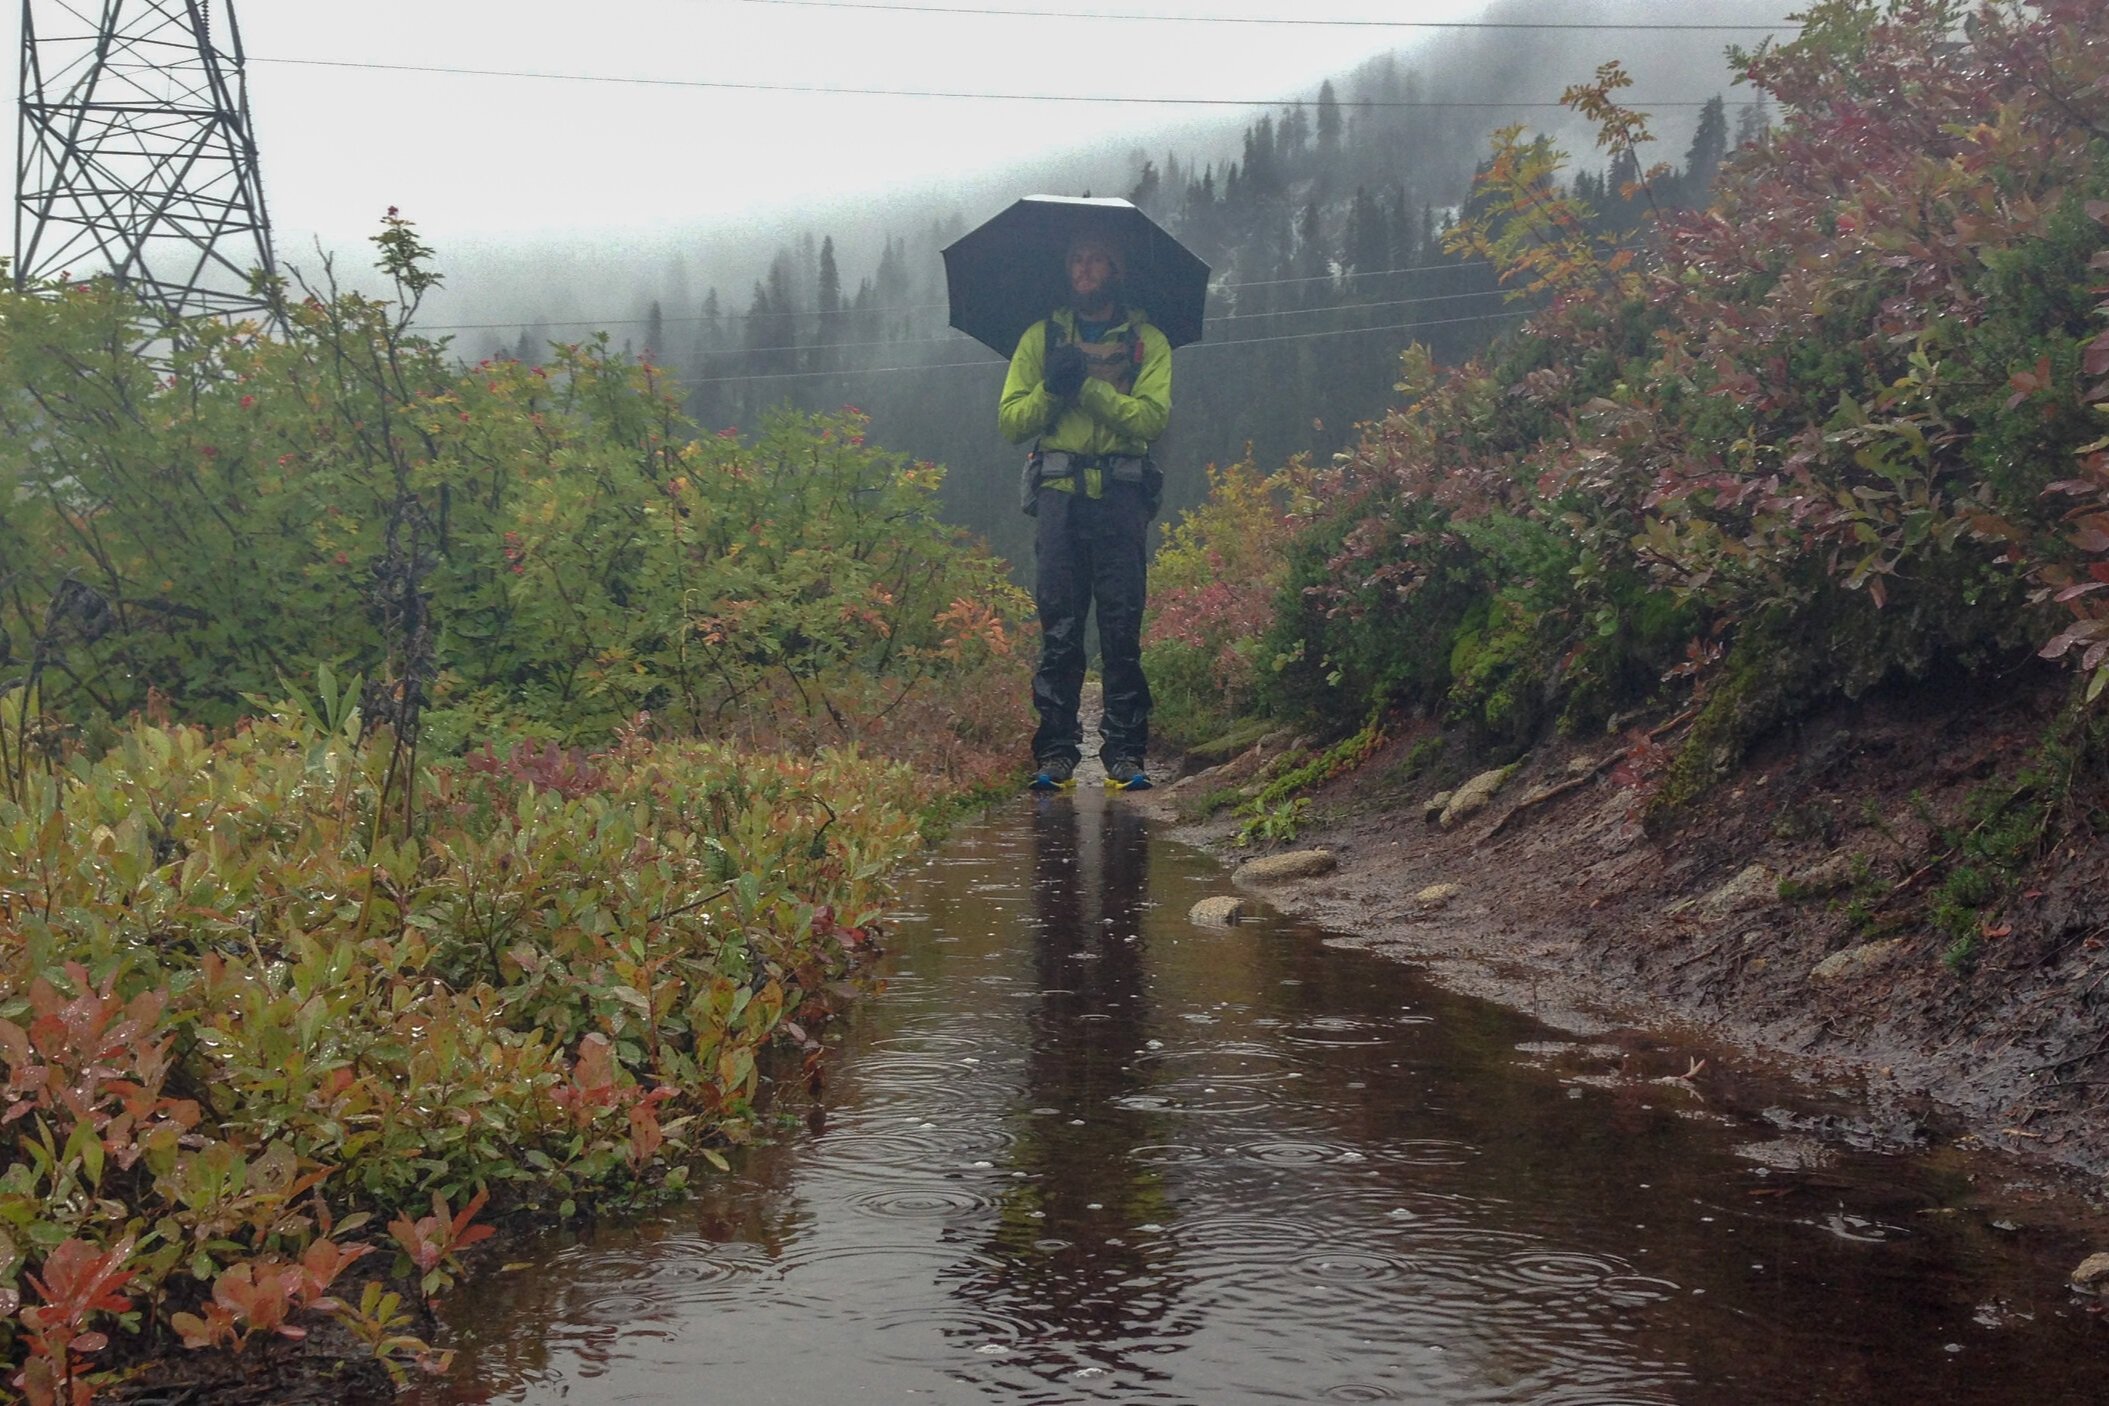
PHOTO CREDIT: HEATHER ELDRIDGE (CLEVERHIKER.COM)
1 Pair Rain Pants – A lightweight, waterproof, but minimalist rain shell. Full-length zippers make it easier to put them on and take them off without removing your shoes/boots, but that also makes them heavier. Worn while hiking or in camp when conditions are wet, cold, or windy.
Our Top Picks:
-
For more recommendations, see our Best Rain Pants list
1 Pair Base Layer Bottoms – Lightweight or ultralight, synthetic, silk, or wool. Usually reserved for wearing in camp and sleeping in, but can be worn under other layers when necessary for hiking in very wet or cold weather.
Our Tops Picks:
-
For more recommendations, see our Best Base Layers list

PHOTO CREDIT: HEATHER ELDRIDGE (CLEVERHIKER.COM)
1 Pair Insulated Pants – In really cold conditions, a pair of down pants can be a lifesaver. We typically only use these for winter trips in the backcountry, but they’re also useful for car camping trips with chilly nights and mornings.
Our Top Picks:
1-2 Pairs Underwear – Comfortable, breathable, quick-drying, anti-odor. Worn daily. Cycle between pairs, rinsing out and air-drying them as needed. Keep at least one pair clean by only wearing them in camp after washing up for the day.
Many women also wear a sports bra on the trail. We recommend a comfortable, breathable, quick-drying one that doesn’t fit too tight.
Our Top Picks:
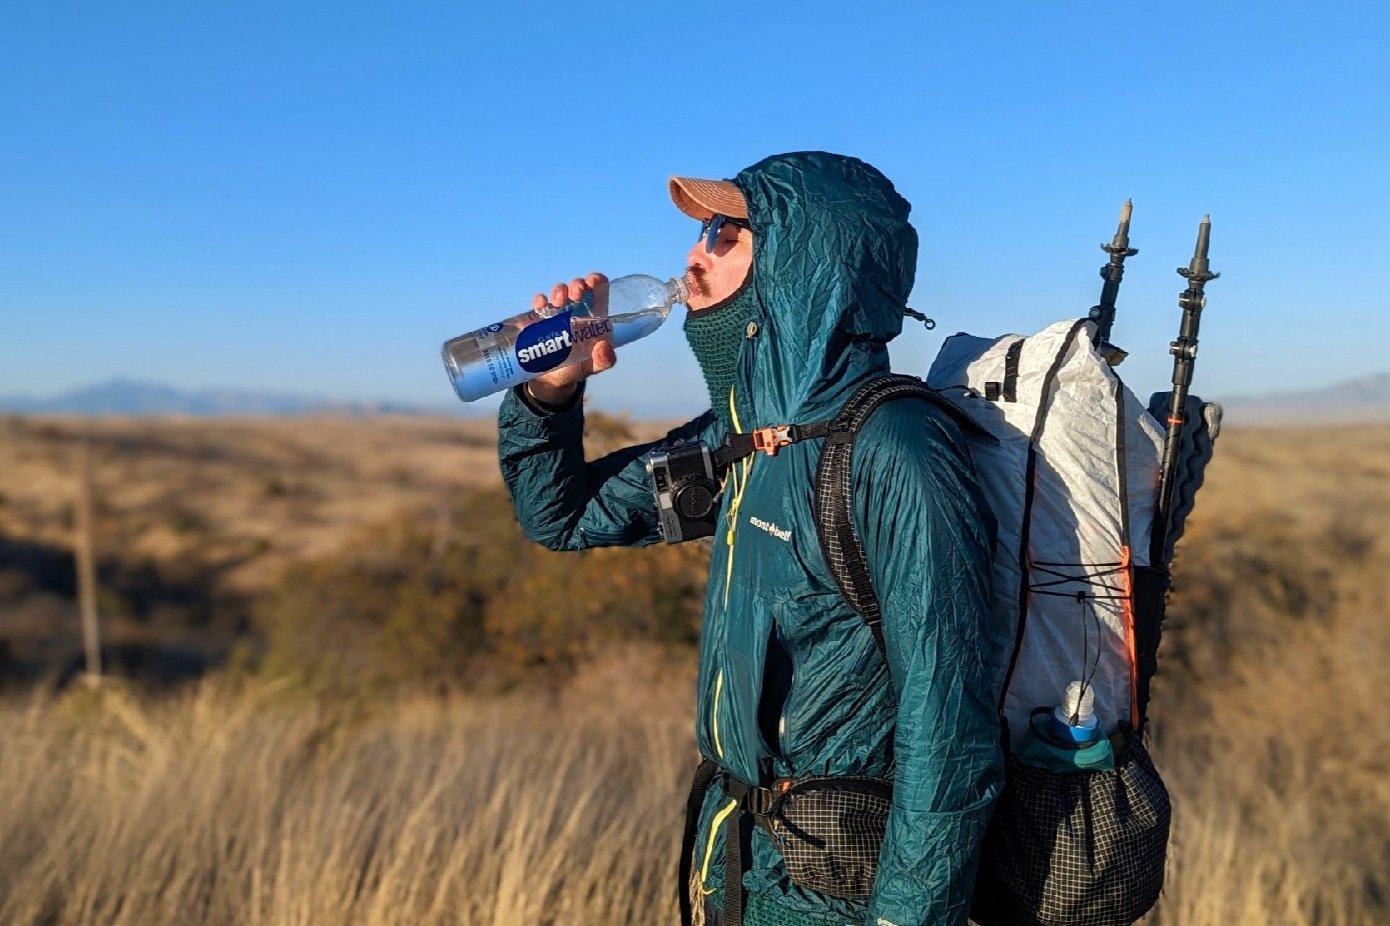
PHOTO CREDIT: CASEY HANDLEY (CLEVERHIKER.COM)
HEADWEAR
1 Sun Hat – A good hiking hat has a brim long enough to cut the sun out of your line of vision. It should also dry quickly, be breathable, and be reasonably packable so that you can store it when not in use. We wear a hat almost all the time while hiking, especially when the sun is intense or when it’s raining (to keep drops out of our faces).
Wide-brimmed hats provide the most protection, but they’re not everyone’s favorite style-wise. Baseball and trucker hats work well with hoods, but they don’t protect your ears and neck, so make sure to sunscreen up, use a sun shirt hood, or tuck in a bandana when necessary.
Our Top Picks:

PHOTO CREDIT: HEATHER ELDRIDGE (CLEVERHIKER.COM)
1 Warm Hat – Simple, lightweight, and comfortable (not too tight). A warm hat is the easiest piece of clothing to add or subtract quickly for thermoregulation on the go, on breaks, in camp, or in your sleep sack. Fleece is preferable since it will keep you warm even if it gets wet.
Our Top Pick:
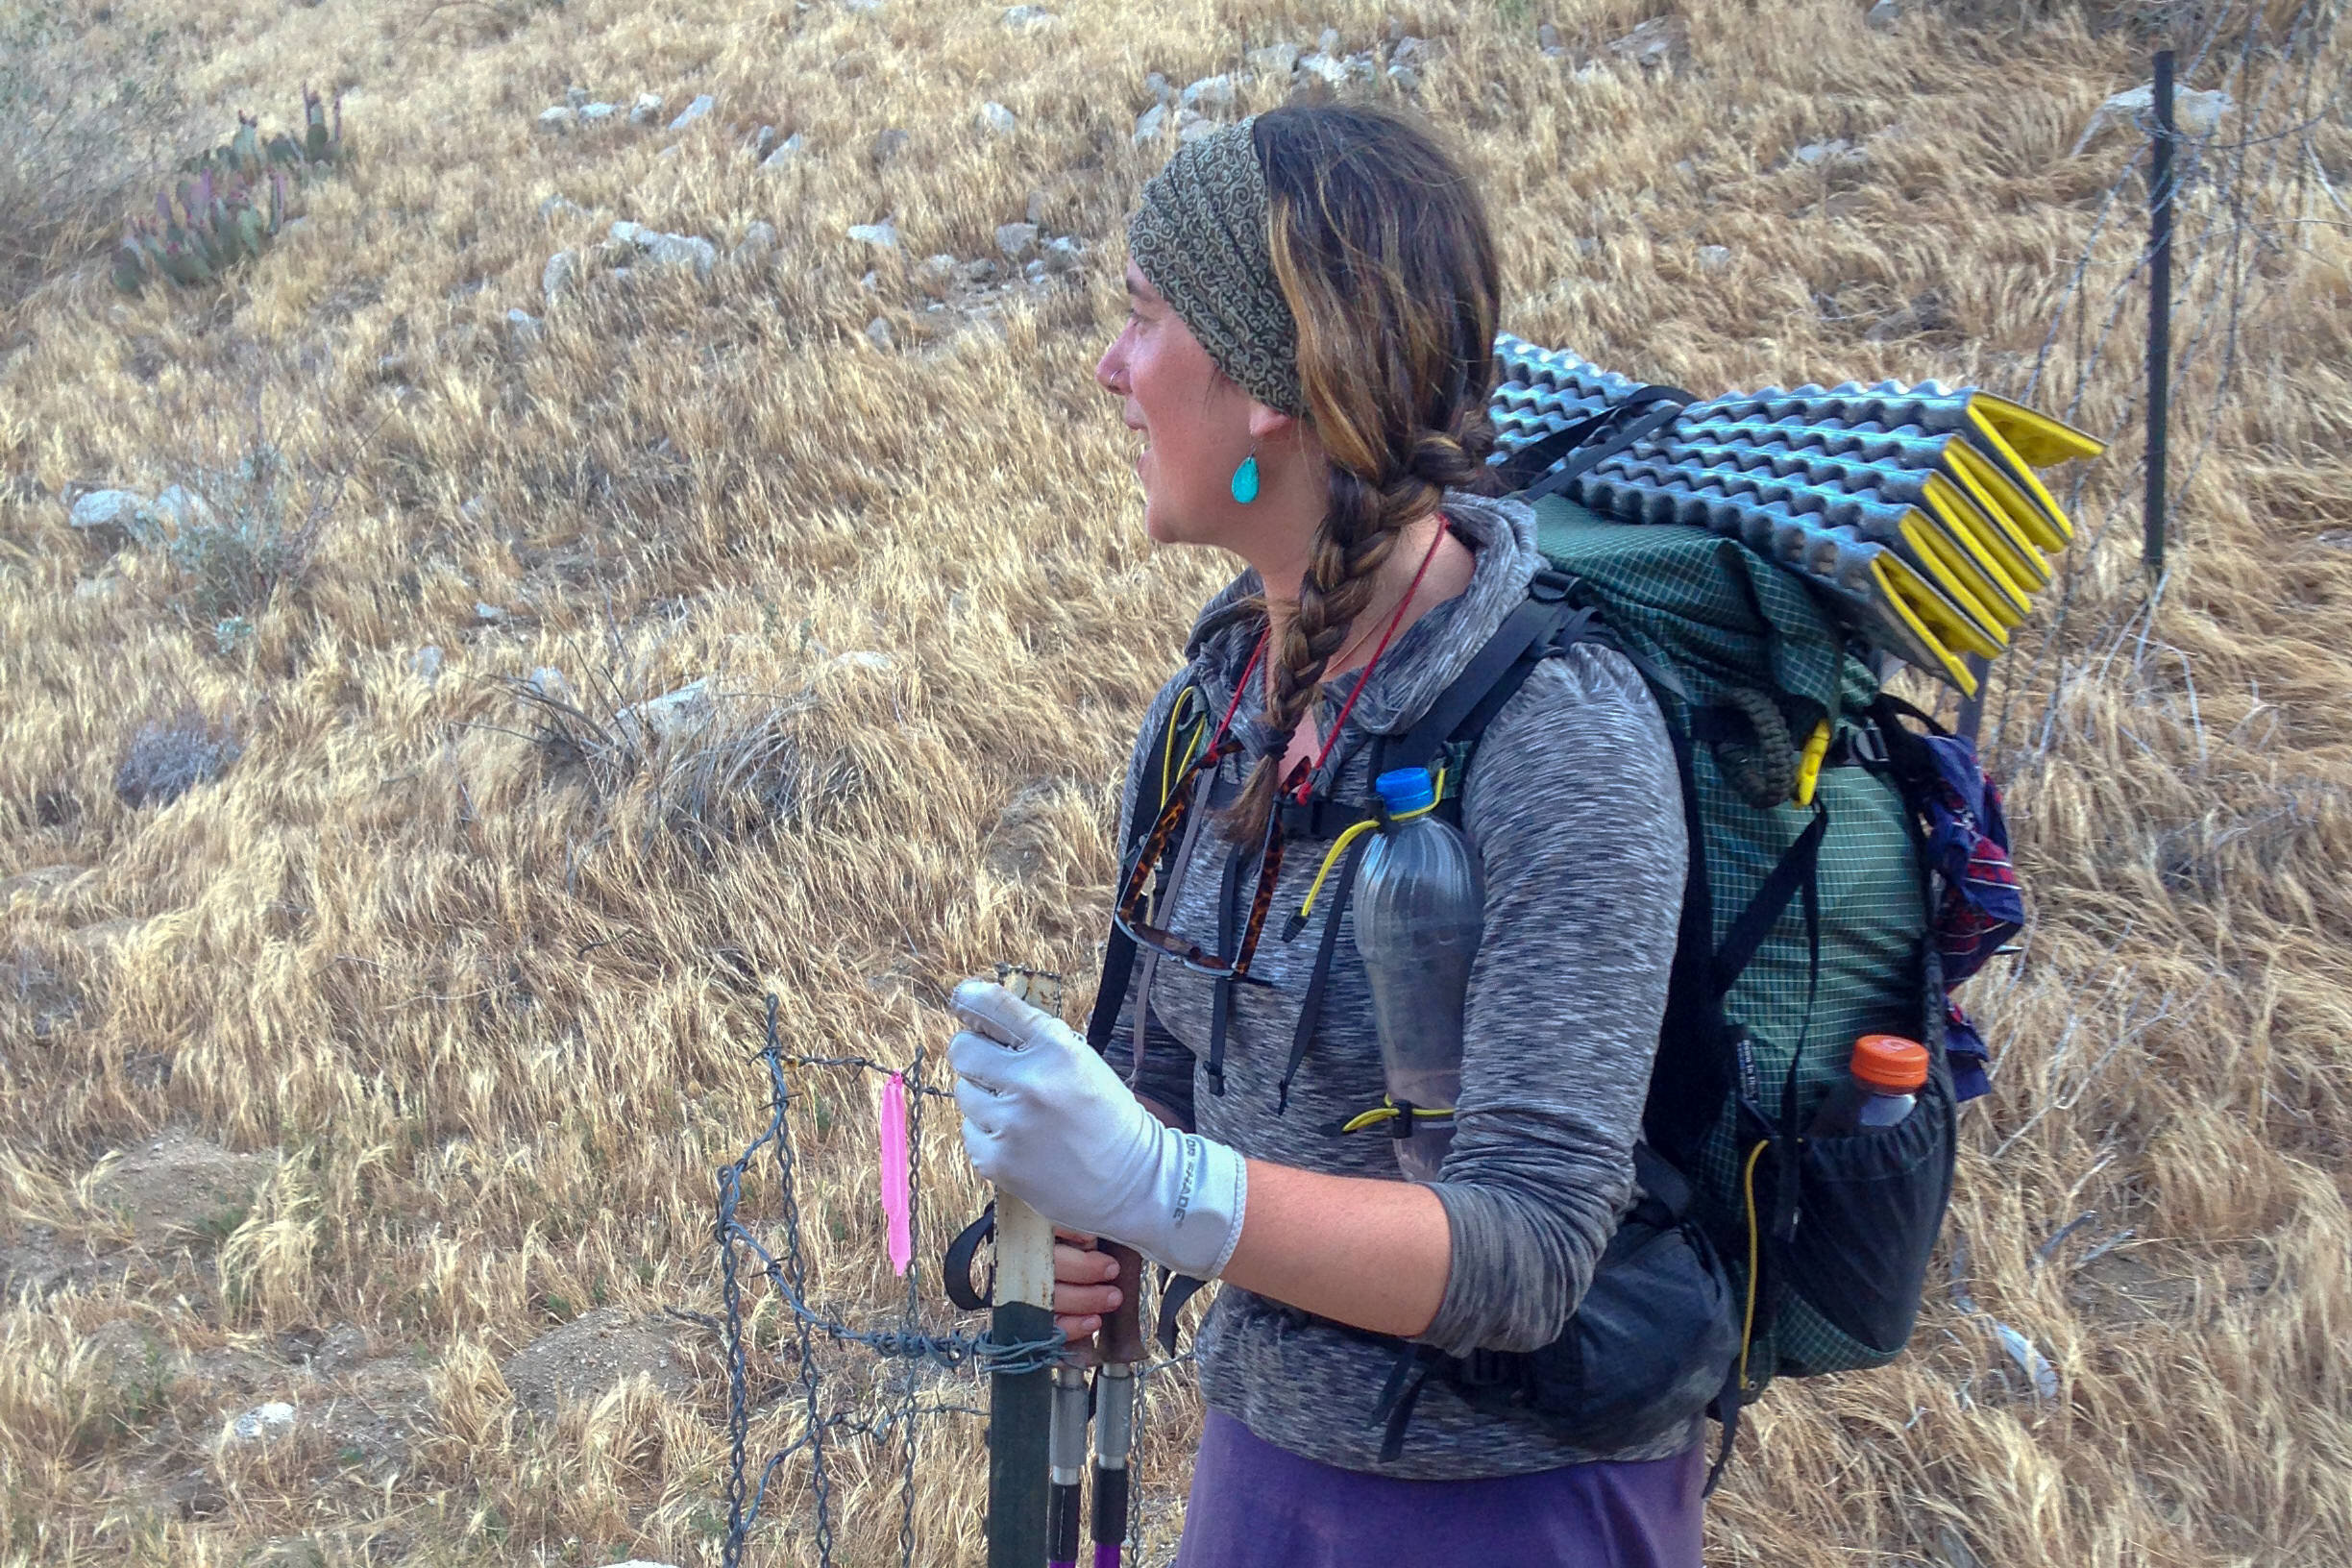
PHOTO CREDIT: HEATHER ELDRIDGE (CLEVERHIKER.COM)
1 Buff – Multifunctional headwear that can be worn as a headband, hat, hair band, helmet liner, balaclava, etc. Some absolutely love these and some opt not to bring them at all.
1 Pair Sunglasses – A good pair of sunglasses (and a protective case) is essential for almost every trip into the backcountry. Polarized sunglasses are preferable since they help cut glare and are easier on the eyes. If viewing pretty scenery is part of your aim, it probably makes sense to get some quality polarized lenses and leave the $10 gas station shades at home.
Our Top Pick:
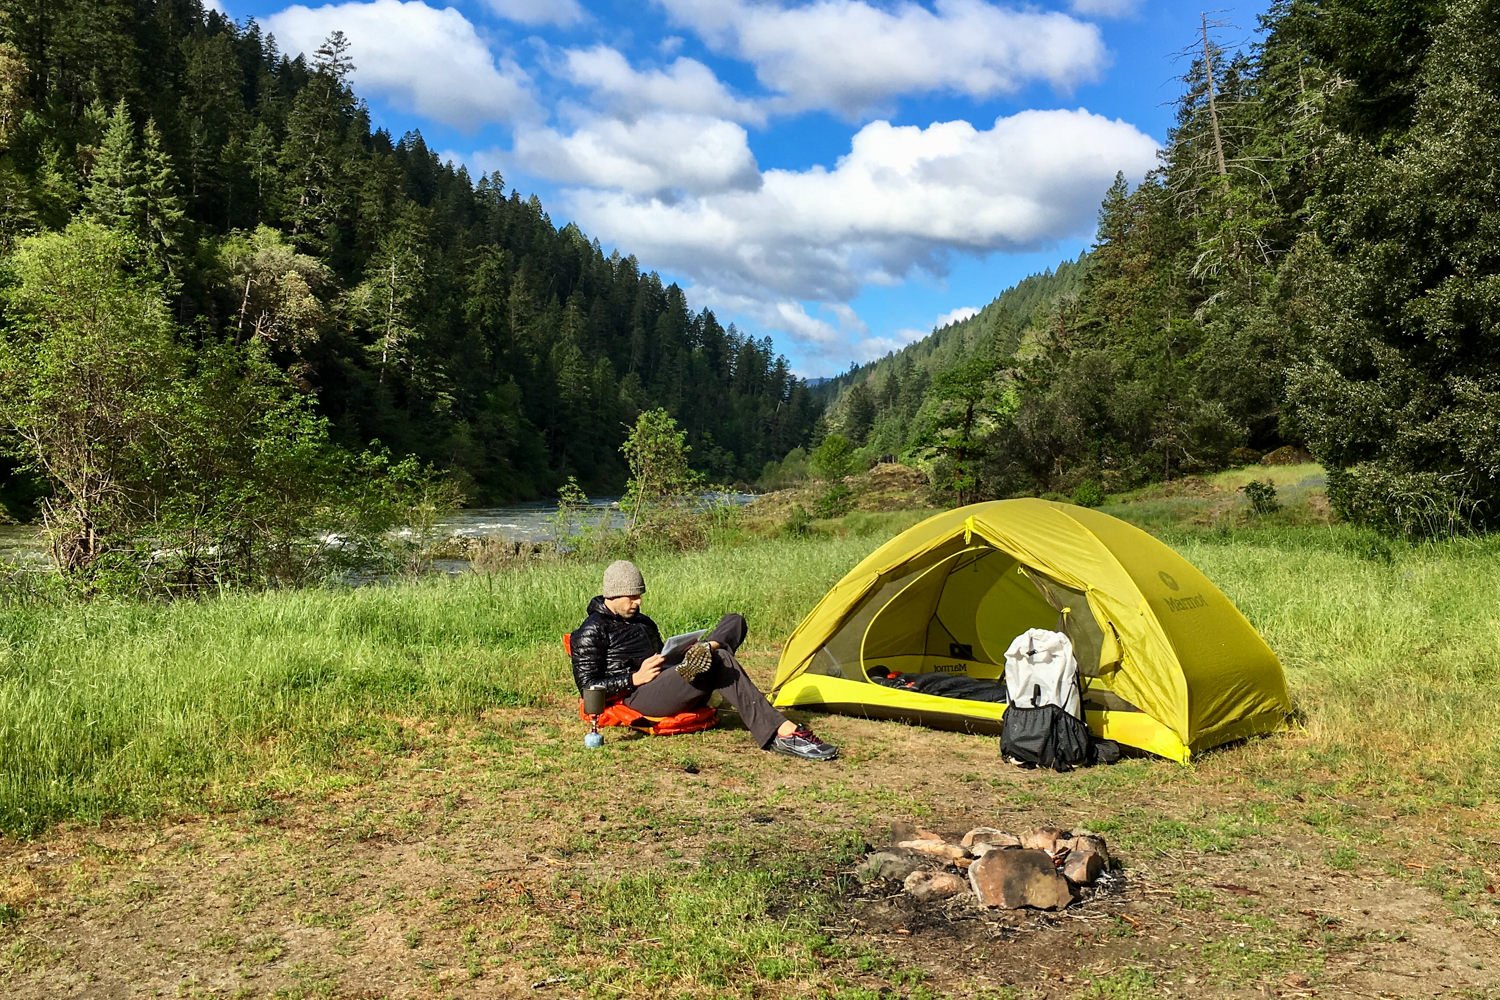
PHOTO CREDIT: DAVE COLLINS (CLEVERHIKER.COM)
CAMP CLOTHING
Your goal should be to keep a lightweight baselayer top and bottom clean to wear in camp after you’ve washed up for the day. Camp clothes are also good for sleeping in and will help keep your sleeping bag fresher for longer. In a pinch, you may have to wear extra layers while hiking when conditions are colder/wetter than expected, but this should be a last resort.
To keep your camp clothes clean, change into your dirty/wet hiking clothes every morning before you hit the trail. That will probably feel uncomfortable for a few minutes, but you’ll be very happy to have clean/dry clothing when you get to camp that night. And whatever you hike in is sure to become dirty/sweaty quickly once you get moving anyway.
For recommendations, see our Best Base Layers list.

PHOTO CREDIT: HEATHER ELDRIDGE (CLEVERHIKER.COM)
FOOTWEAR
Choose one of the following shoe options that best suits your trip based on:
-
Terrain
-
Weather/season/conditions
-
Pack weight
-
Personal preference/needs
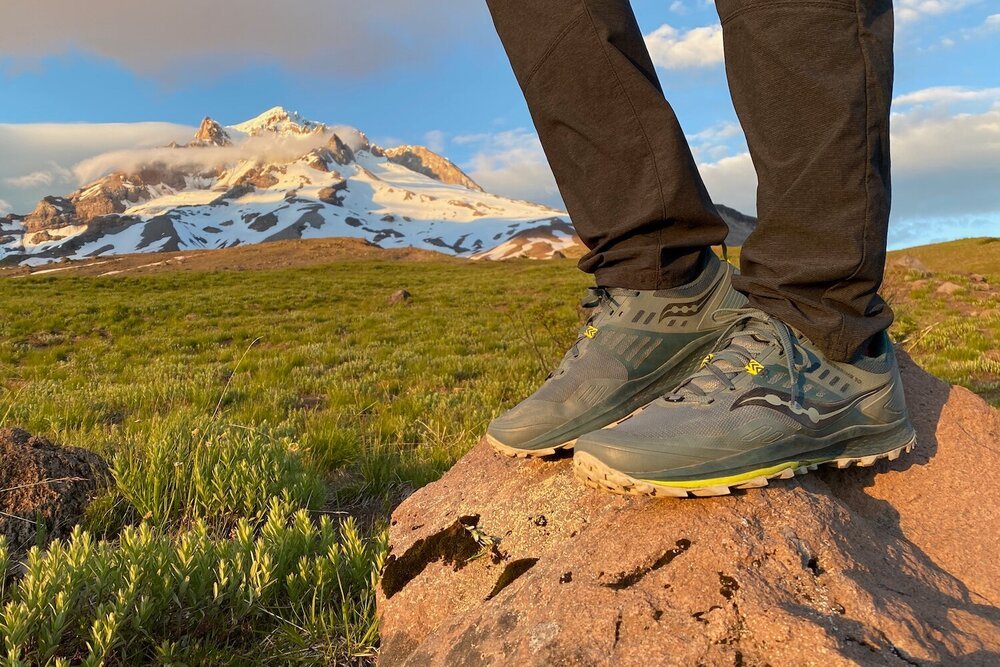
PHOTO CREDIT: DAVE COLLINS (CLEVERHIKER.COM)
1 Pair Trail Runners or Hiking Shoes – At CleverHiker, we almost always backpack in lightweight trail runners. They minimize blisters, dry quickly, and offer excellent traction. They also keep our feet nimble and don’t exhaust our legs over long days of hiking. Choose a size with a little extra wiggle room in the toe box to allow your feet to swell. Too-tight shoes are a recipe for disaster.
For recommendations, check out our shoe guides:
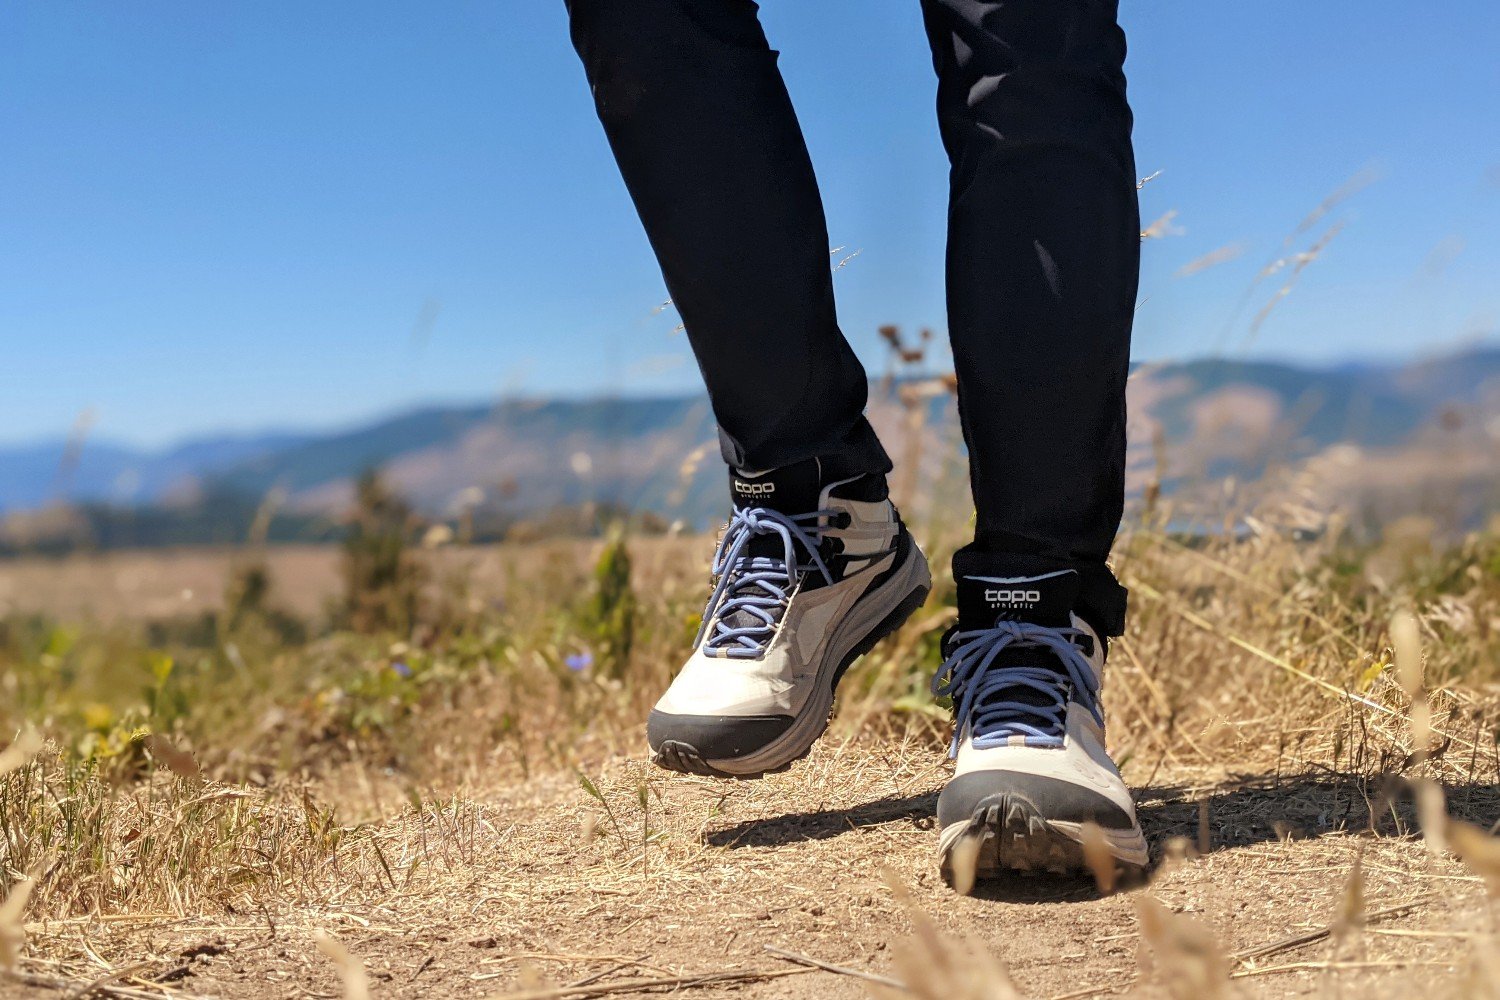
PHOTO CREDIT: CASEY HANDLEY (CLEVERHIKER.COM)
1 Pair Lightweight Hiking Boots – Though trail runners have become very popular in most hiking/backpacking circles, many people still prefer the durability and support of hiking boots. Boots offer superior protection on rocky rugged terrain, and on cold, wet trips, especially if extensive snow travel or extremely muddy/mucky trails are involved. Look for lightweight, comfortable boots that will allow your foot to flex, and make sure to break them in well before your hike.
For recommendations, check out our boots guides:
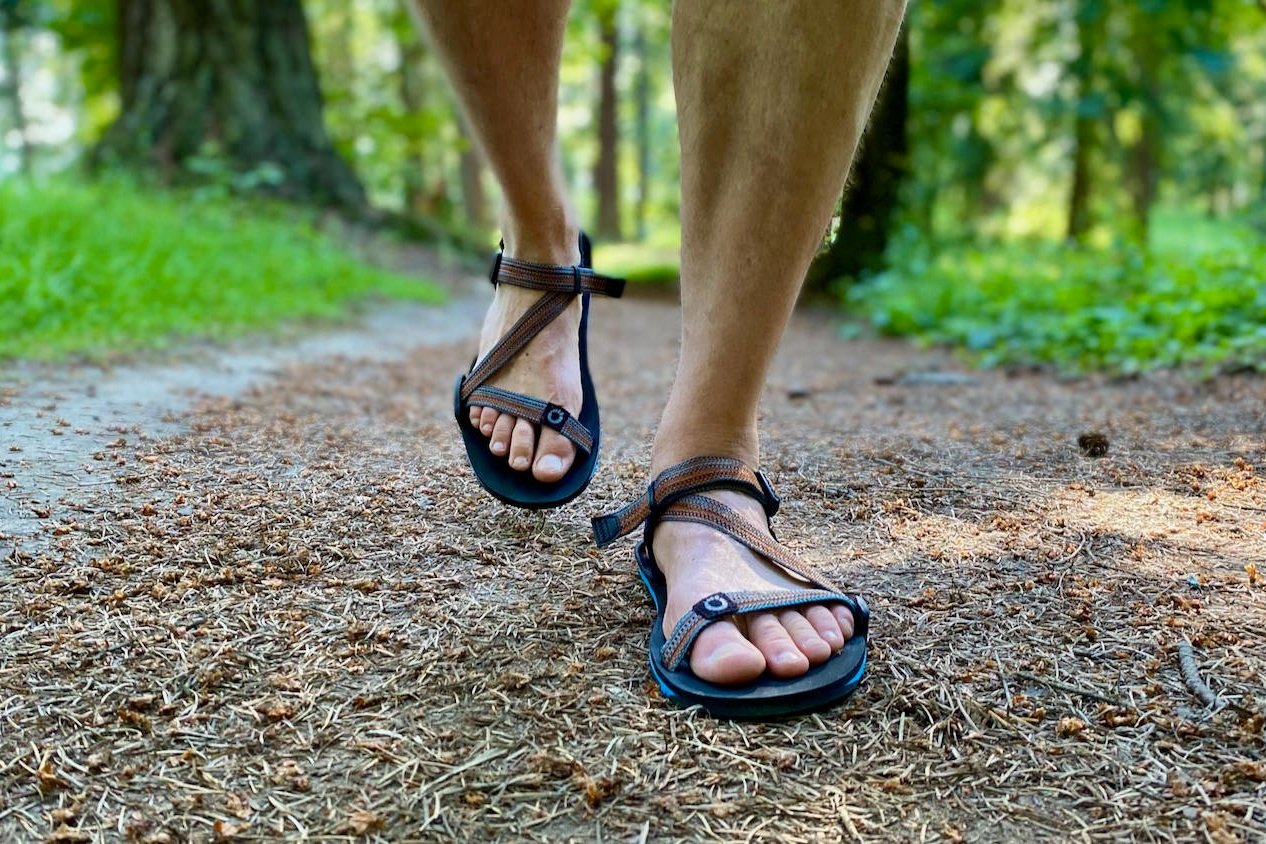
PHOTO CREDIT: CASEY HANDLEY (CLEVERHIKER.COM)
1 Pair Sandals – Though sandals are still among the least popular options for trail travel, there is a growing population of hikers that prefers them over other footwear choices. When all goes according to plan, sandals are comfortable, breathable, and they dry quickly after river crossings or rain.
That said, sandals provide the least amount of support and they leave your feet open to abrasion from rocks and other sharp objects along the trail, so watch where you step carefully. If you do wear sandals, bring a pair of wool socks to slip on if the weather gets cold/wet. Also, make sure to bring a first aid kit with plenty of tape to prevent any hot spots so your feet don’t get rubbed raw.
For recommendations, check out our sandals guides:
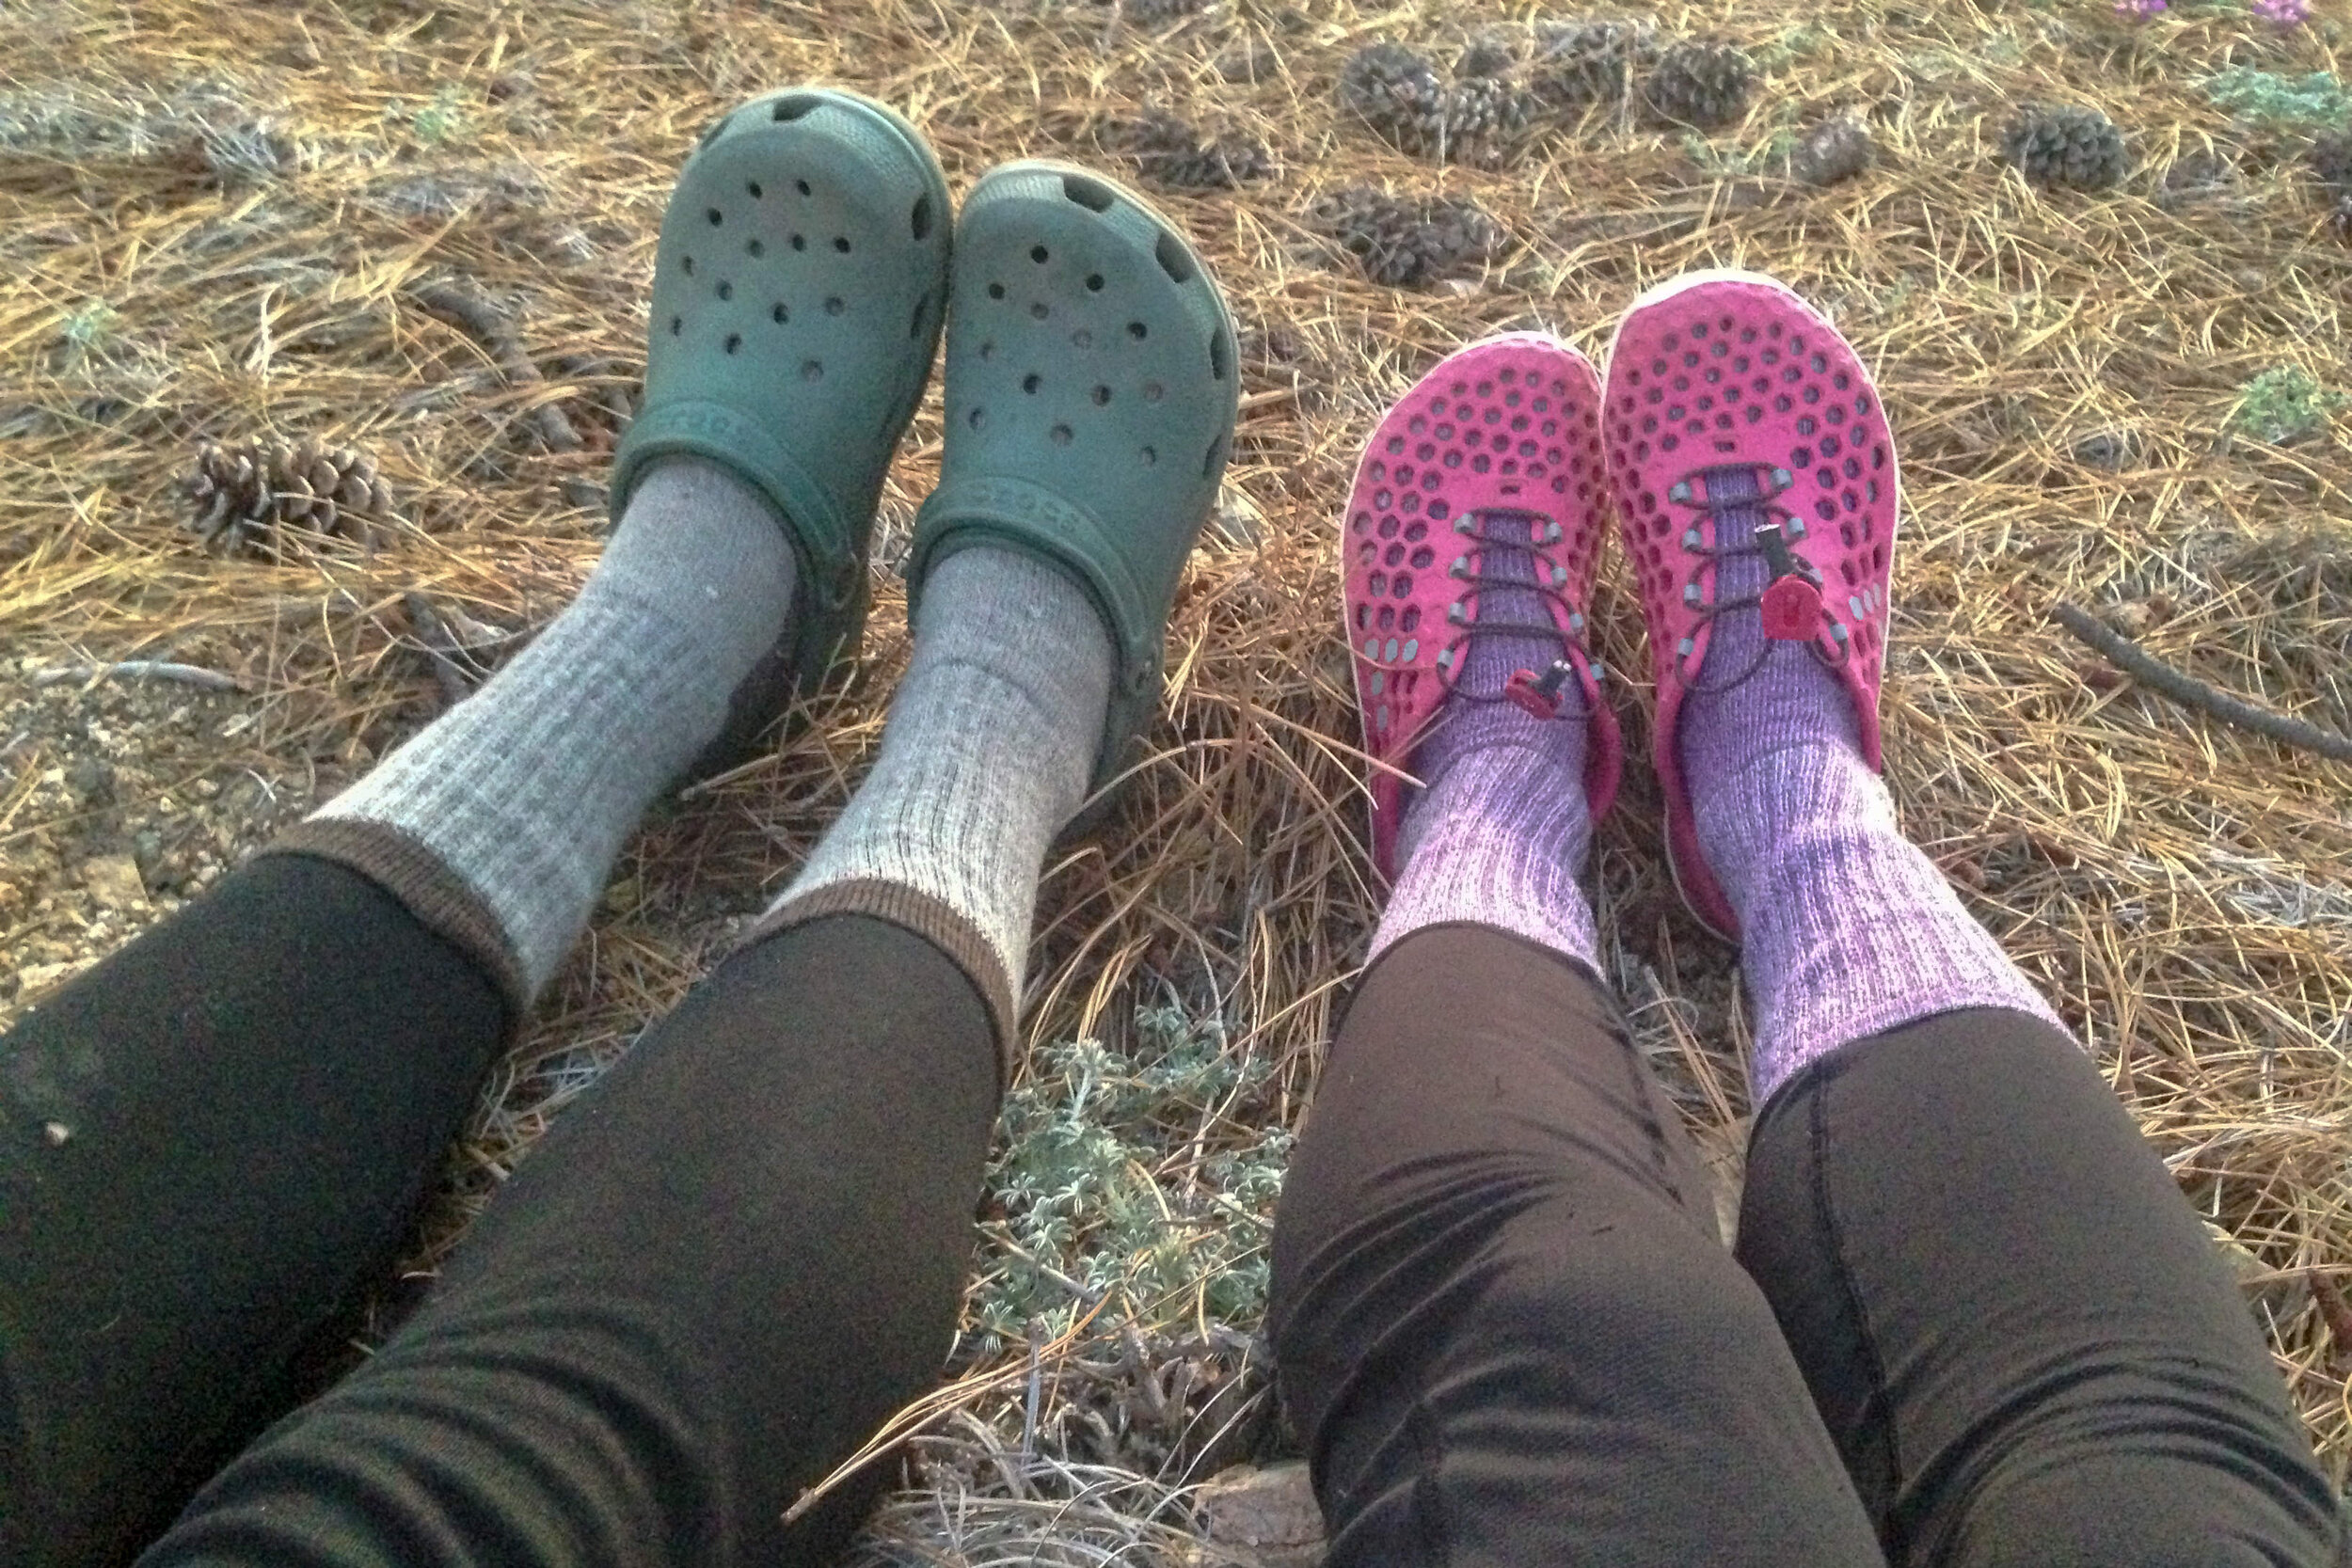
PHOTO CREDIT: HEATHER ELDRIDGE (CLEVERHIKER.COM)
1 Pair Camp Shoes – Though they should be considered a luxury item, some hikers like to carry an alternate pair of shoes to change into for relaxing in camp and wearing in town (if thru-hiking). Good camp shoes are lightweight, compact, dry quickly, and protect the toes. Ideally, they’ll also be compatible with warm socks.
We normally choose to travel without camp shoes, but they can be a nice luxury on wet trips when our hiking shoes/boots are soaked by the time we get to camp.
Our Top Picks:
-
Crocs (heavy, but popular)
-
For more recommendations, check out our Best Camp Shoes list
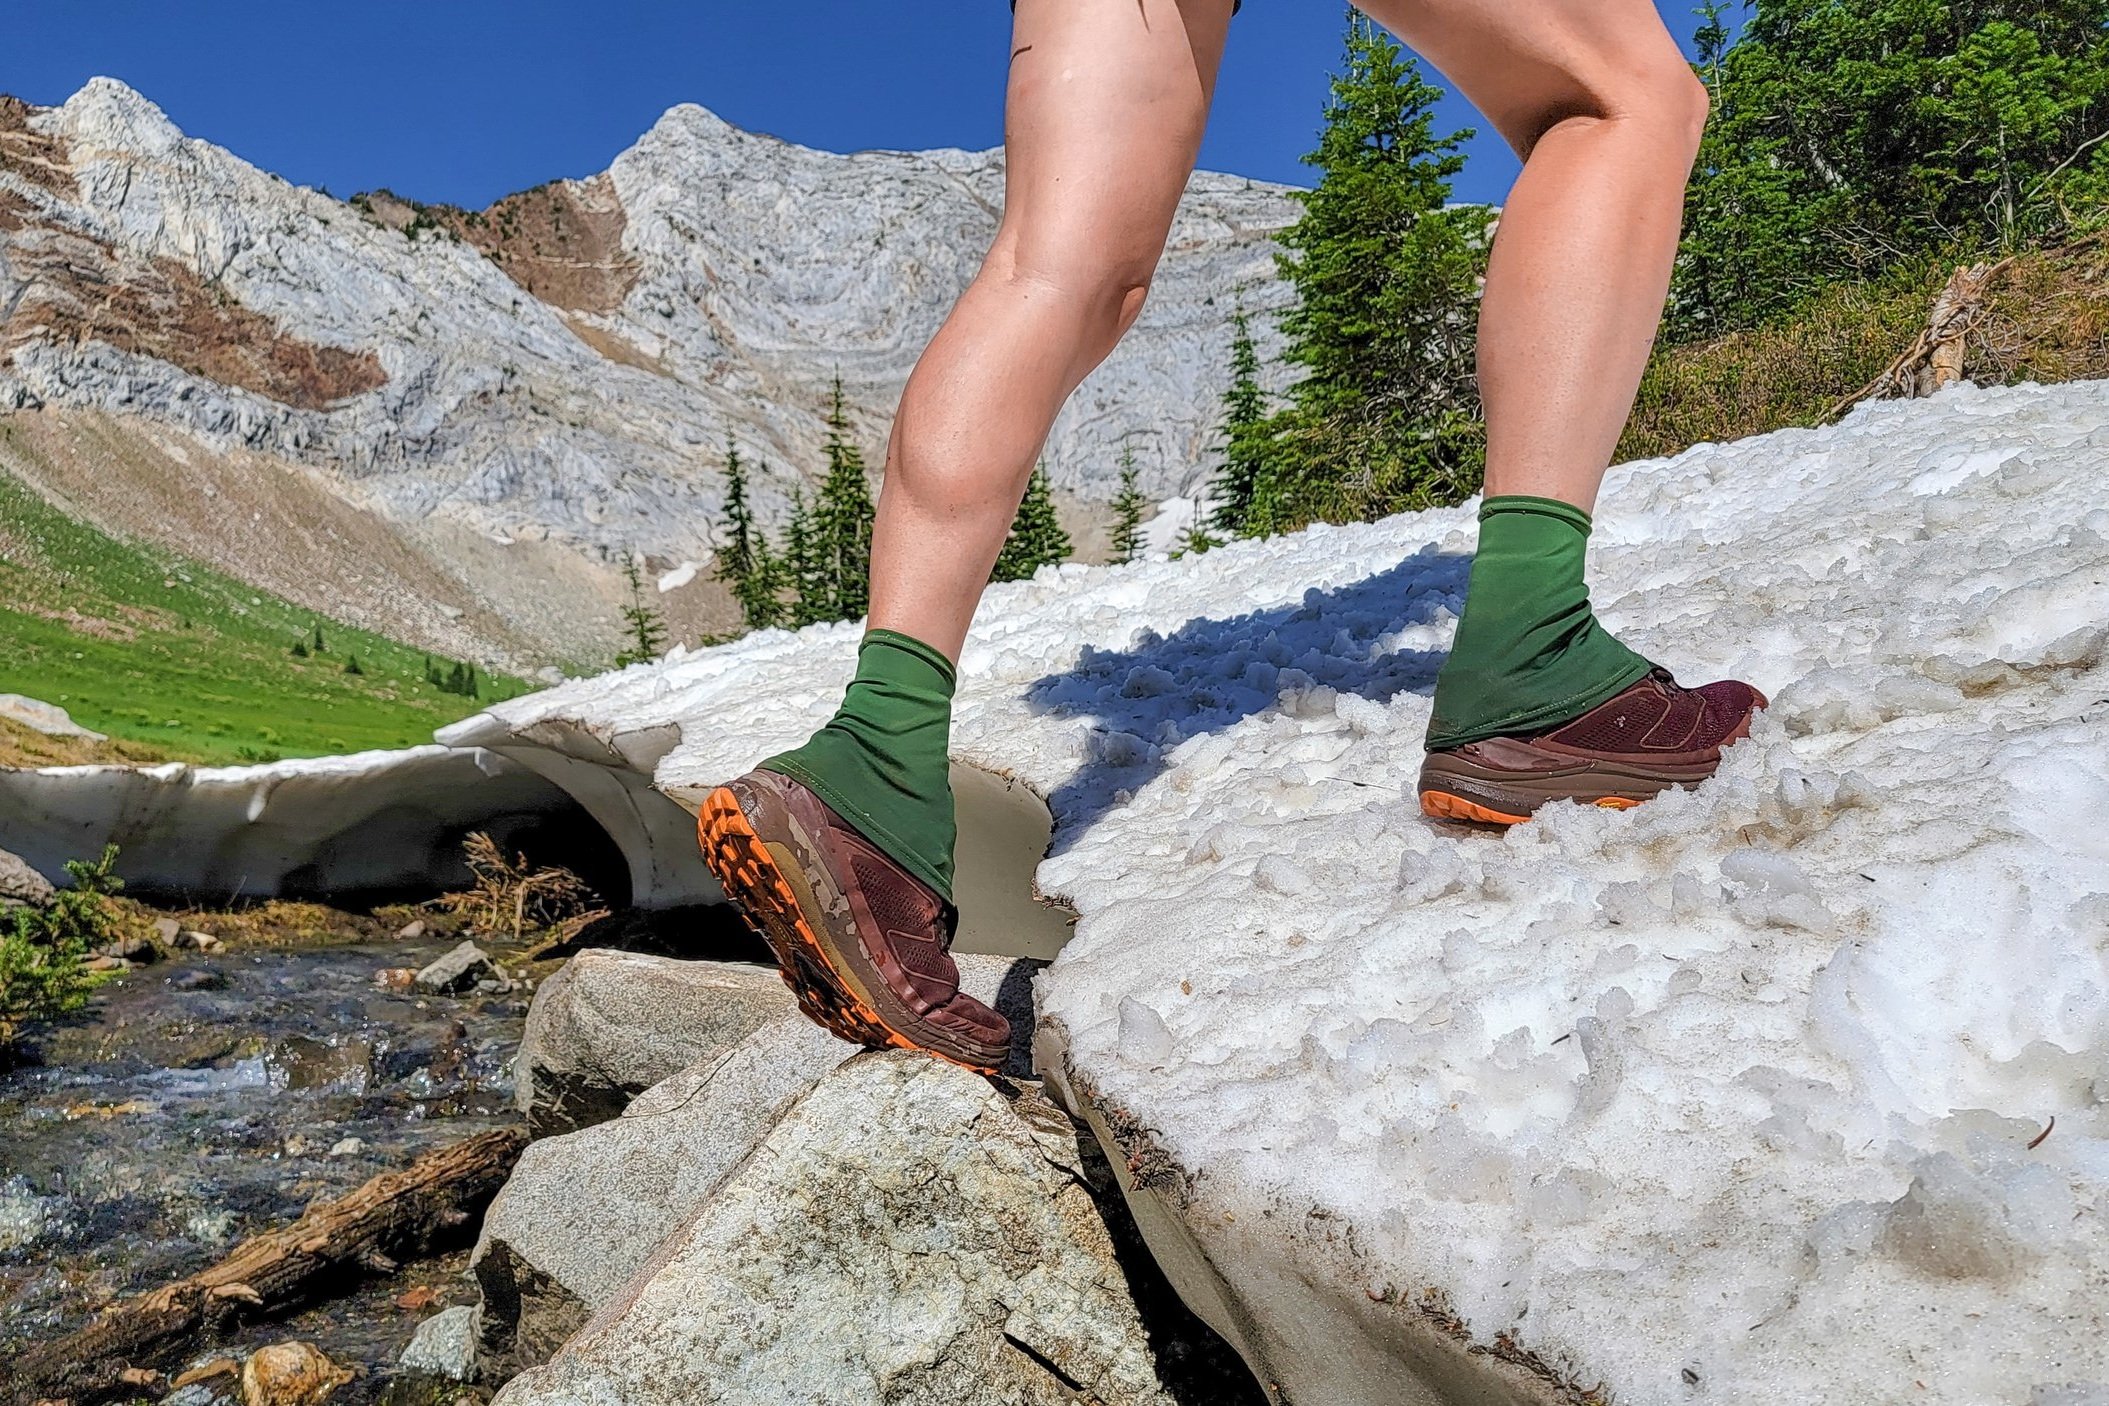
PHOTO CREDIT: HEATHER ELDRIDGE (CLEVERHIKER.COM)
1 Pair Gaiters – If you wear trail running shoes, a pair of minimalist gaiters will help keep debris from creeping into your shoes. This will keep your feet more comfortable on long trail days and you’ll have far fewer stops to remove pebbles from your shoes. Thru-hikers tend to be big fans of gaiters because they spend so much of their time on the trail. The biggest downsides to gaiters are that they won’t allow your shoes/feet to breathe quite as well and they require one more step every time you put your shoes on or take them off.
Our Top Picks:
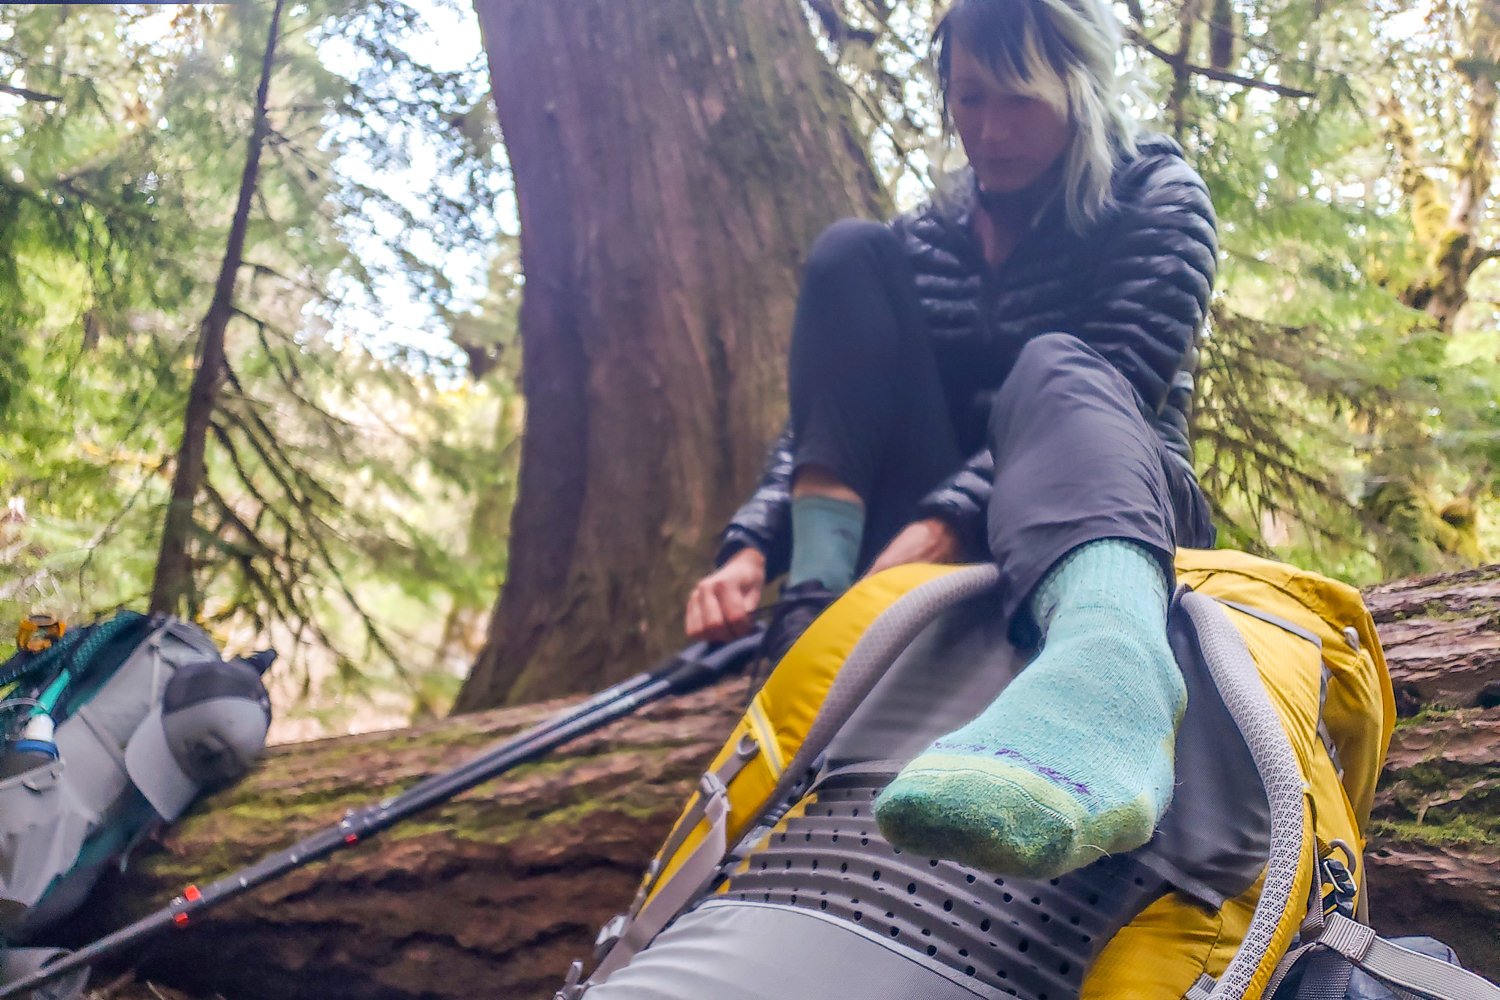
PHOTO CREDIT: HEATHER ELDRIDGE (CLEVERHIKER.COM)
SOCKS
1-2 Pairs Hiking Socks – Cycle between pairs of quick-drying wool or synthetic hiking socks, rinsing and drying in direct sunlight when necessary. On cold/wet trips, you may want to bring an extra pair of thick wool socks, which will help keep your feet warm when wet and/or can be used to help dry your shoes after rain showers or river crossings.
1 Pair Camp/Sleep Socks – Keep at least one pair of thick wool socks clean and dry, reserving them for use in camp. On chilly nights you can also sleep with them on to help boost your warmth.
Our Top Picks:
-
Darn Tough Hiker Boot Full-Cushion Men’s / Women’s – warm socks
-
For more recommendations, see our Best Hiking Socks list
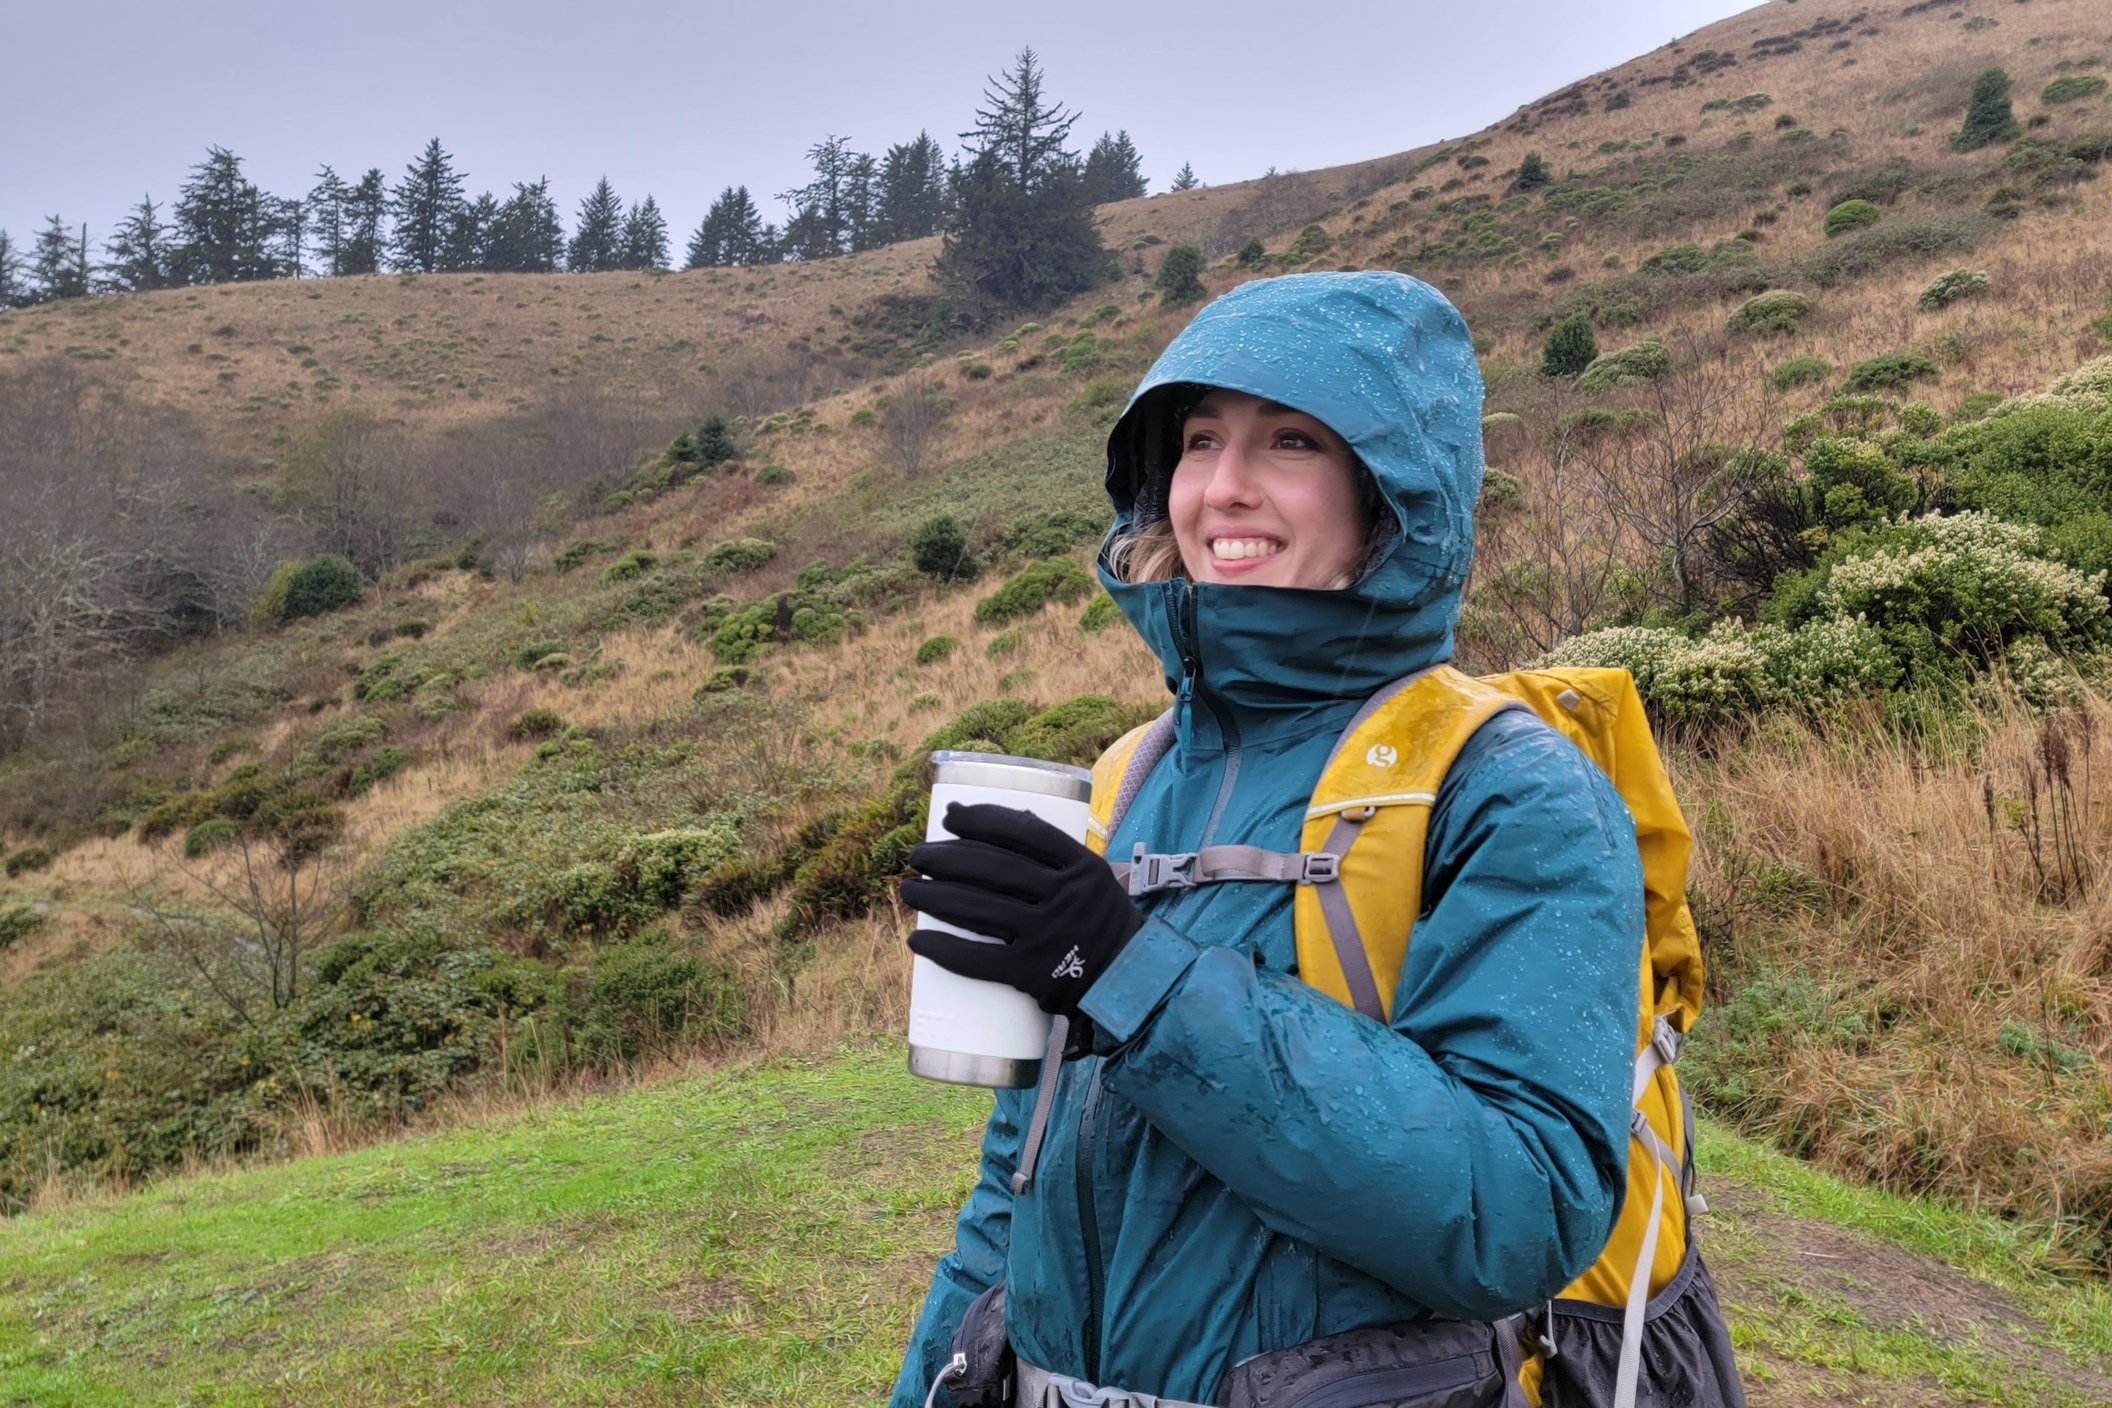
PHOTO CREDIT: HEATHER ELDRIDGE (CLEVERHIKER.COM)
GLOVES & MITTENS
1 Pair Liner Gloves – Basic thin synthetic or wool gloves are the bare minimum you should have to keep your hands warm while on the move. Make sure your liner gloves and rain mitts can be layered together if needed.
1 Pair Fleece gloves – Thin/medium weight gloves are great for hiking and in camp on slightly colder spring and fall trips. Again, make sure these are compatible with your rain mitts.
1 Pair Rain Mitts / Shell Gloves – Waterproof mitts help retain your body heat and can be layered with other gloves to protect your hands from the elements when it’s windy, cold, and wet.
Our Top Picks:
-
For more recommendations, see our Best Winter Gloves list
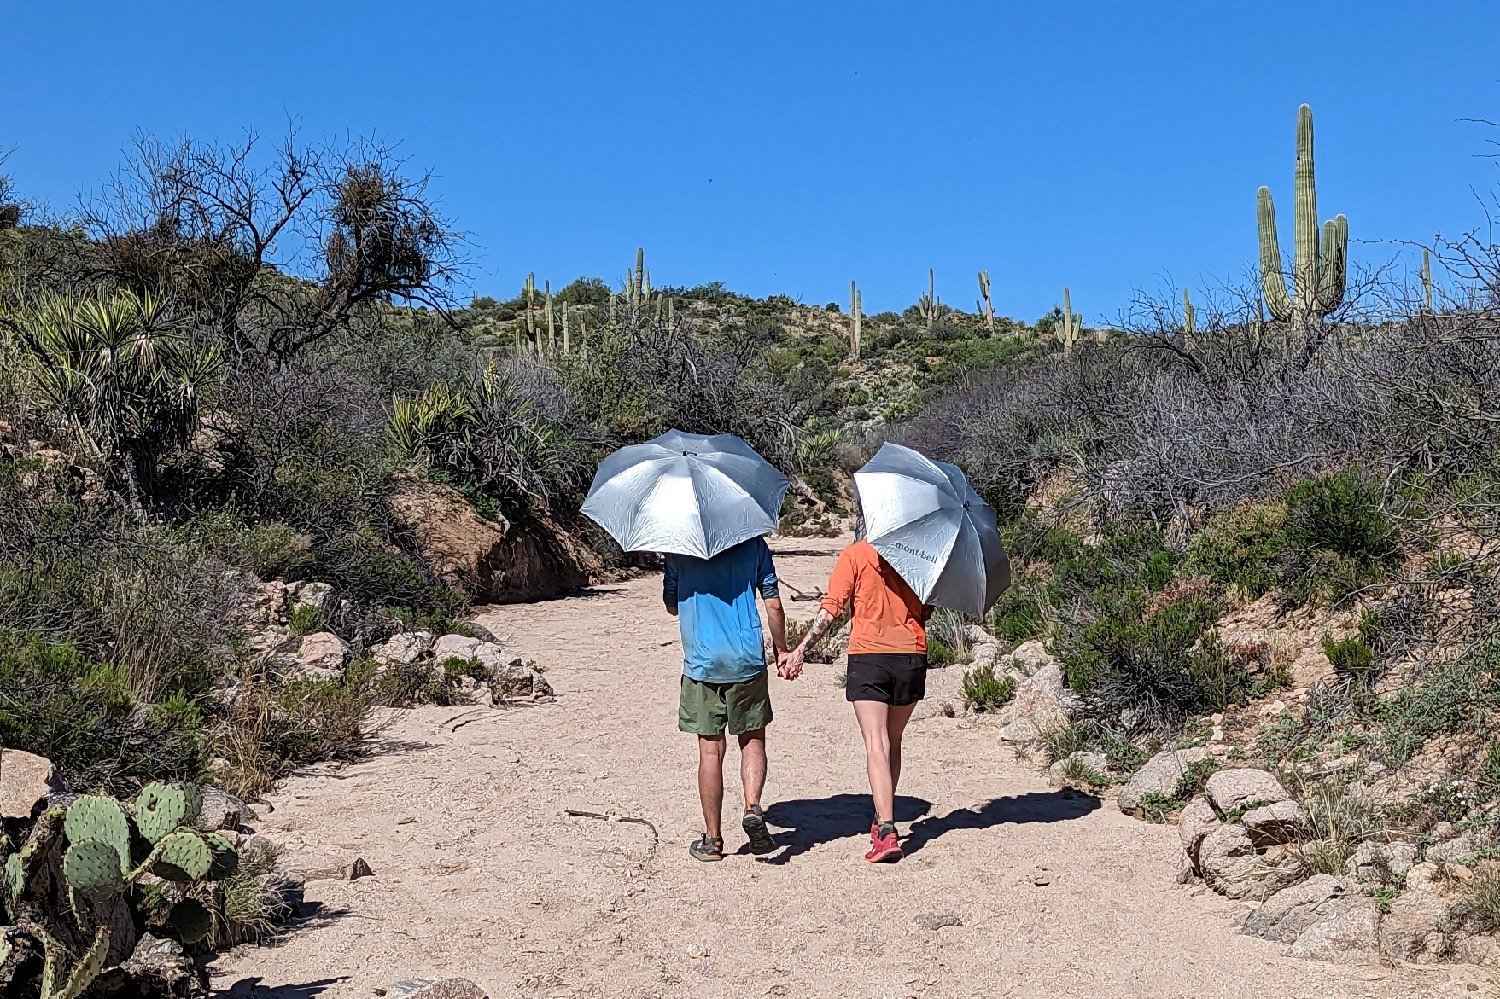
PHOTO CREDIT: CASEY HANDLEY (CLEVERHIKER.COM)
ACCESSORIES
Umbrella – In addition to rainwear, an umbrella can be a fantastic addition to your rain system when conditions are particularly wet and the weather changes frequently. Umbrellas are quick and easy to deploy and pack away while on the move and provide convenient rain protection without causing the body to overheat.
In the desert, umbrellas also provide portable shade to protect your skin and eyes from the sun and keep your body temperature lower. For best performance, while hiking, choose an umbrella that’s lightweight, resistant to wind damage, and reflective for maximum cooling potential.
Our Top Picks:
BUG DETERRANTS
Clouds of mosquitoes can easily ruin any backcountry trip, so it pays to do your research and check trip reports. Check online forums or try calling the local ranger station to find out if it’s typical for the bugs to be thick during the dates of your trip. In general, July and August tend to be the worst months for mosquitoes. If the mosquitos are going to be voracious, don’t cancel your trip, just prepare by doing the following:
-
Wear breathable, but tightly-woven clothing that covers your arms and legs.
-
Treat your clothing with Permethrin spray pre-trip.
-
Clothing Treatment: Permethrin
-
-
Use a little Picaridin lotion on exposed skin.
-
Topical Bug Repellant: Picaridin Lotion
-
-
Wear a head net over a hat. They’re a bit annoying at first, but they keep bugs from getting in your ears, eyes, and mouth. It beats breathing in mosquitos while you’re sucking wind!

PHOTO CREDIT: HEATHER ELDRIDGE (CLEVERHIKER.COM)
THRIFTING
If you’re short on cash, you can find a lot of perfectly functional used clothing from thrift stores if you know what you’re looking for. Pay attention to fabrics, fit, comfort, and weight. Check the activewear section, which is often full of synthetic t-shirts, long-sleeve tops, shorts, fleece shirts, etc.
LEARN THE BASICS
After reading this post, you probably have a pretty good understanding of what goes into a streamlined backpacking clothing system, but if you’re a visual learner, you might also enjoy our Ultralight Clothing and Rain Gear Video.
Also, feel free to print a copy of our free Ultimate Backpacking Checklist to start assessing what you’ve already got in your closet and what you may need to pick up.
More Information
We know everyone has their own hiking style and we strongly encourage you to experiment to find out what clothing system will work best for you. If we missed anything or you have a suggestion, we’d love to hear from you! Leave us a comment below, use our contact form to drop us a line directly or visit our Facebook page and Instagram to join the community conversation.
If you liked this article, you’ll probably enjoy our other popular CleverHiker content:

Some of the links on this page are affiliate links, which means we may receive a modest commission if purchases are made through those links. This adds no cost to our readers and helps us keep our site up and running. Our reputation is our most important asset, which is why we only provide completely honest and unbiased recommendations.